
Noir Keyboard Pro
A mechanical Keyboard designed specificallly for use with the iPad Pro M1/M2 11inch (probably works with the new Pro M4 and maybe the new design Air 11inch)
Journal
Total time spent: 22 hours
Day 1: 6th Jun Friday
Hours spent: 3h 30min Was getting fustrated on my iPad for not having a decent keyboard (am on a Logitech Slim Folio Pro currently) and wanted something better so decided to take part in Highway to make a keyboard my huge hands can use
Started by watching this Wonderful tutorial by ScottoKeebs on how to get started and learnt a bit about KiCAD
 Followed his tutorial and messed around a bit more to understand the idea of a macropad
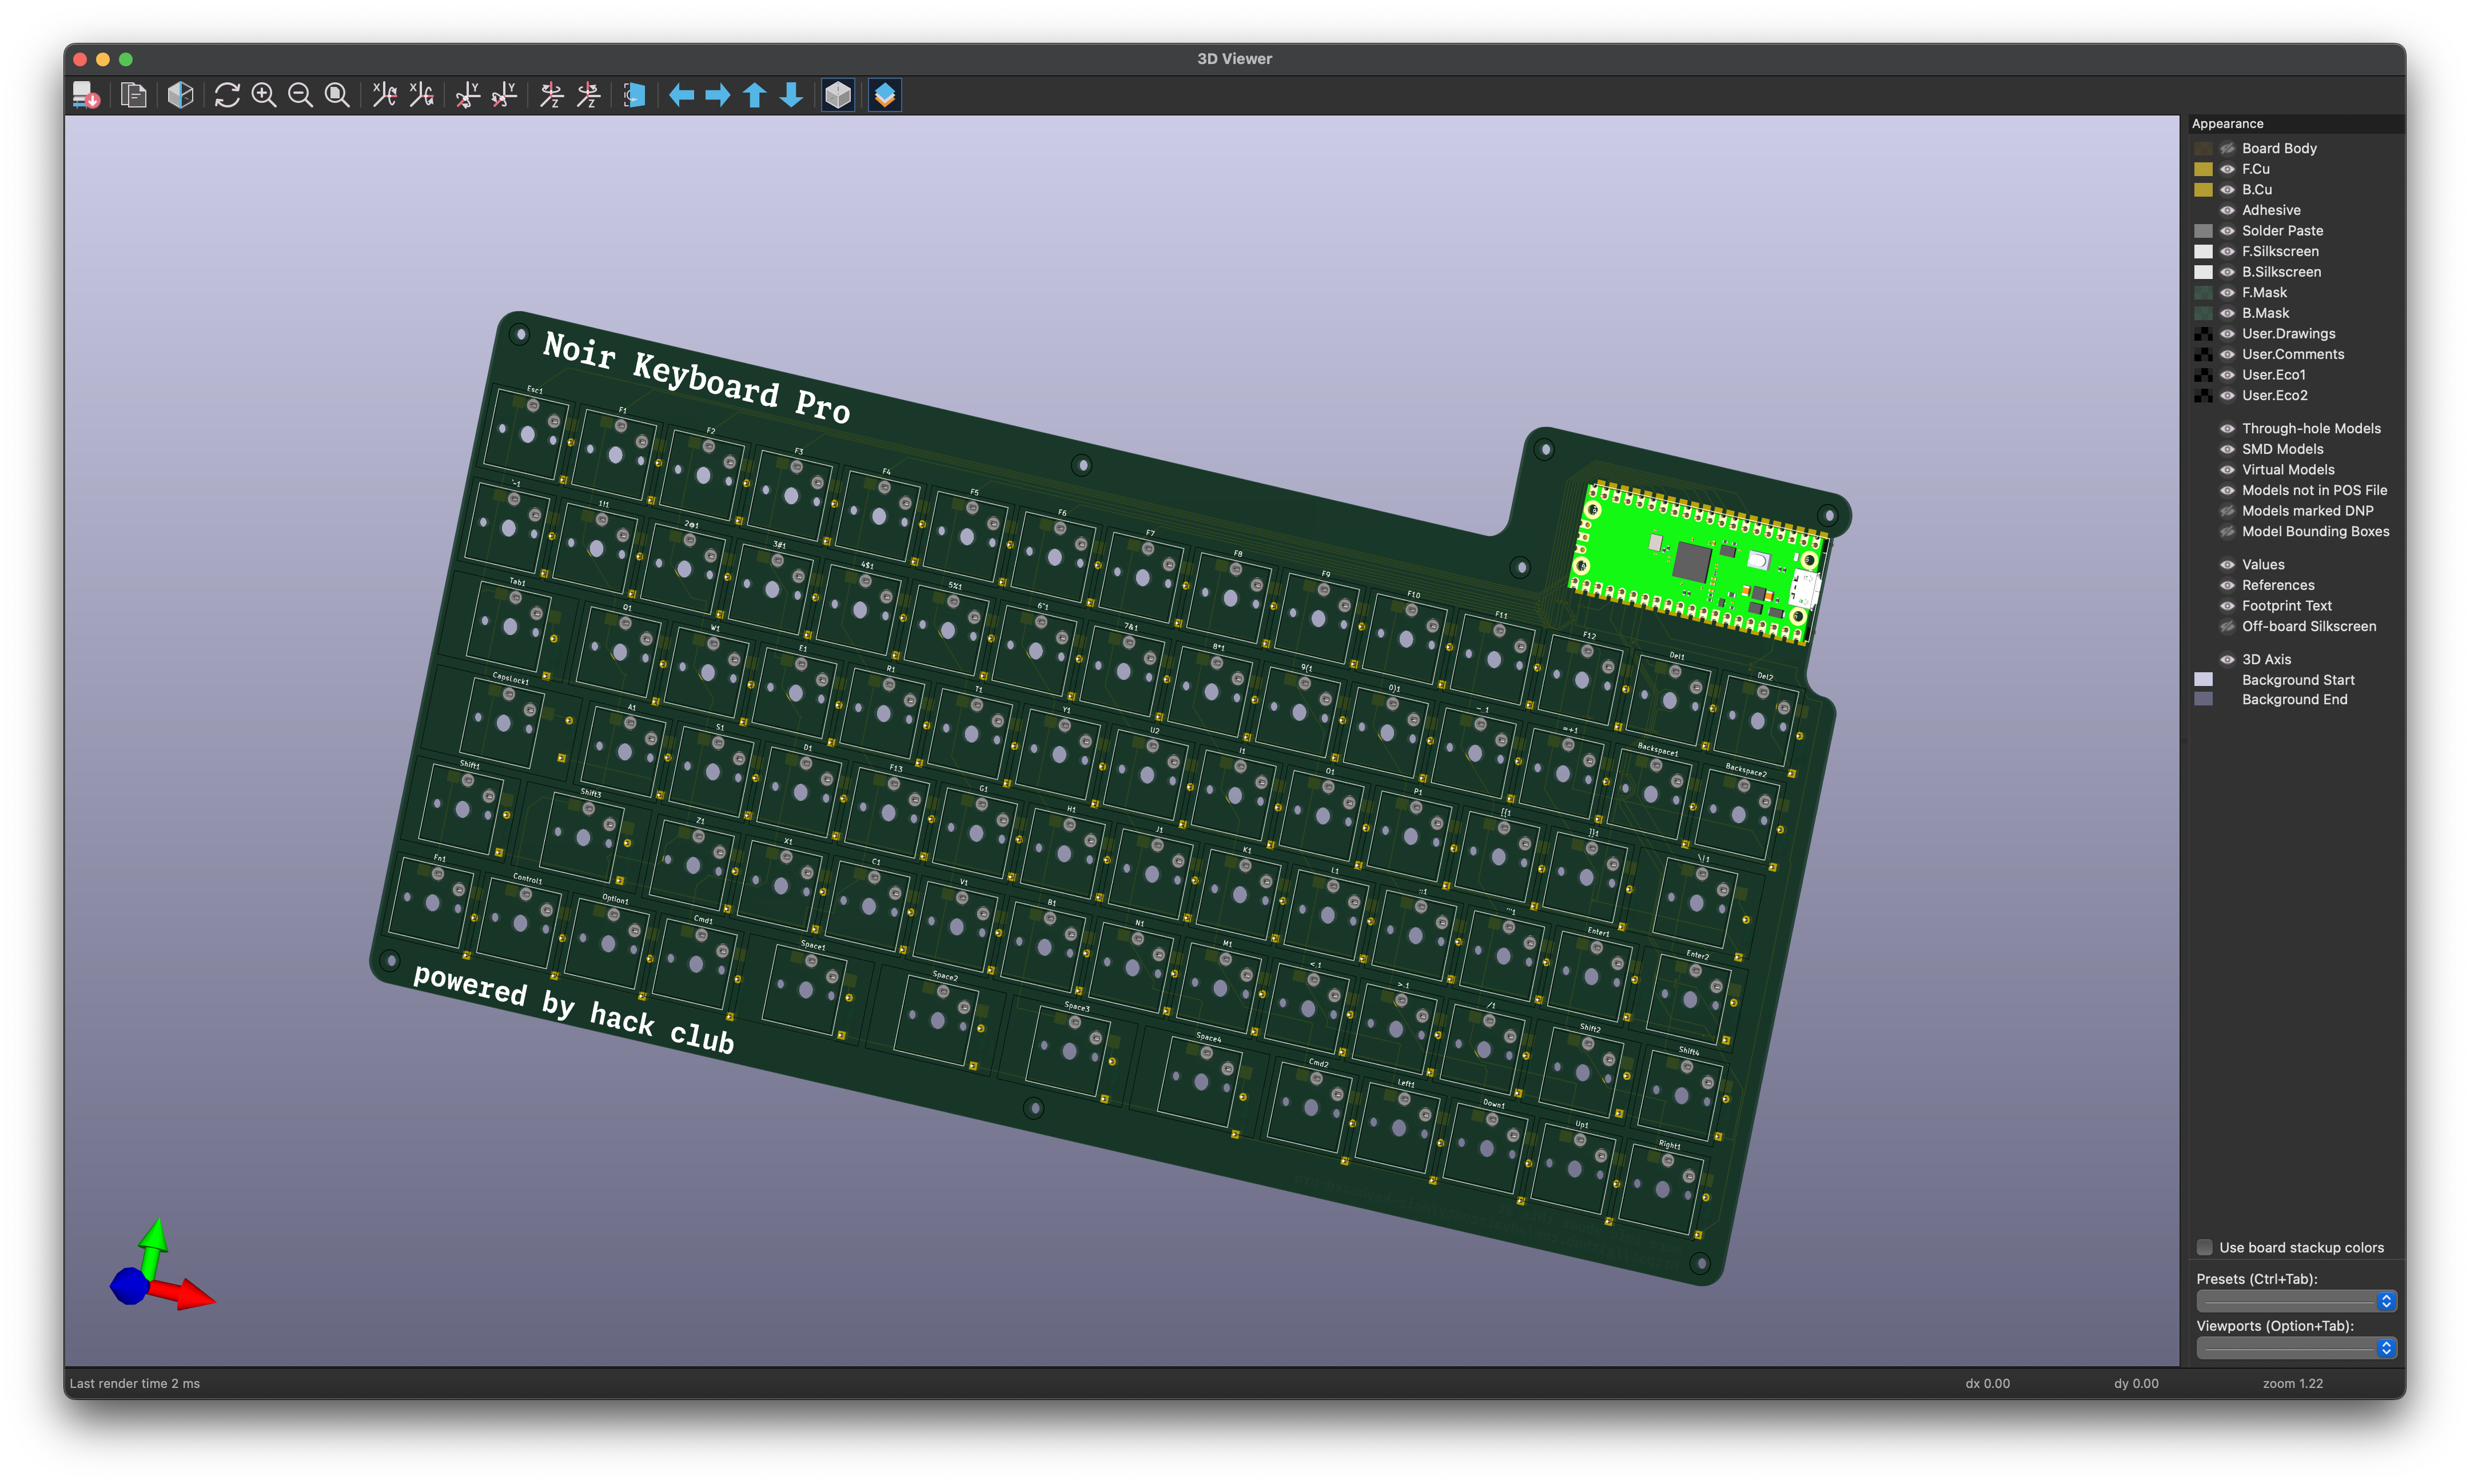
 Did some research and decided on this layout! Connects to the iPad via a Pi Pico using Type C (planning on using my own Orpheus Pico to connect it) and created a rough schematic
Decided on the keyswitches to be the Kailh Choc v1 for not being too loud that I can't use it in a classroom but slim enough that I can make it into a way for me to store my iPad.
I so wasn't expecting this to be insanely easy?? HOW IS A KEYBOARD THIS EASY?? (i think imma rage when it comes to figuring out the QMK stuff for this keyboard and working with Shapr3d but that should be probably fine on my iPad)
Was planning on using the Choc v1 switches for lower profiles however choose to use universal Choc v1/v2 ports on my keyboard so I can switch anytime and also be able to use MX keycaps
First row be takin 3 centuries vrooo 😭
HOW DID I NOT KNOW THAT SELECTING A PART IN A SCHEMATIC SELECTS IT IN THE PCB EDITOR THAT IS GOATED YOOOOOO
KiCAD Snapping feels weird (that's why dropping keys in takes sooooo long)
Reasons why I didn't want a macropad
- Kinda useless (for someone who is on iPad all the time, would rather have to use a keyboard shortcut I'm familiar with)
- I can develop a case around this!
3hours and 3 minutes of learning KiCad and making my own custom keyboard and fiddling around with different sizing, here is the final design (haven't even but in the diodes yet :sob:)

Day 2: 7th Jun Saturday
hours spent: 2h 33min Doing this journal a day late because I was too lazy to do it yesterday
So today I did some research on stabilizers, and found out that my best (albeit sketchy) bet was to use some random ones of AliExpress, and then spent literally 1 WHOLE HOUR TRYING TO FIND FOOTPRINTS FOR IT
It drove me mentally insane, and eventually I just gave up. Instead, I did some research and found out there is a way to use 4 1.5u keys instead of 1 6u key for the spacebar and I have done that
Did some budgeting after I finished wiring up the v2 PCB schematic and then PCB. Gonna add some spinny thing later tommorow for volume control (maybe)
The new schematic design looks great, only complaint is how the spacebar and shift keys had to be wired 😭
 Schematic
 PCB
PCB
Notice how bad the tracks are all over the place at the bottom, this was ALL BECAUSE of my LAZINESS
Day 3: 8th Jun Sunday
Hours spent: 4h
So my laziness bit me again today, I realised that many pads were shorting, the Pi wasn't jutting out to plug in a cable, and most importantly no standoffs to keep the keyboards in place, kinda impressive I messed up so much lol
So I redid it, so it's much cleaner now!
 Clean PCB
 PCB before board shape change
 PCB schematic updated
After this, choose to learn some Shapr3d, and I messed around with some Choc keys templates from Scottokeebs (unfortuantely forgot to take screenshots on this)
and then I worked on redesigning the PCB cuts so it is better and has mount points
 Redesigned PCB
and that was Sunday!
Day 4: 9th Jun Monday
Hours spent: 3h
Today I didn't want to do much, instead just worked on creating the case today in Shapr3D

Added a nice incline on the front so my hands don't die when typing on it, albeit not very long, and also added some plastic studs on the side (as seen in the image) that I will hot-glue when the PCB comes
Eh guess I got bored in the evening, decided to work on the keycaps (just so I have hope of getting the Silent Ambient Twilight keyswitches in terms of funds)
Modelled up all the odd-sized keys/keys with symbols

Went the embossed route for this just so I don't have to paint it over and I can still read it without it causing much issues (also my fingers can literally feel the keys)
Used @scottokeebs' Choc keys template layout and it is modelled very well, might be able to finish by tmw, or might spend the whole day watching WWDC highlights lol (let's see what happens tmw)
Day 5: 10th Jun Tuesday
Hours spent: 1h
Ok kinda slacked today due to WWDC highlights and messing around with Liquid Glass (iPadOS is soooo good now) but just worked on the keycaps and got all the special keys + started on the actual QWERTY keys

Nothing much other then that. Decided on using the Monaspace Neon font just because of how nice it looks + its a monospace font
Day 6: 11th Jun Wednesday
Hours spent: 3h 30min
Spent sooo much just because I HAVE A CLEAR CHANCE OF FINISHING THE PROJECT (maybe tommorow morning just because I forgot about firmware lol)

I finished the case, keeping a kind of bare PCB aesthetic (now I anyways have more budget to get a black PCB)
I also finalised the parts list today

After the stabilizer-less conundrum, I found out it needs 99 keys??? So guess I'm getting 100 keys because no one actually sells keys in packs of 1.
Anyways after that I worked on finishing most of the keys, gonna finish everything else tommorow in the morning
My bad the one thing I forgot to take a screenshot of-
Day 7: 12th Jun Thursday
Hours spent: 4h 30min
One week later, I have finally completed this! So this day I finished up the keycaps, checked on the wiring to make sure no issues, and started on the QMK code

After some research, I found that KMK is more user-friendly so I chose to work on that instead
I finished the firmware after messing around with my Pi Pico from my Sprig and it seems to work!
That was the end of this!