The Multikeyboard
A split keyboard that can be a keyboard, macropad and steno keyboard at the same time
Journal
Here you can see a documentation of the entire development process.
Total hours spent: 25h
July 29th (4h)
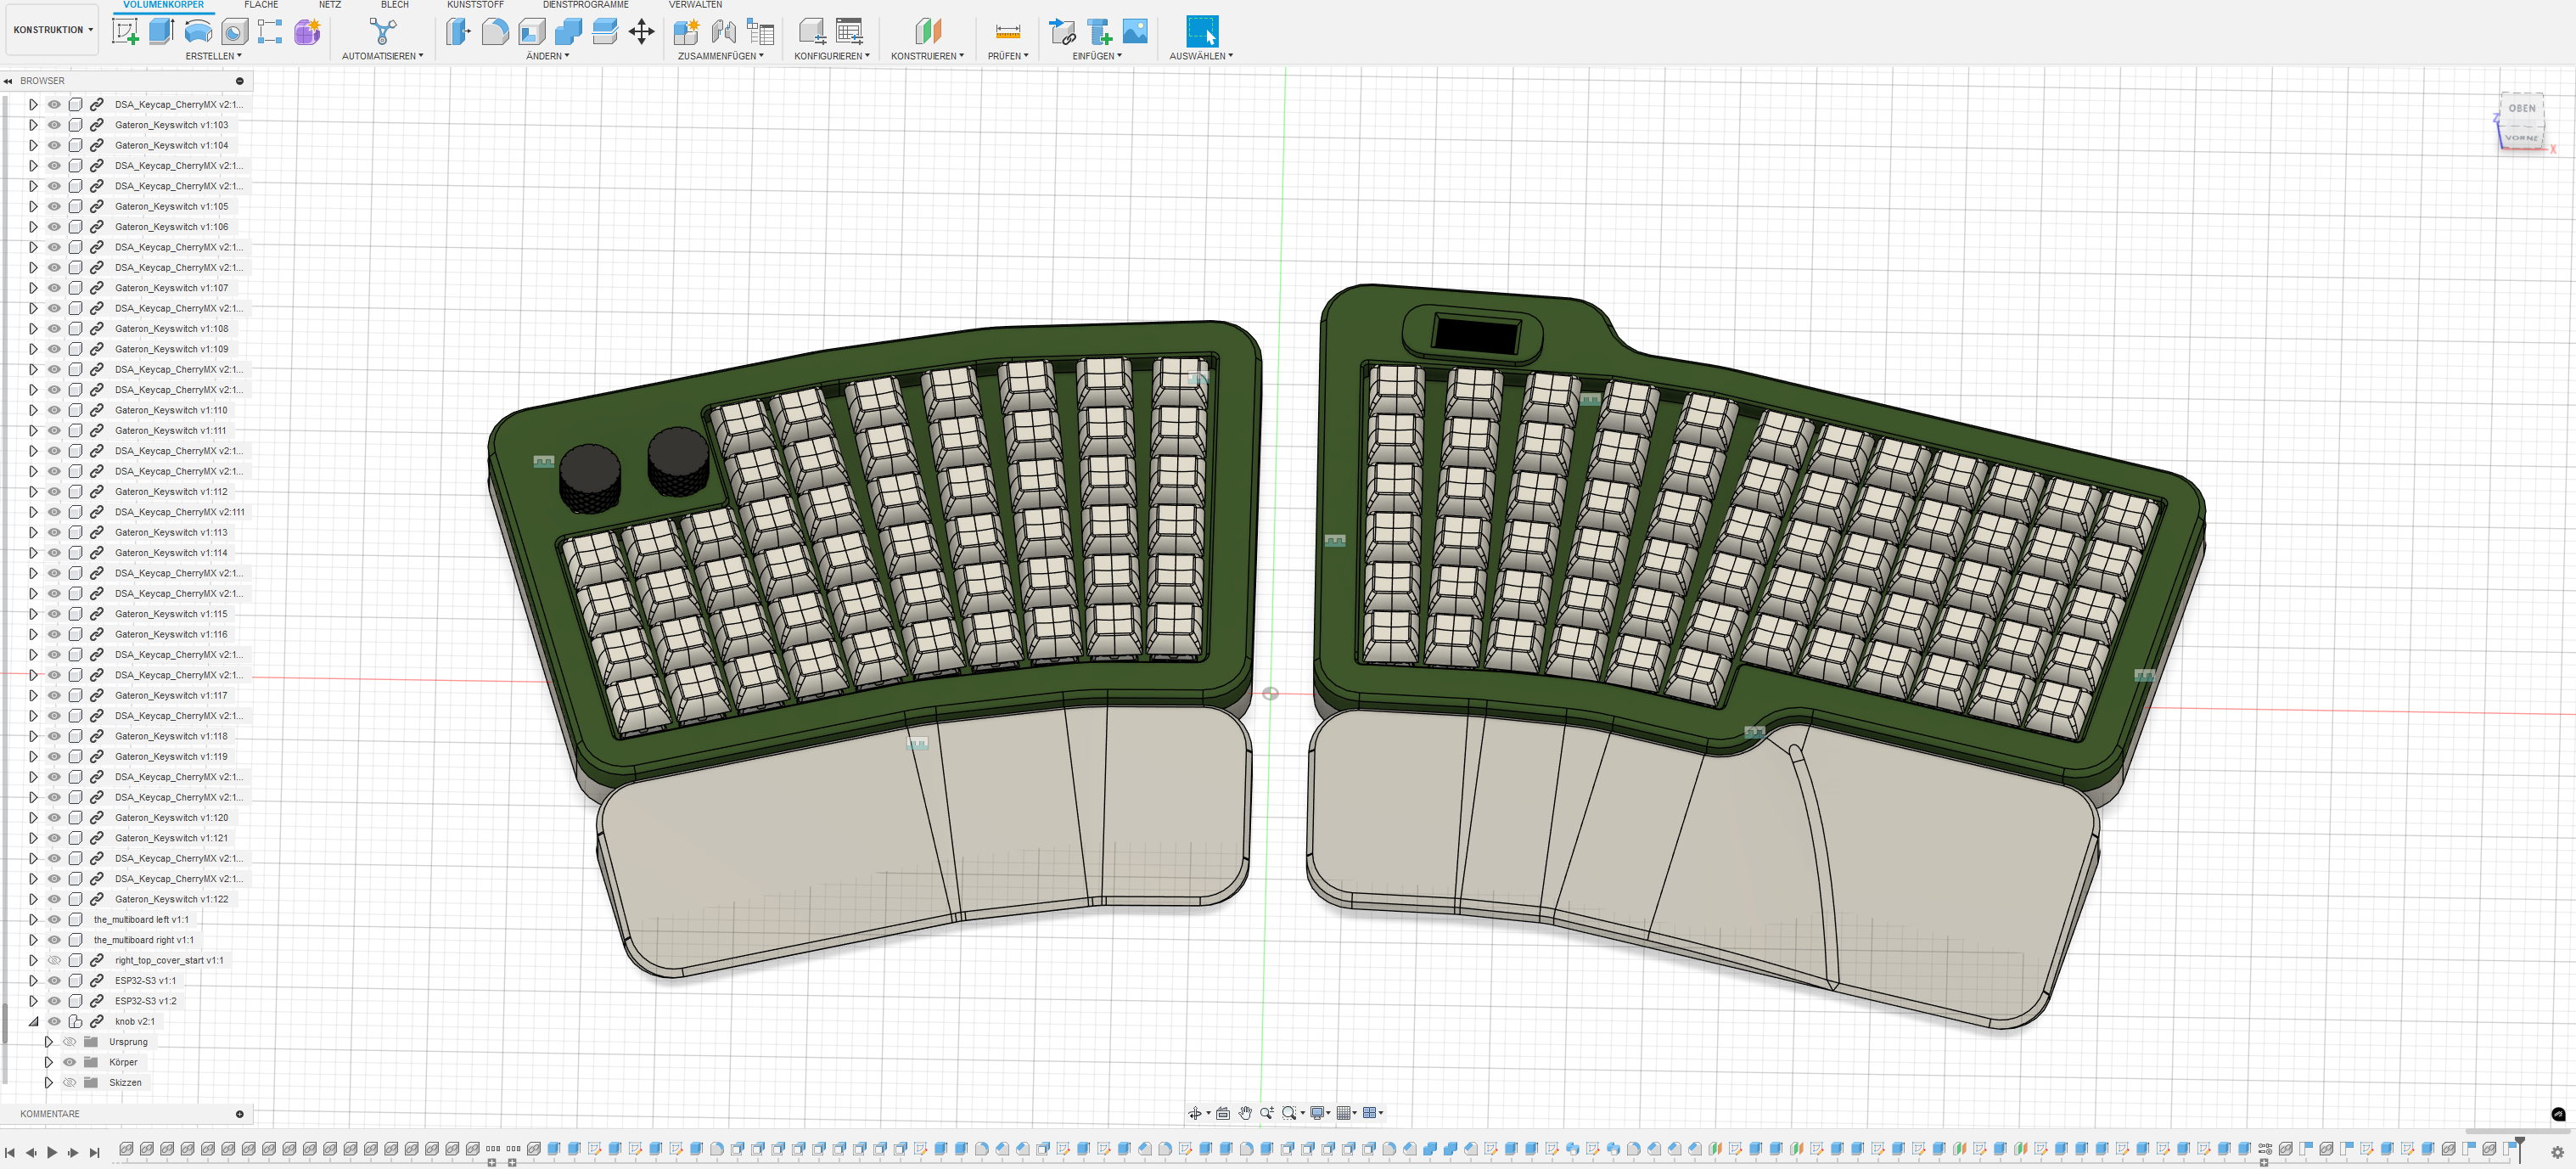
Session 1 (2h) planing and layout
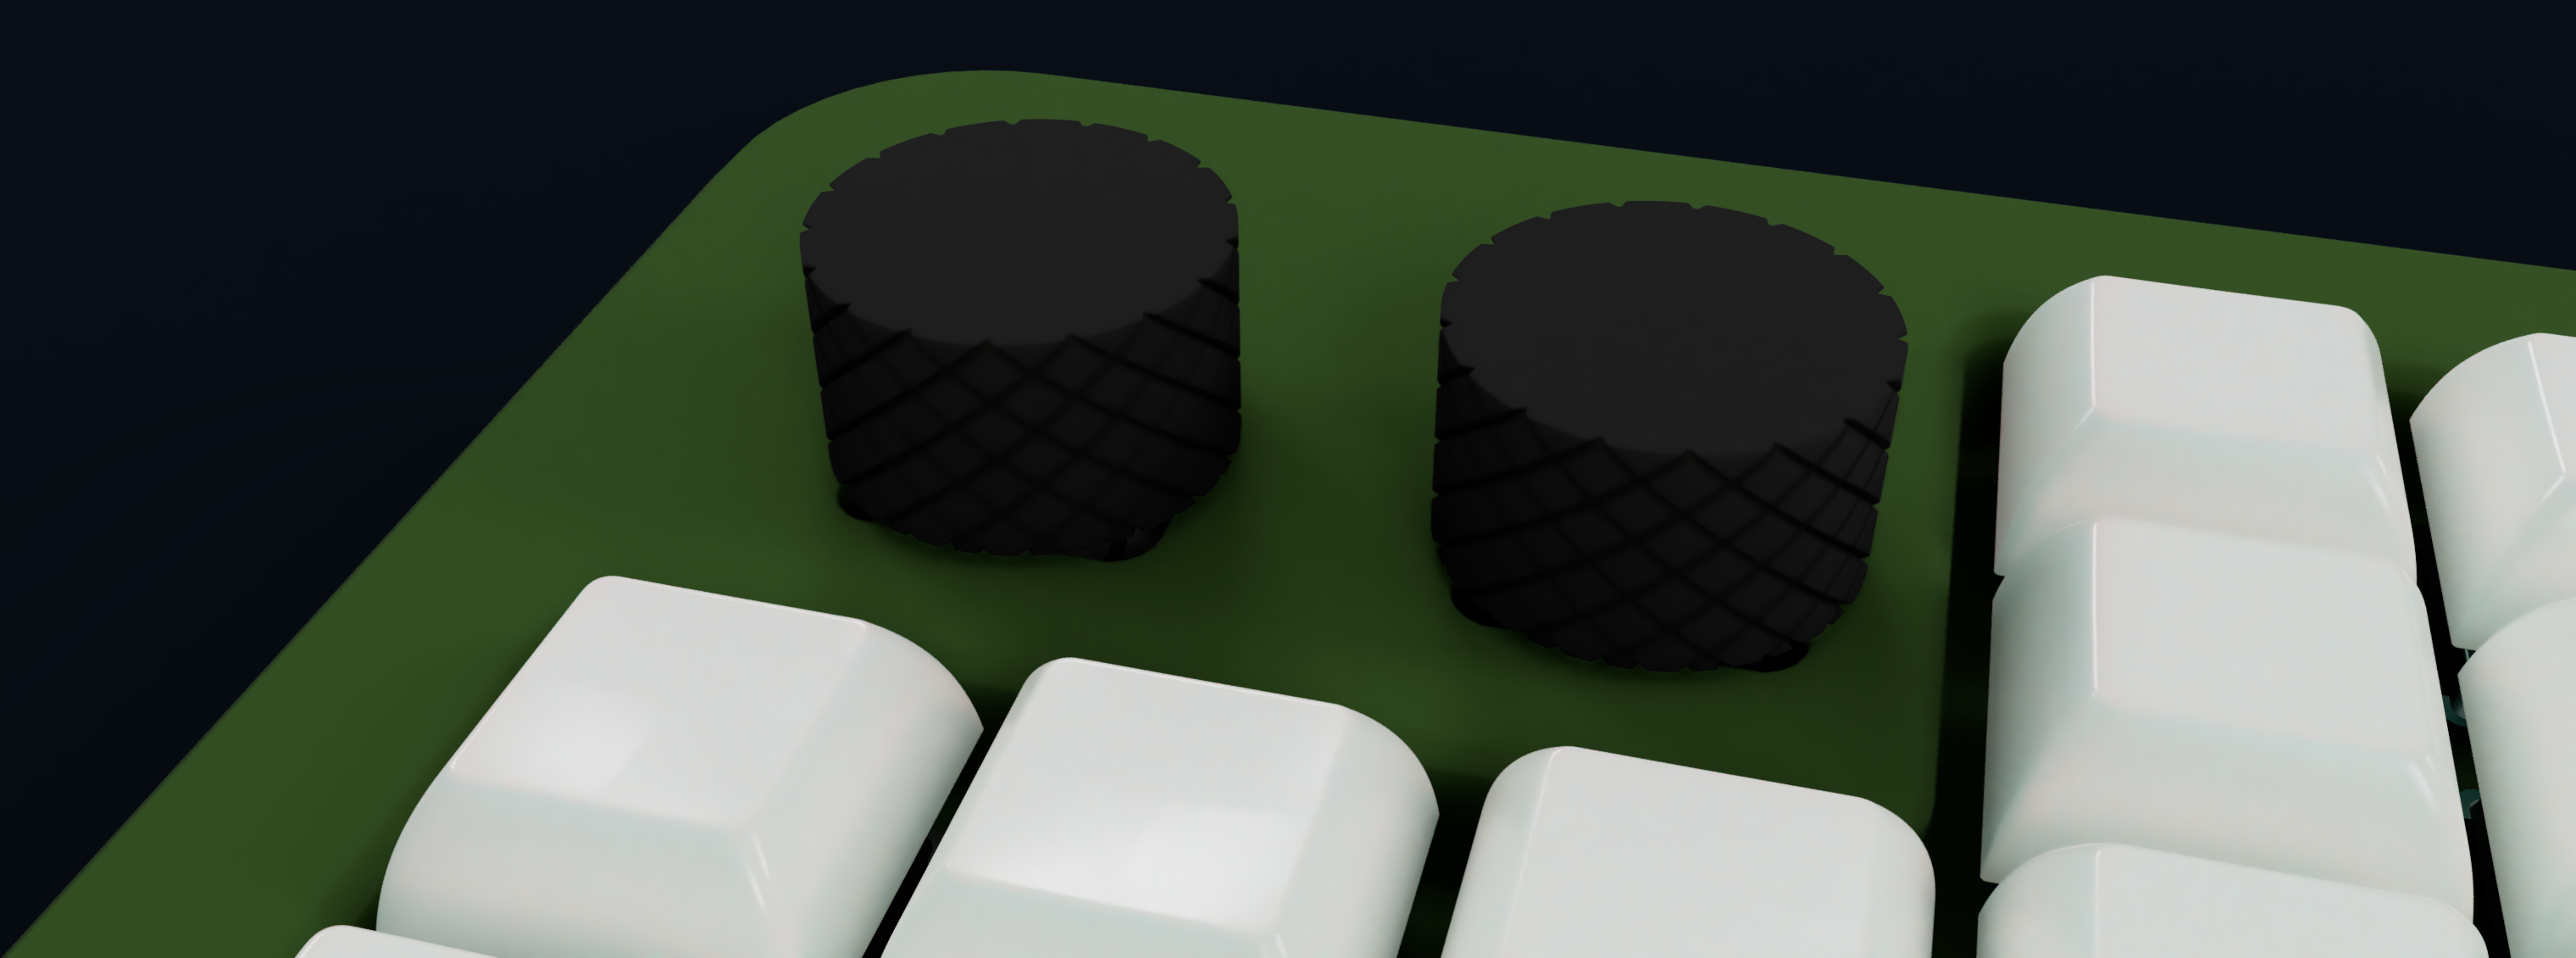
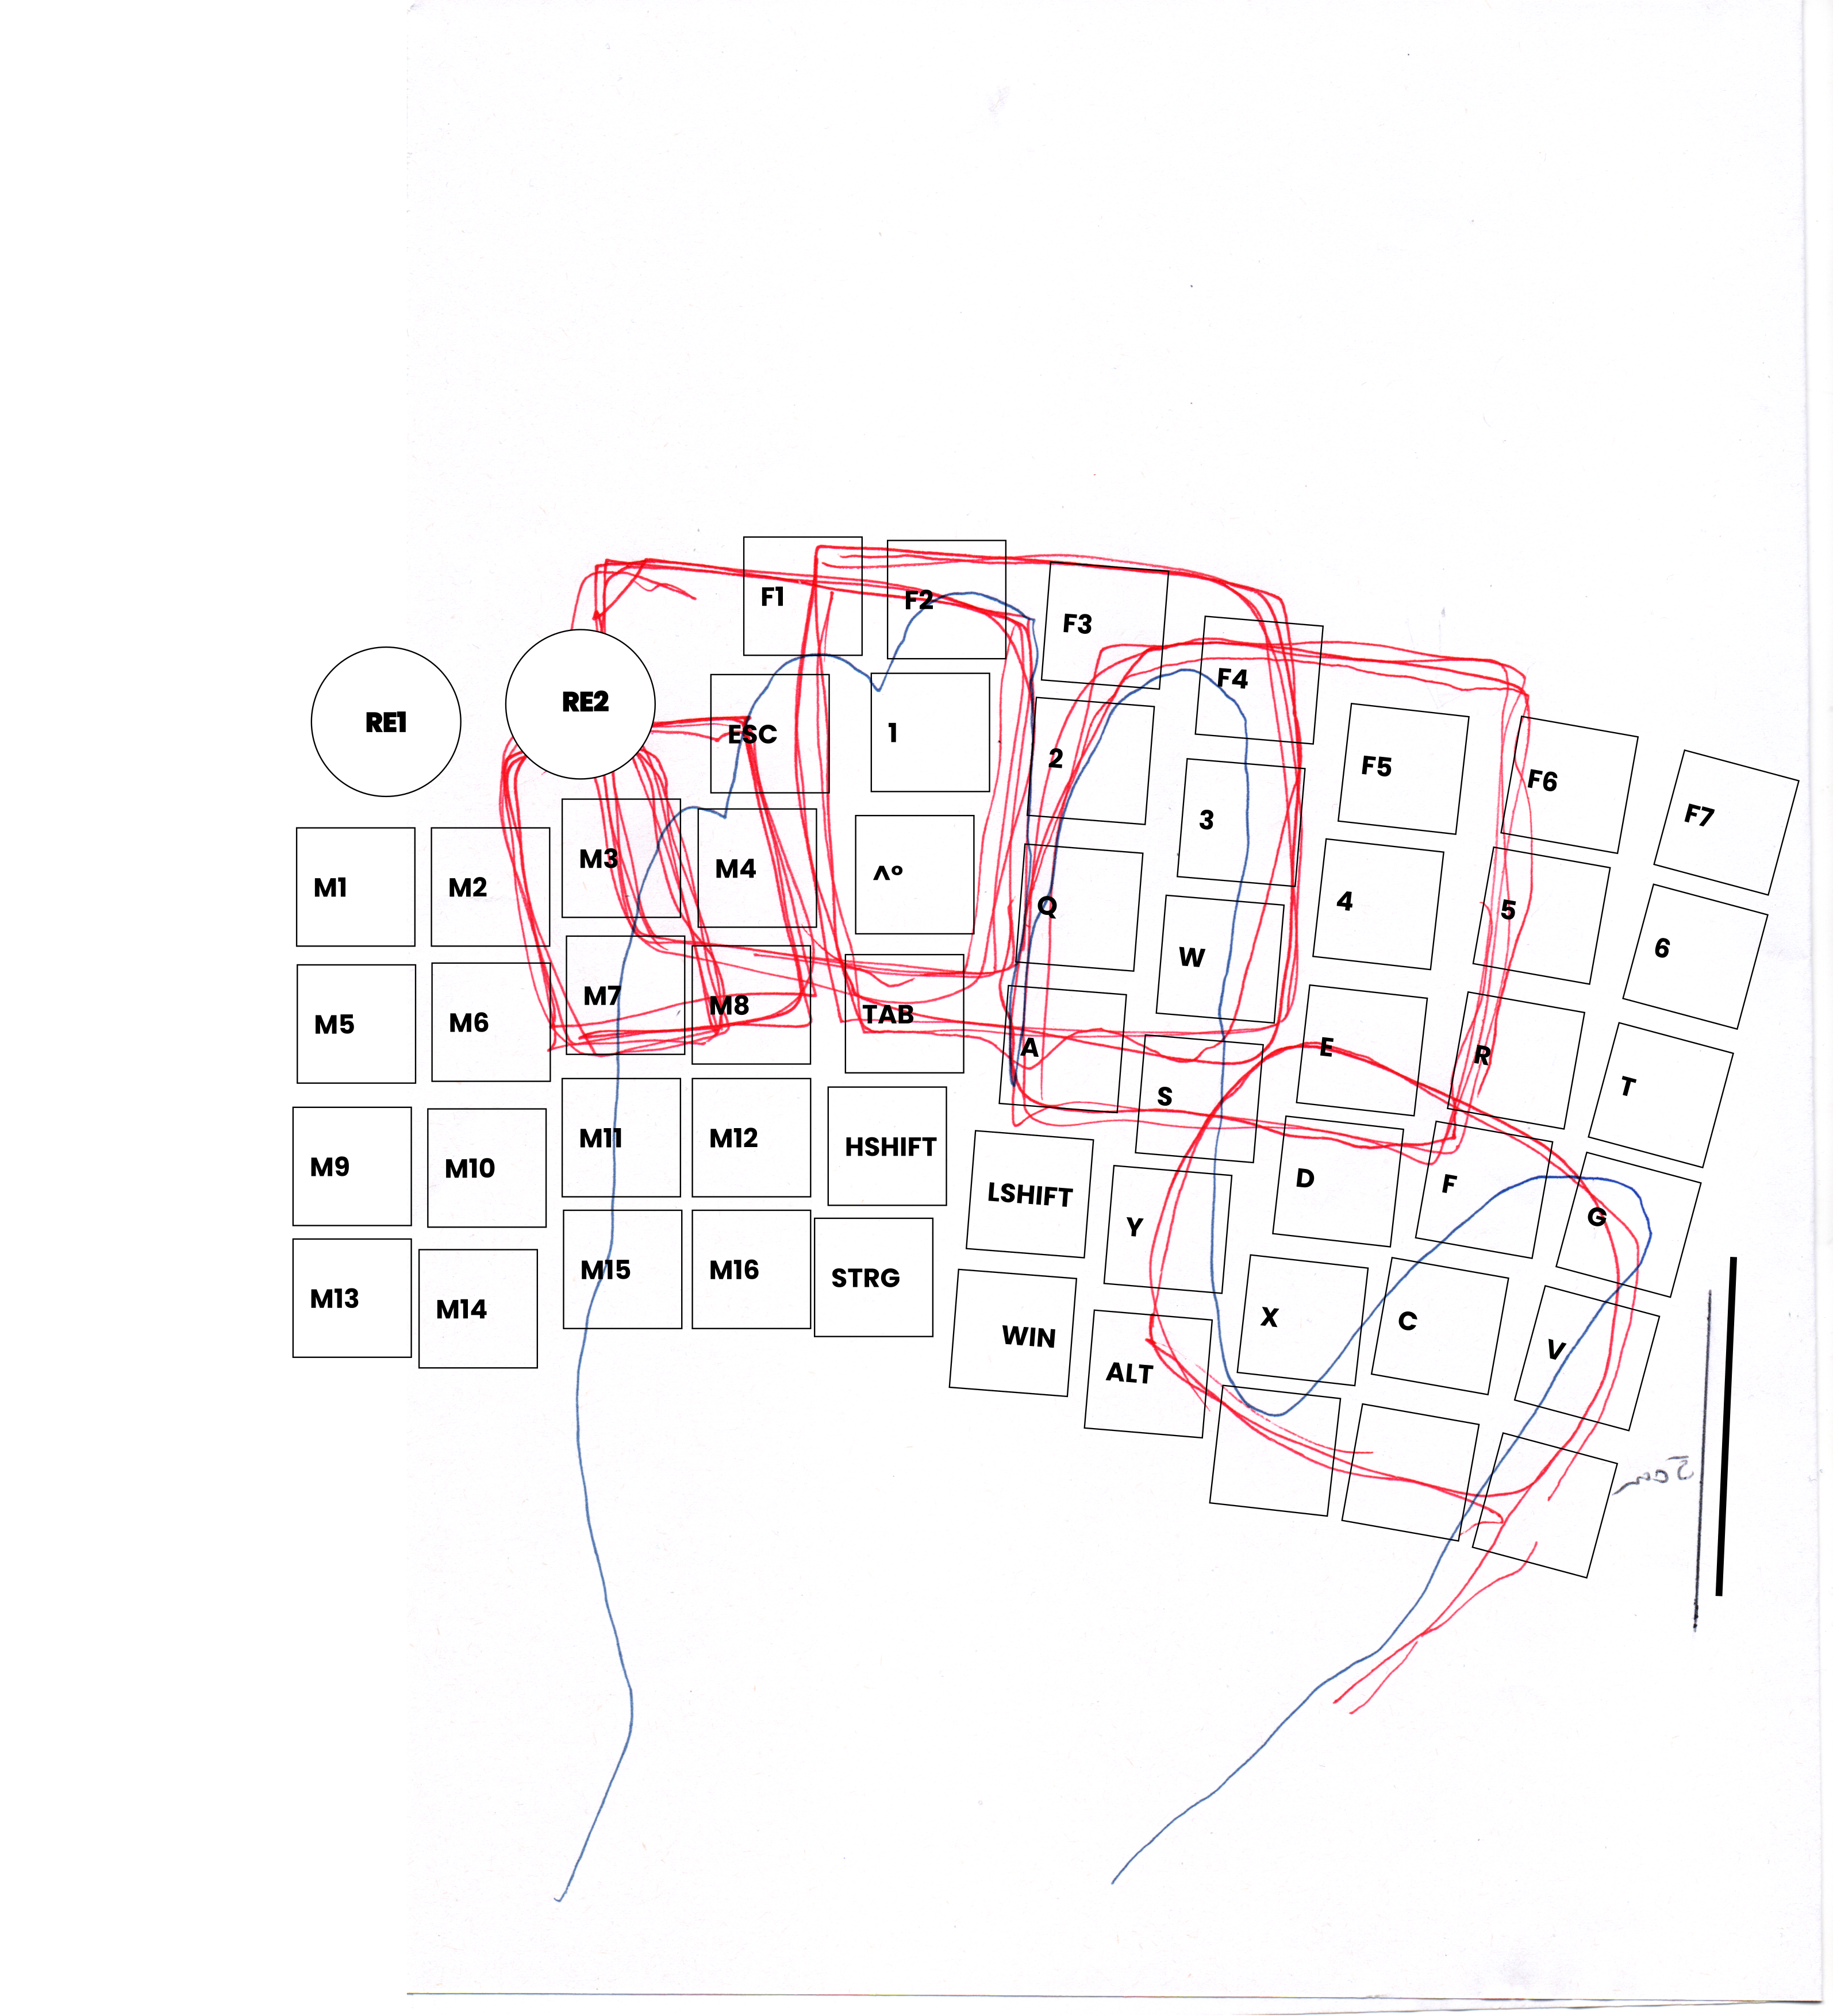
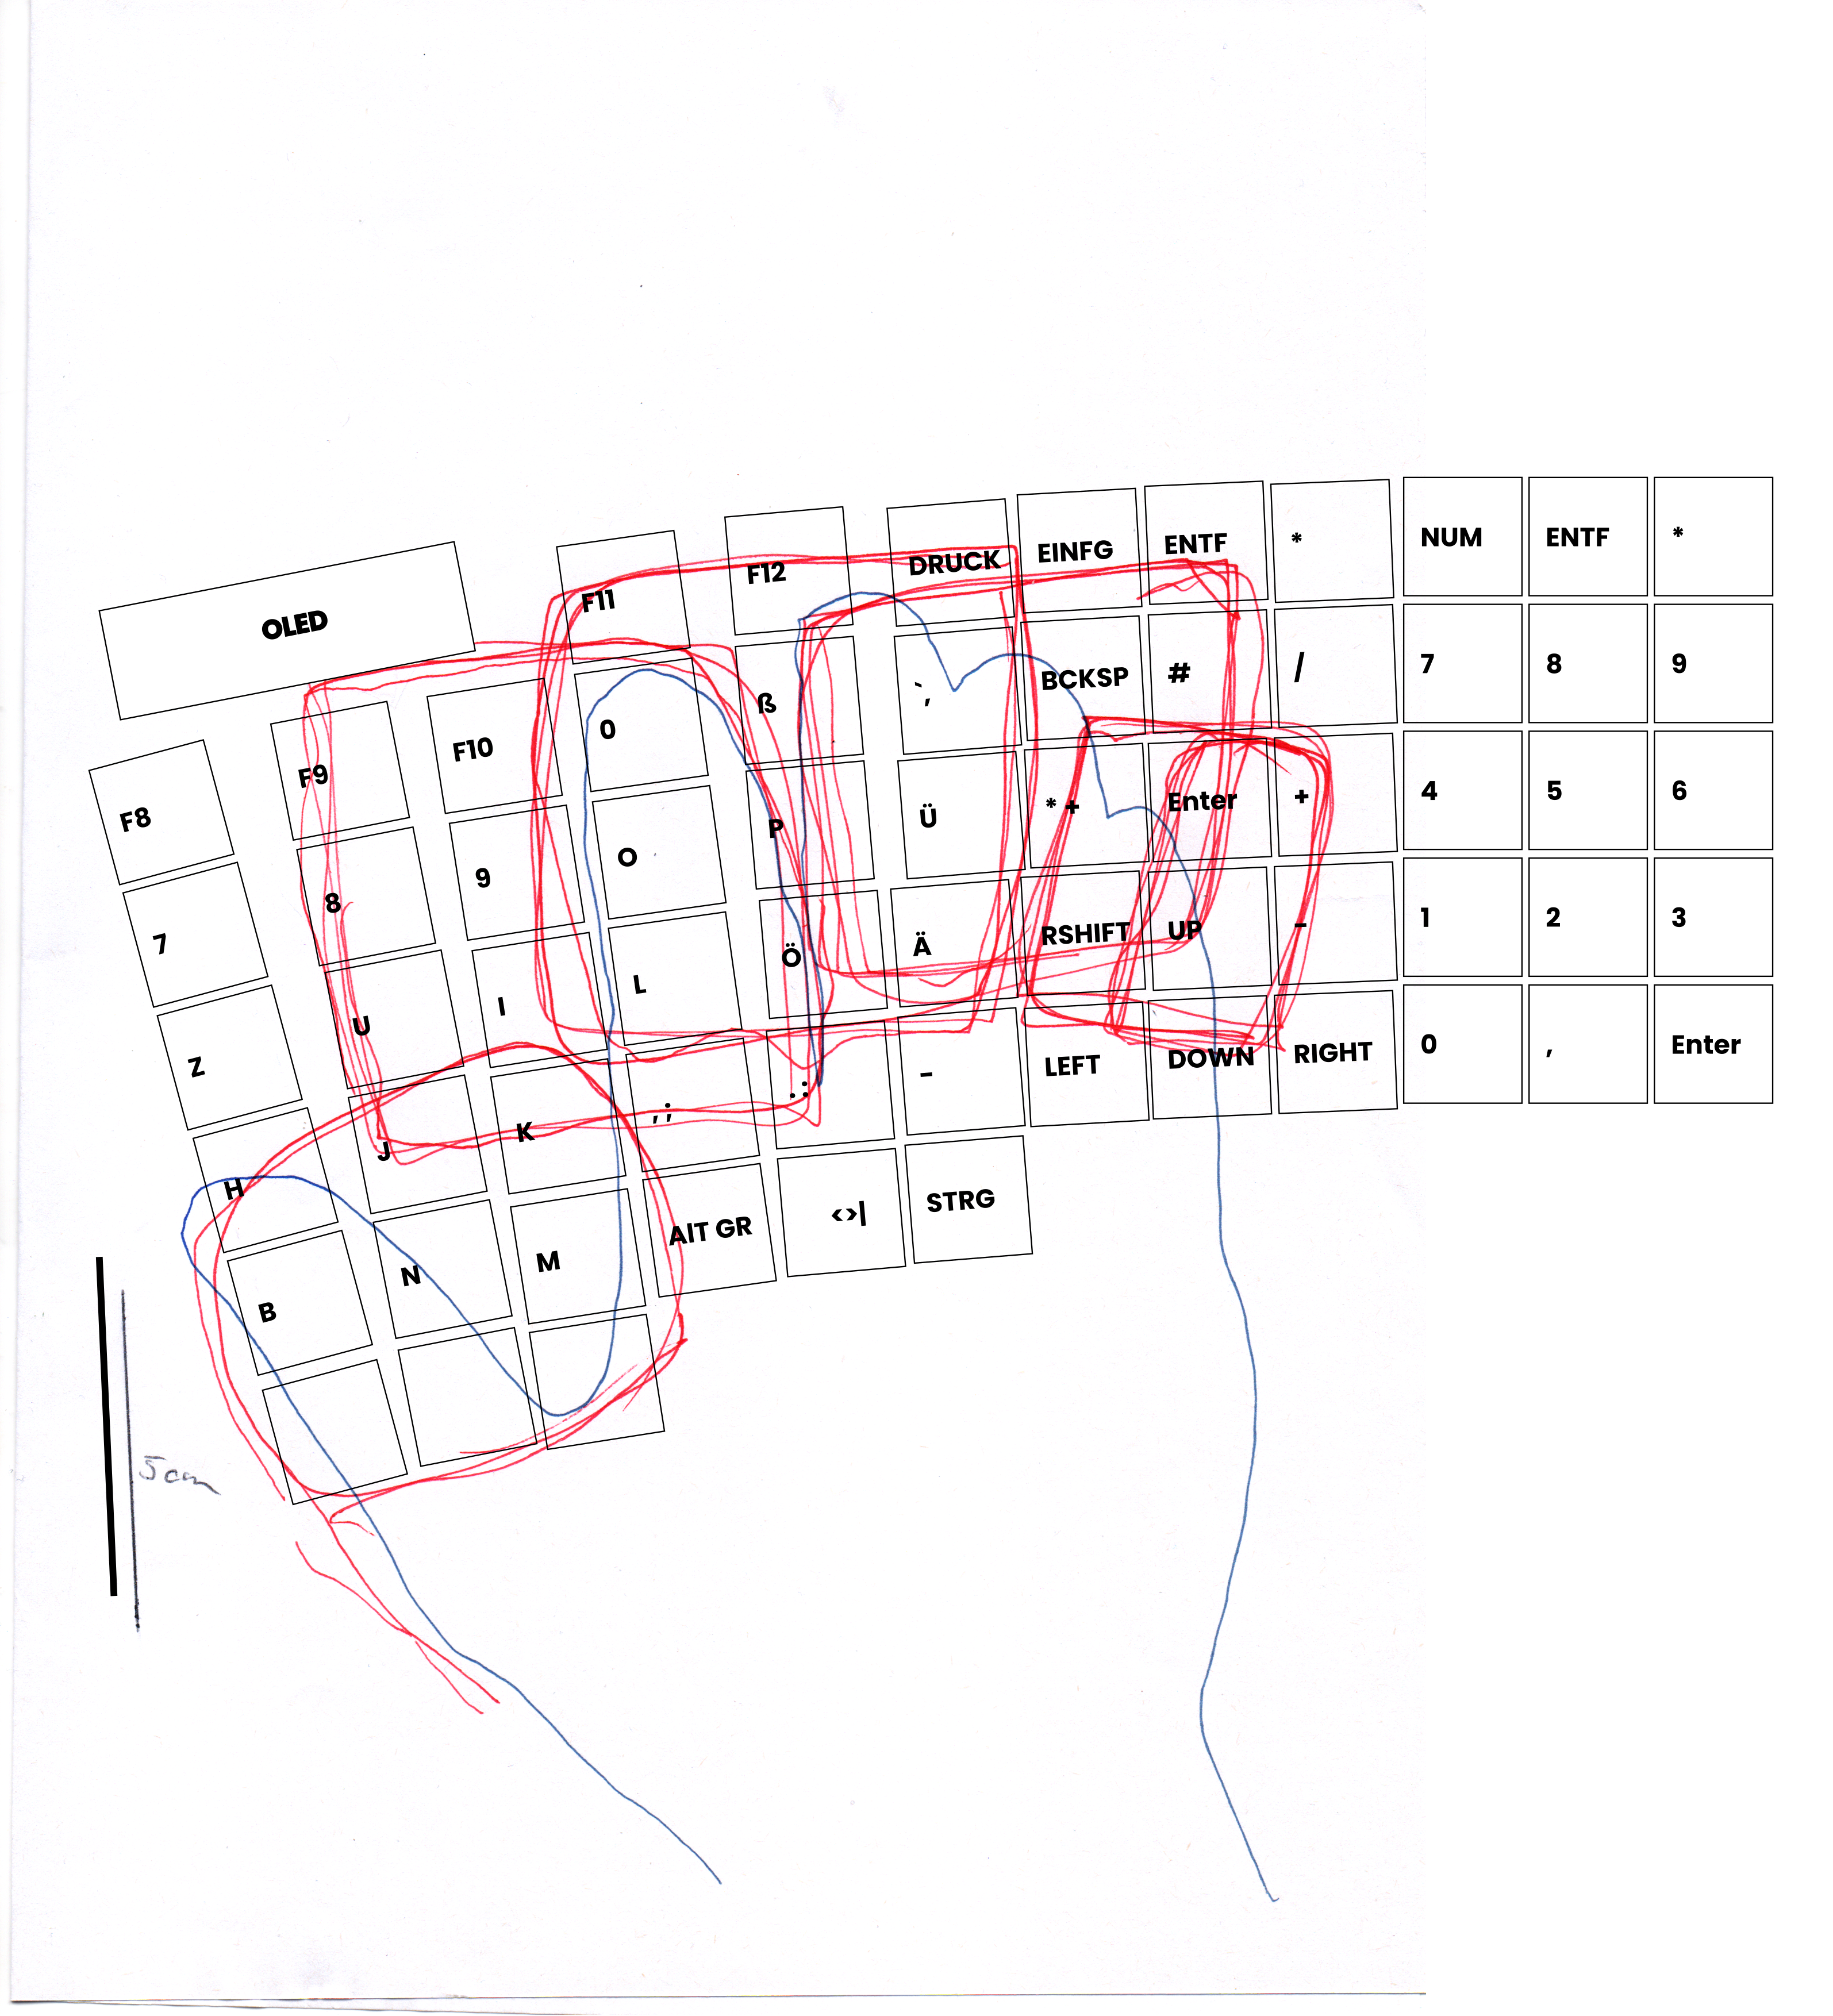
As a starting point for my custom split keyboard I decided to take some rough measurements of my hand an arrange the keys over it inside Inkscape. I decided on going with a full sized layout with the addition of a macropad and two rotary encoders on the left side. As someone who is coding on a daily bases it was important for me to have a full sized Layout and all the functions keys. If I decide that I do not need the numpad on the right side it can be easealy turned into a second macropad as on the left. For the microcontroler I decided on going with two ESP32-S3s because I use them a lot and they are relatively cheap. Besides that most dev boards also provide two USB ports so I can link them together in teh future via a simple USB C cable. I mean the plan is wireless but to make it futureproof. Pesides that I have lots of GPIO and enough computational power for running the firmware. (Plover for Steno might not be that easy to integrate)
Session 2 (2h) schematics LEFT
I now started creating the schematics for the LEFT side. Schematic is now done and I can start with designing the PCB. I think it is probably smart to design the PCB for the left side first and the copy the PCB and use it for the right side. So later on I only need to make few changes to the schematic and the PCB is almost finished for the right side. I will probably need to make 4 PCBs or more to also be like the front and backplate of the keyboard. The housing then will be pretty minimal. I mean I kind of like the look of it but we will see.

July 30th (10h)
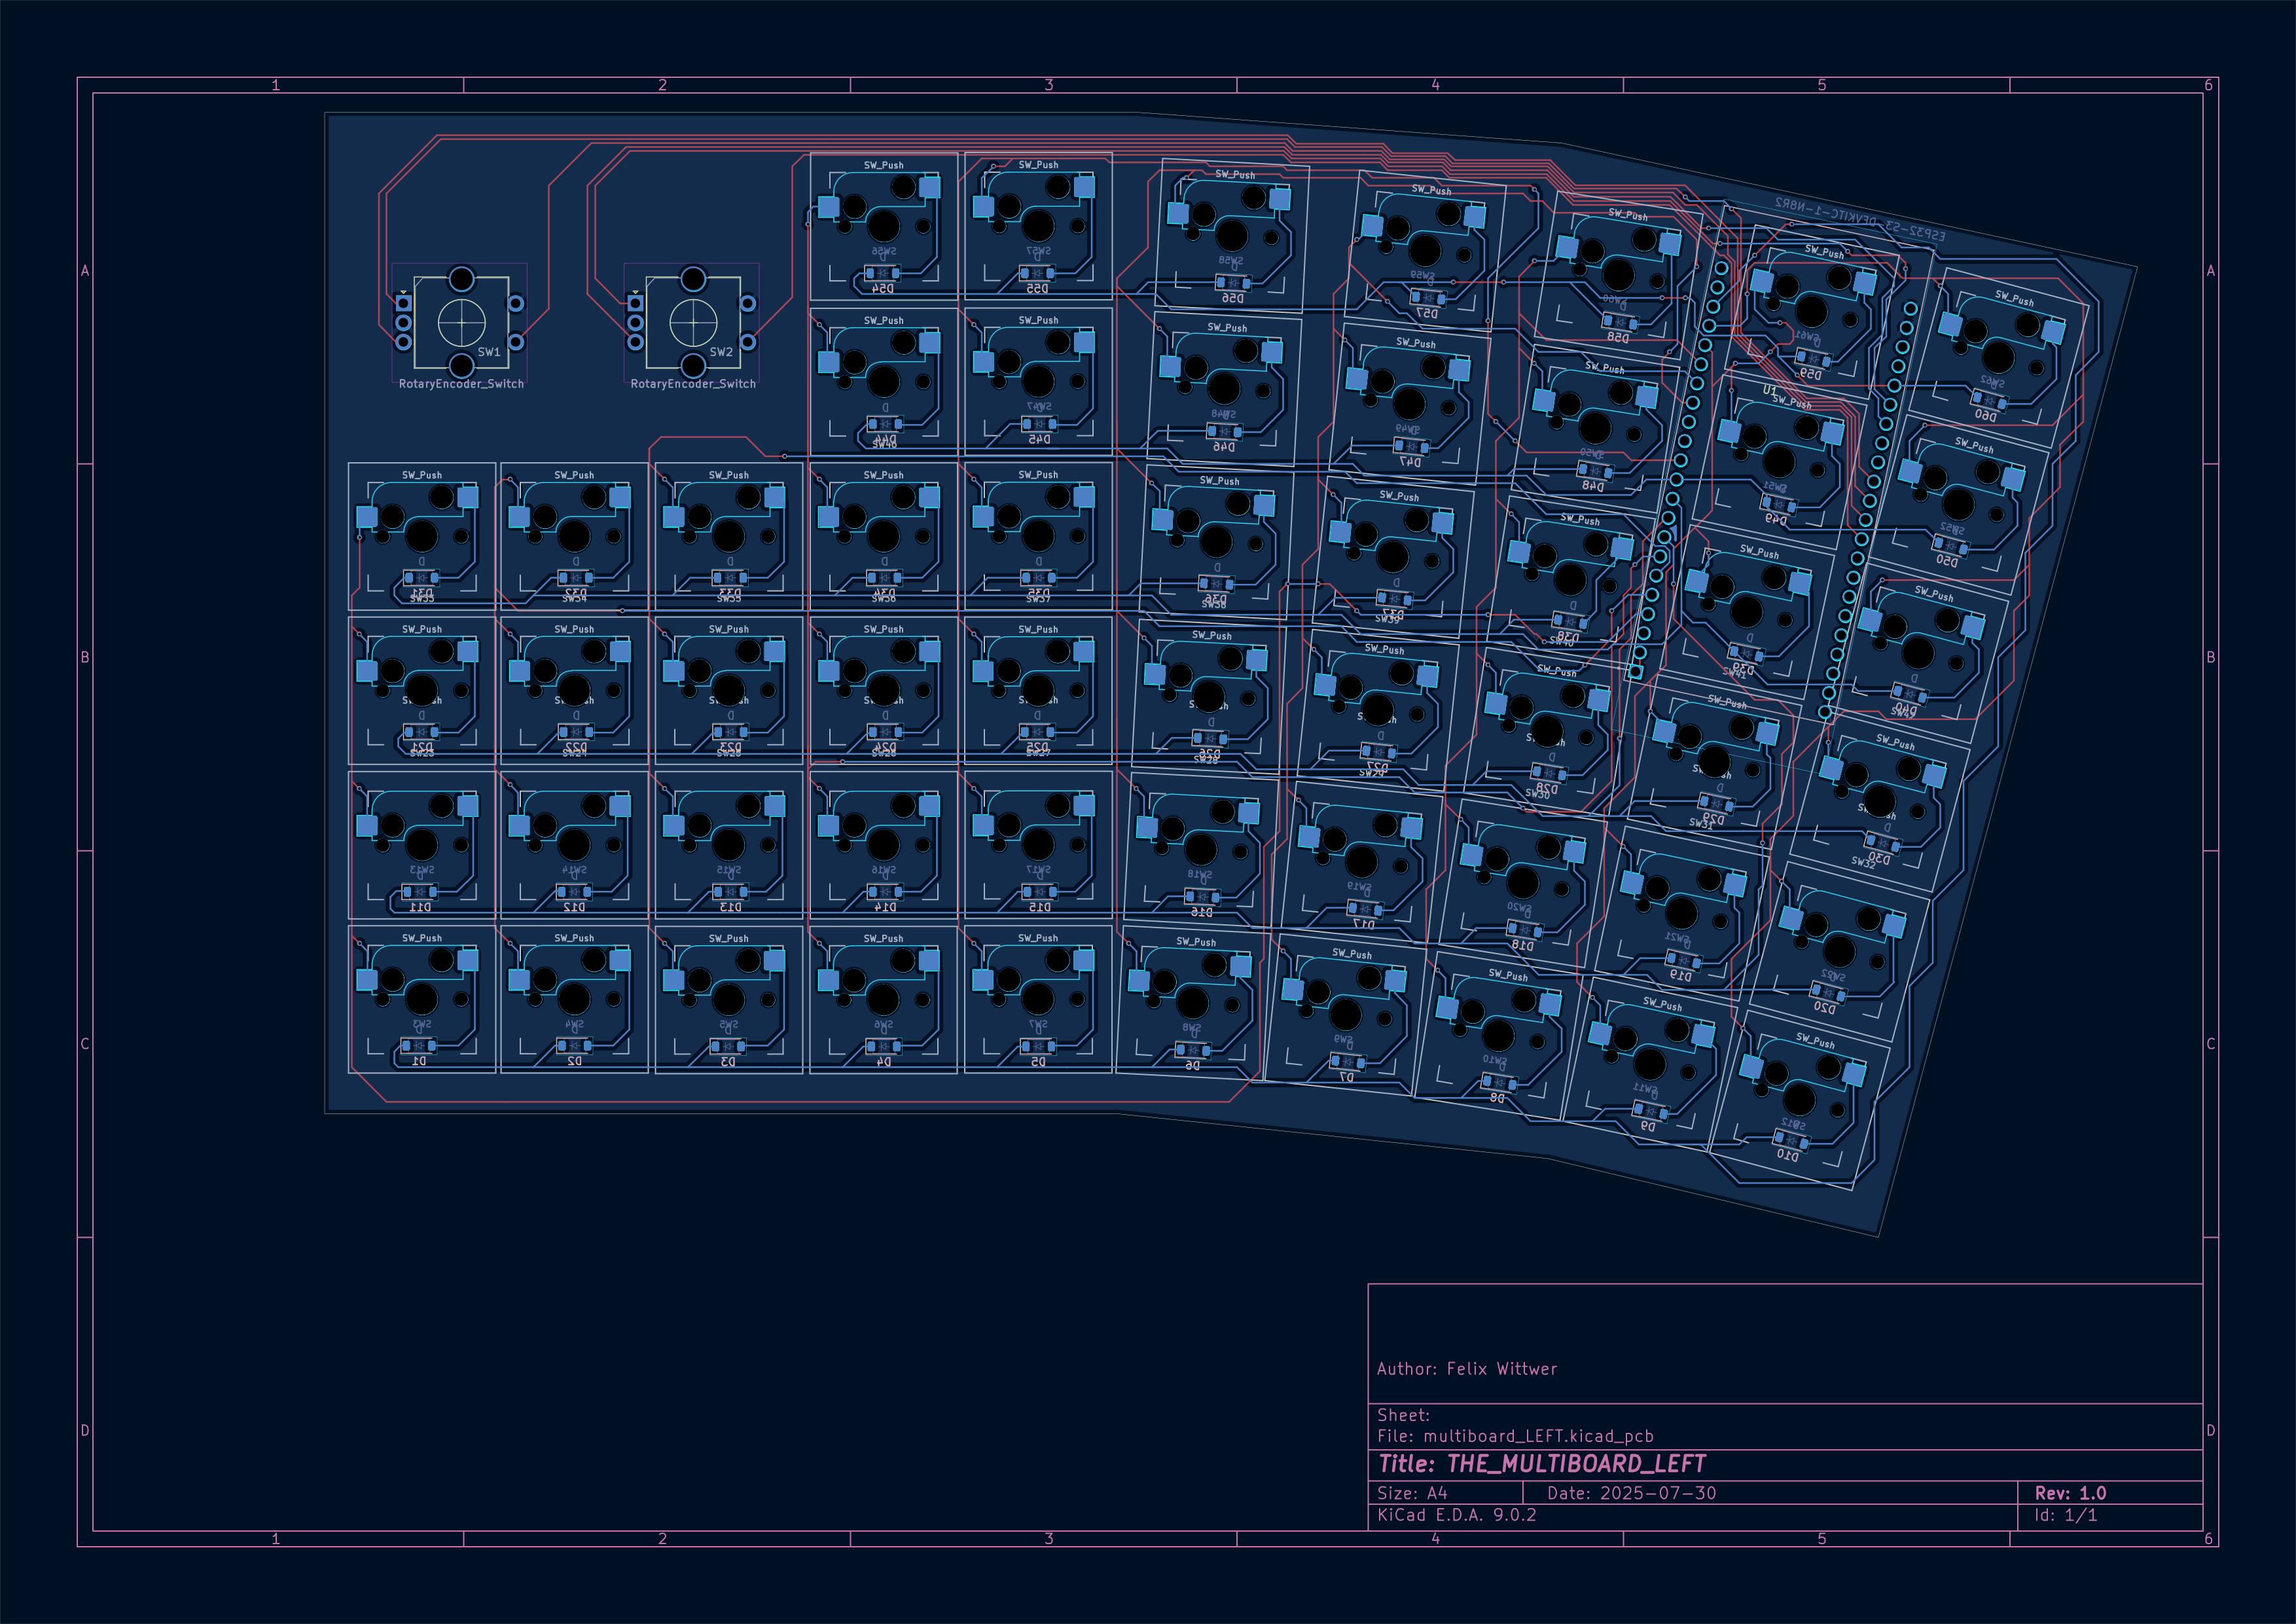
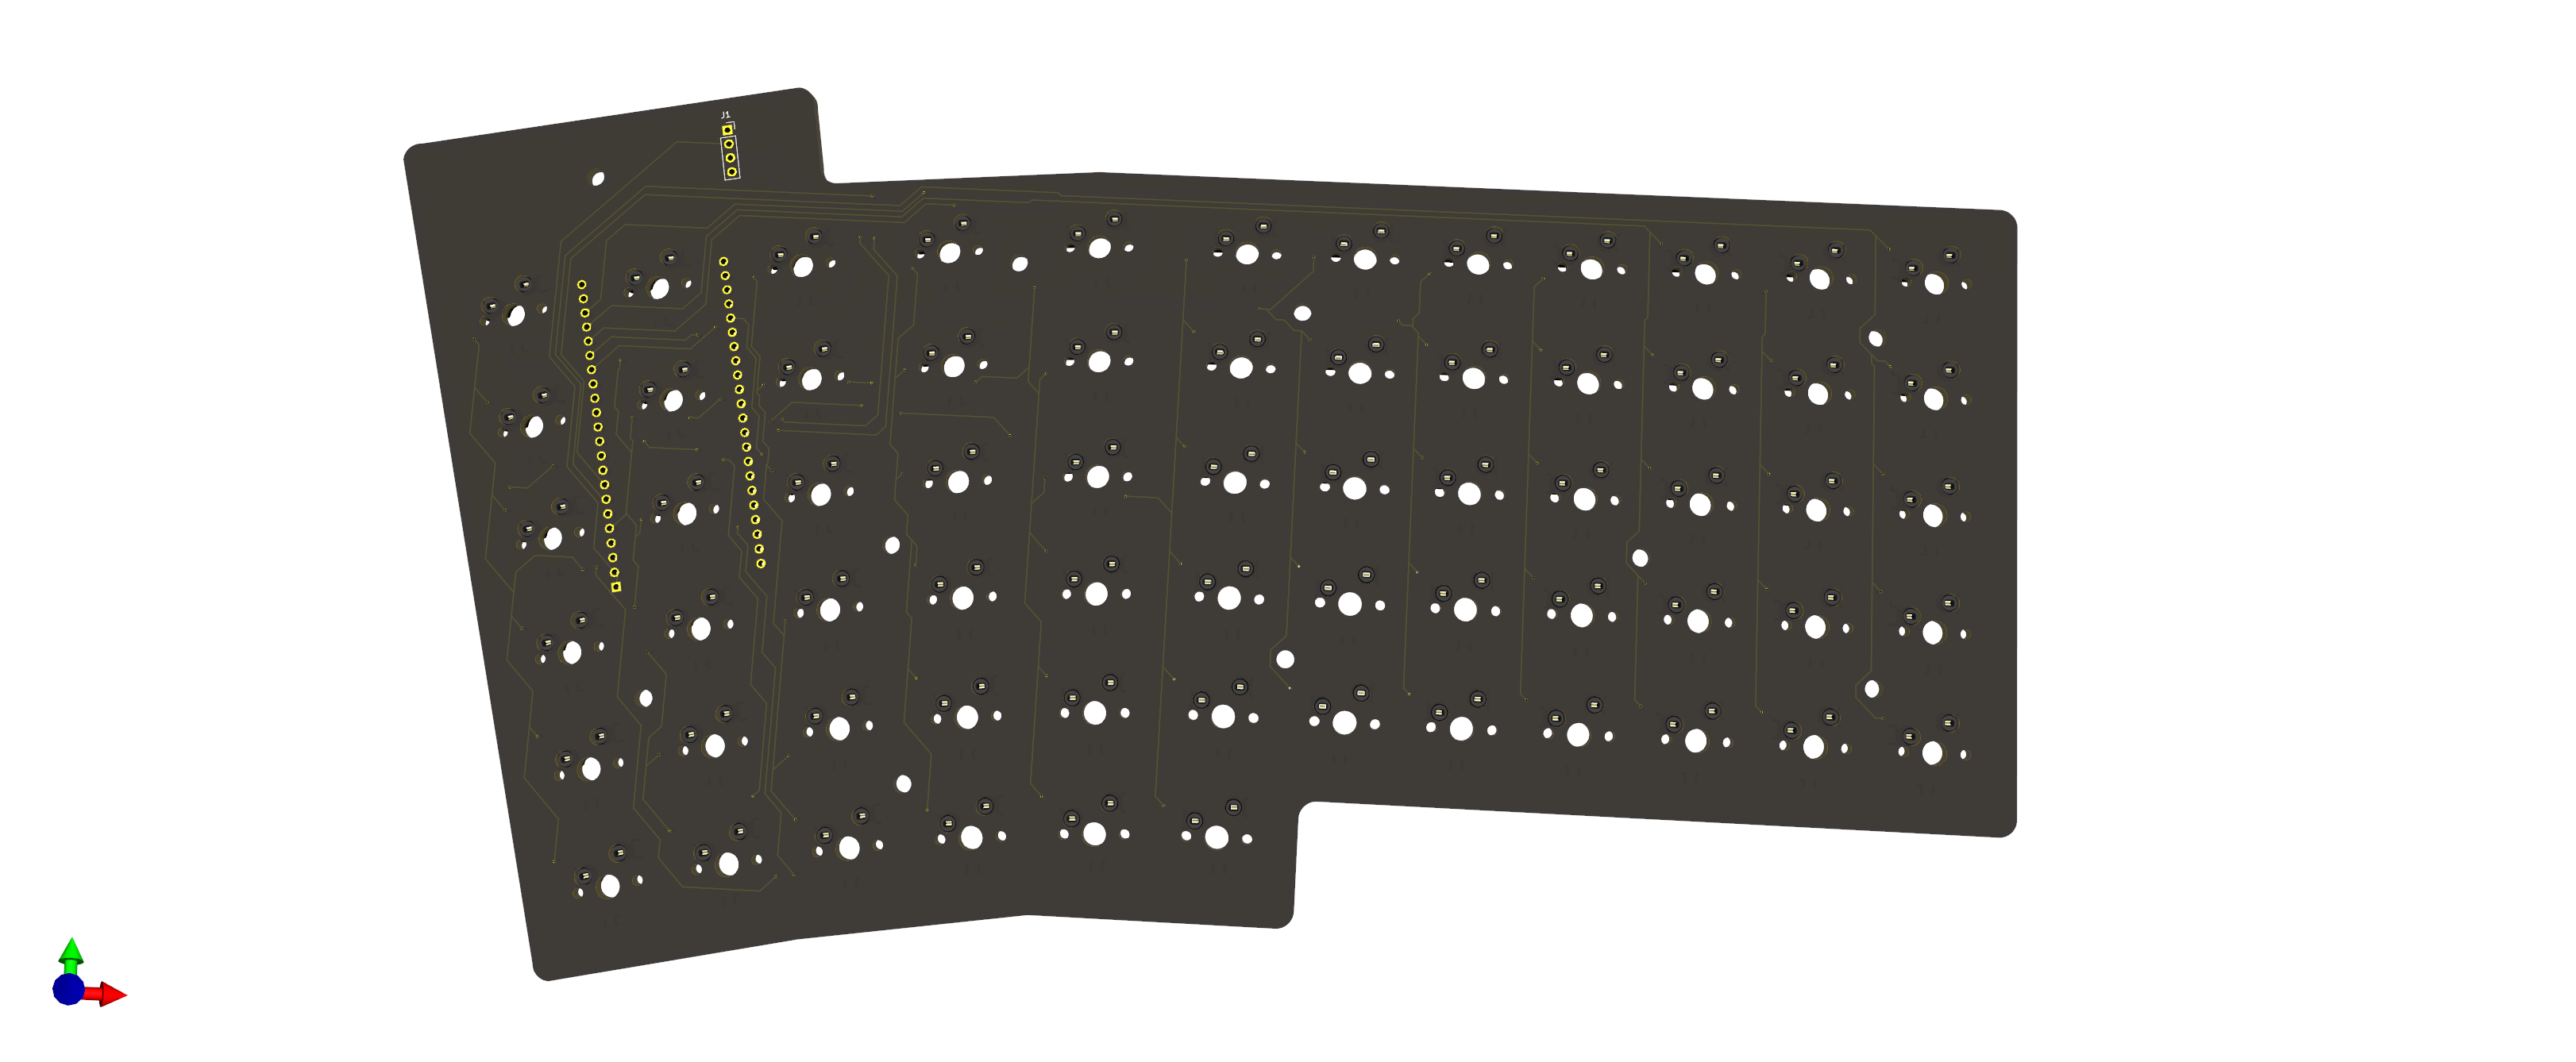
Session 1 (4h) creating left PCB
Getting everything placed where I wanted took some time and until now I also havent fogured out how to rotate multiple elements in KiCad with a specific angele so rotating stuff also took a while :). Due to rotating the footprints for the keyswitches I was also abte to fit the ESP on teh back side of the board without needing to make the PCB even bigger than it already is.
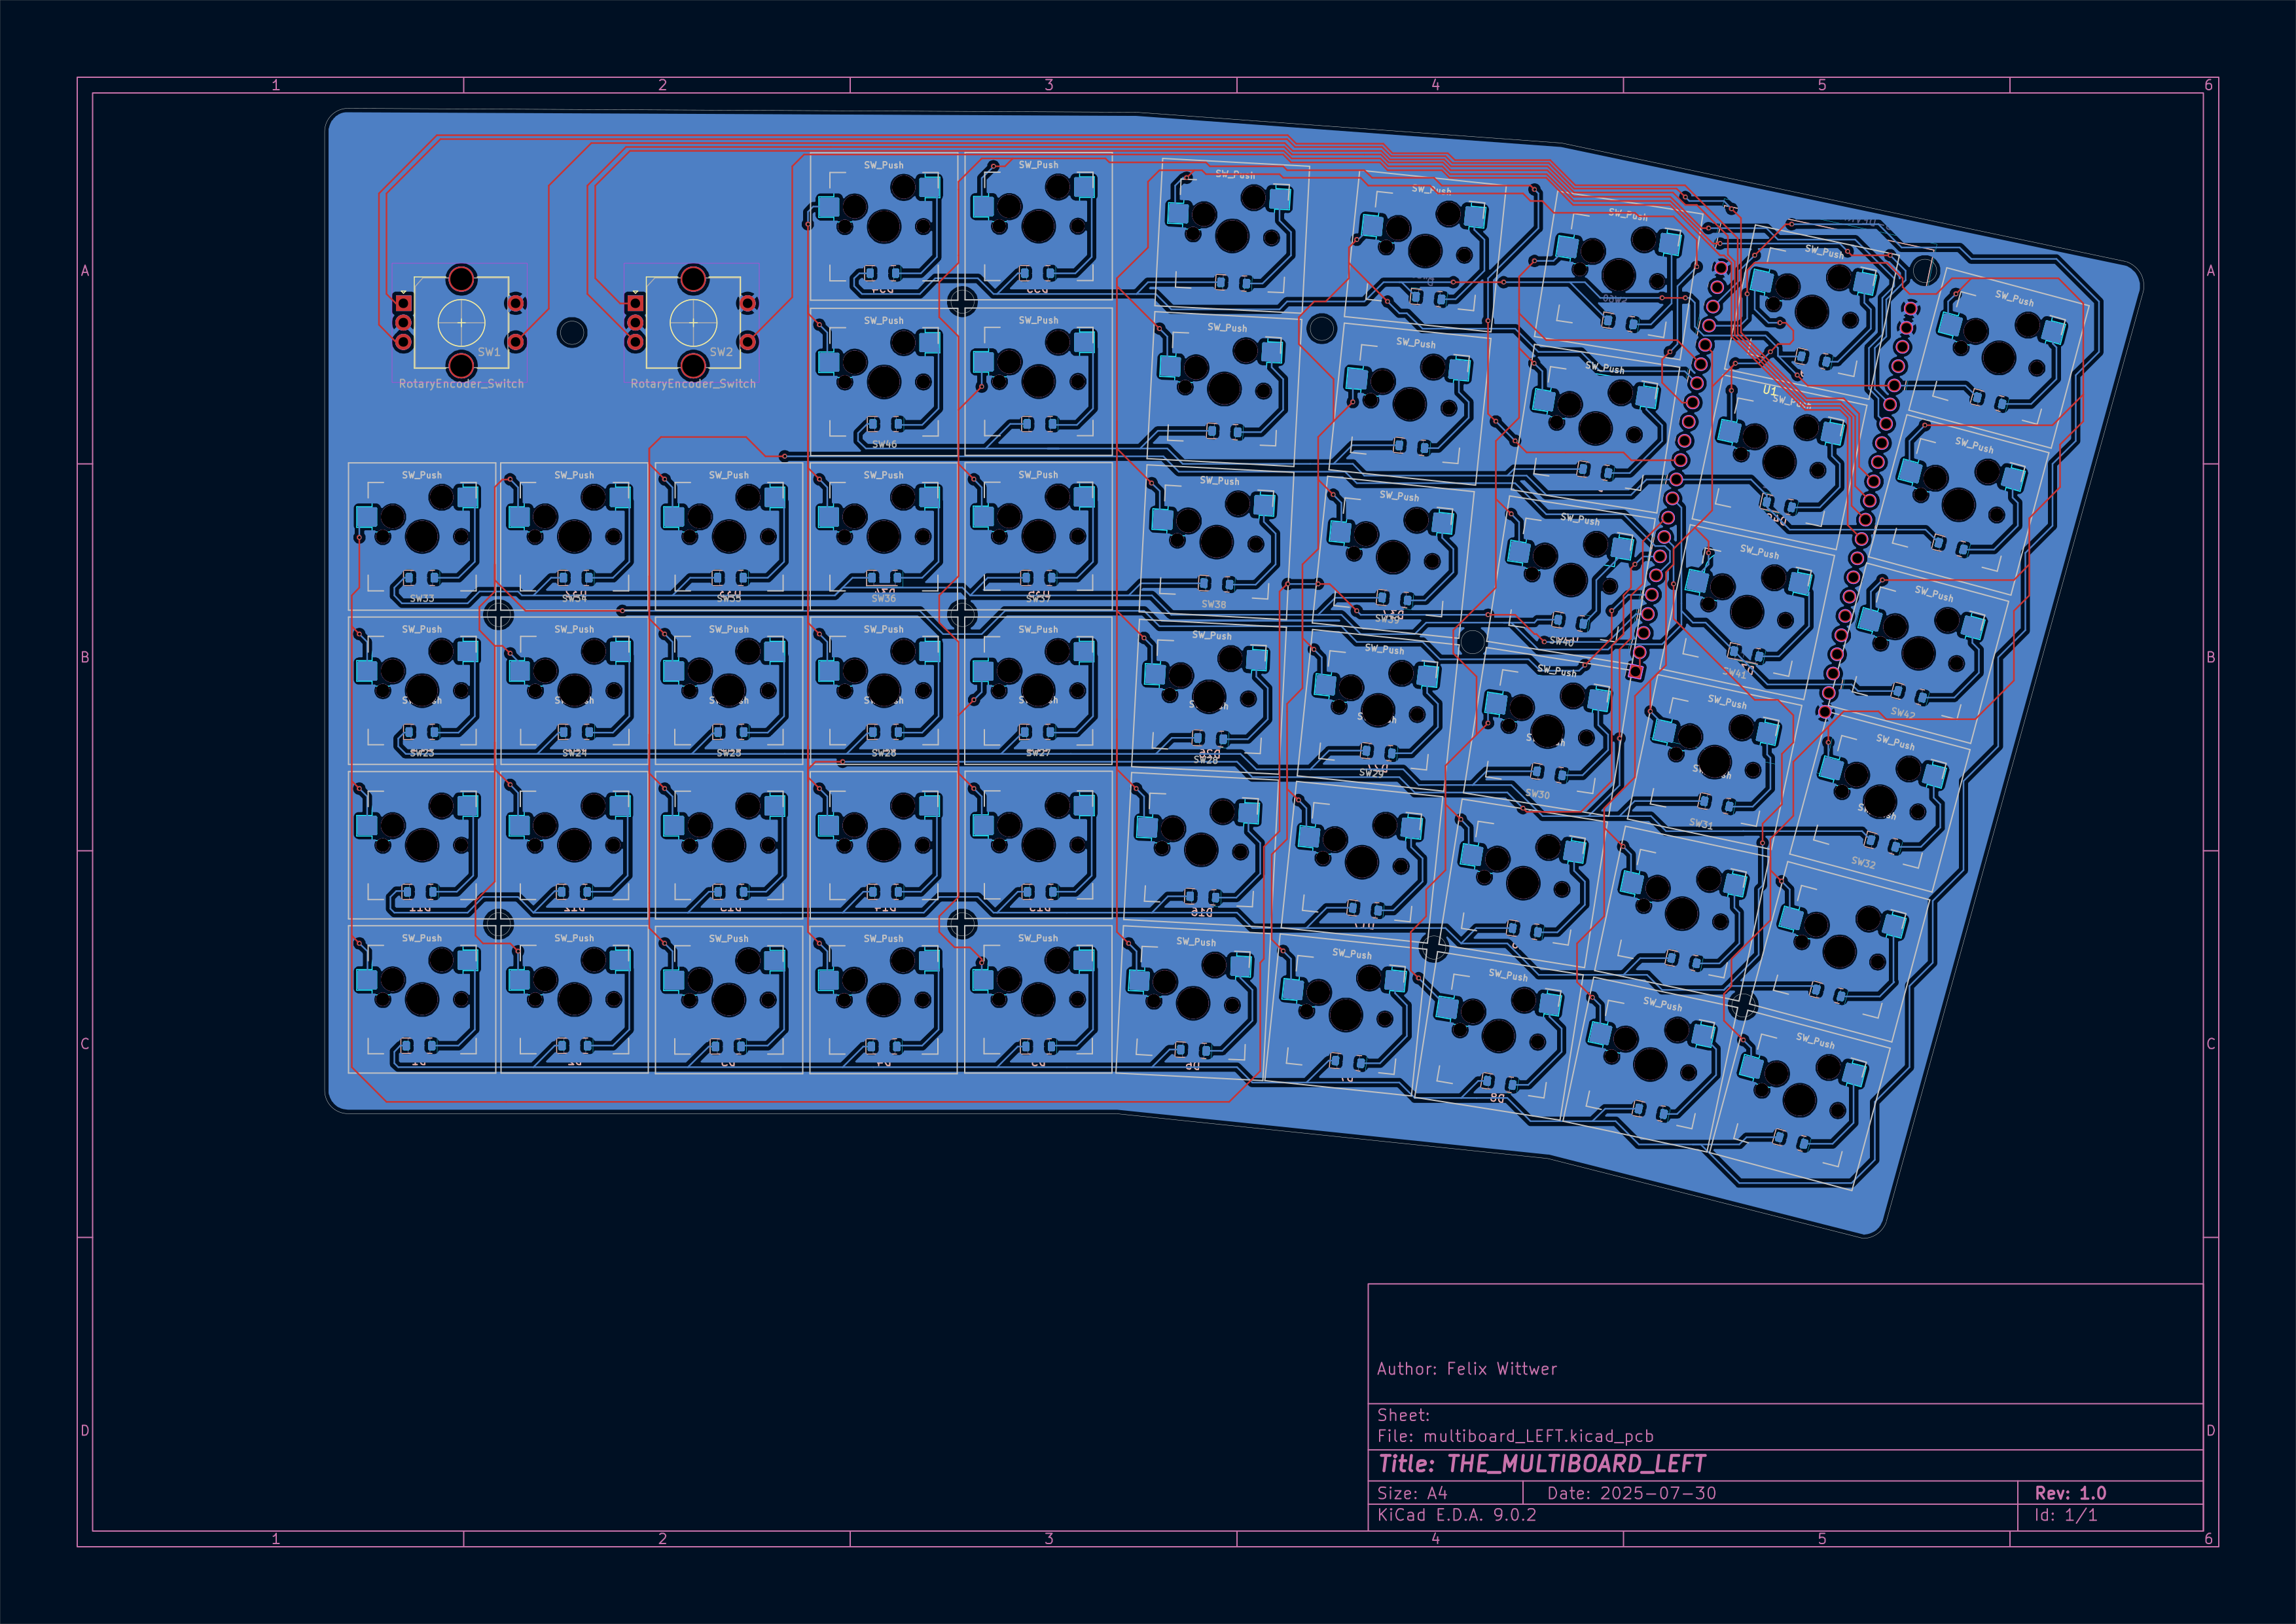
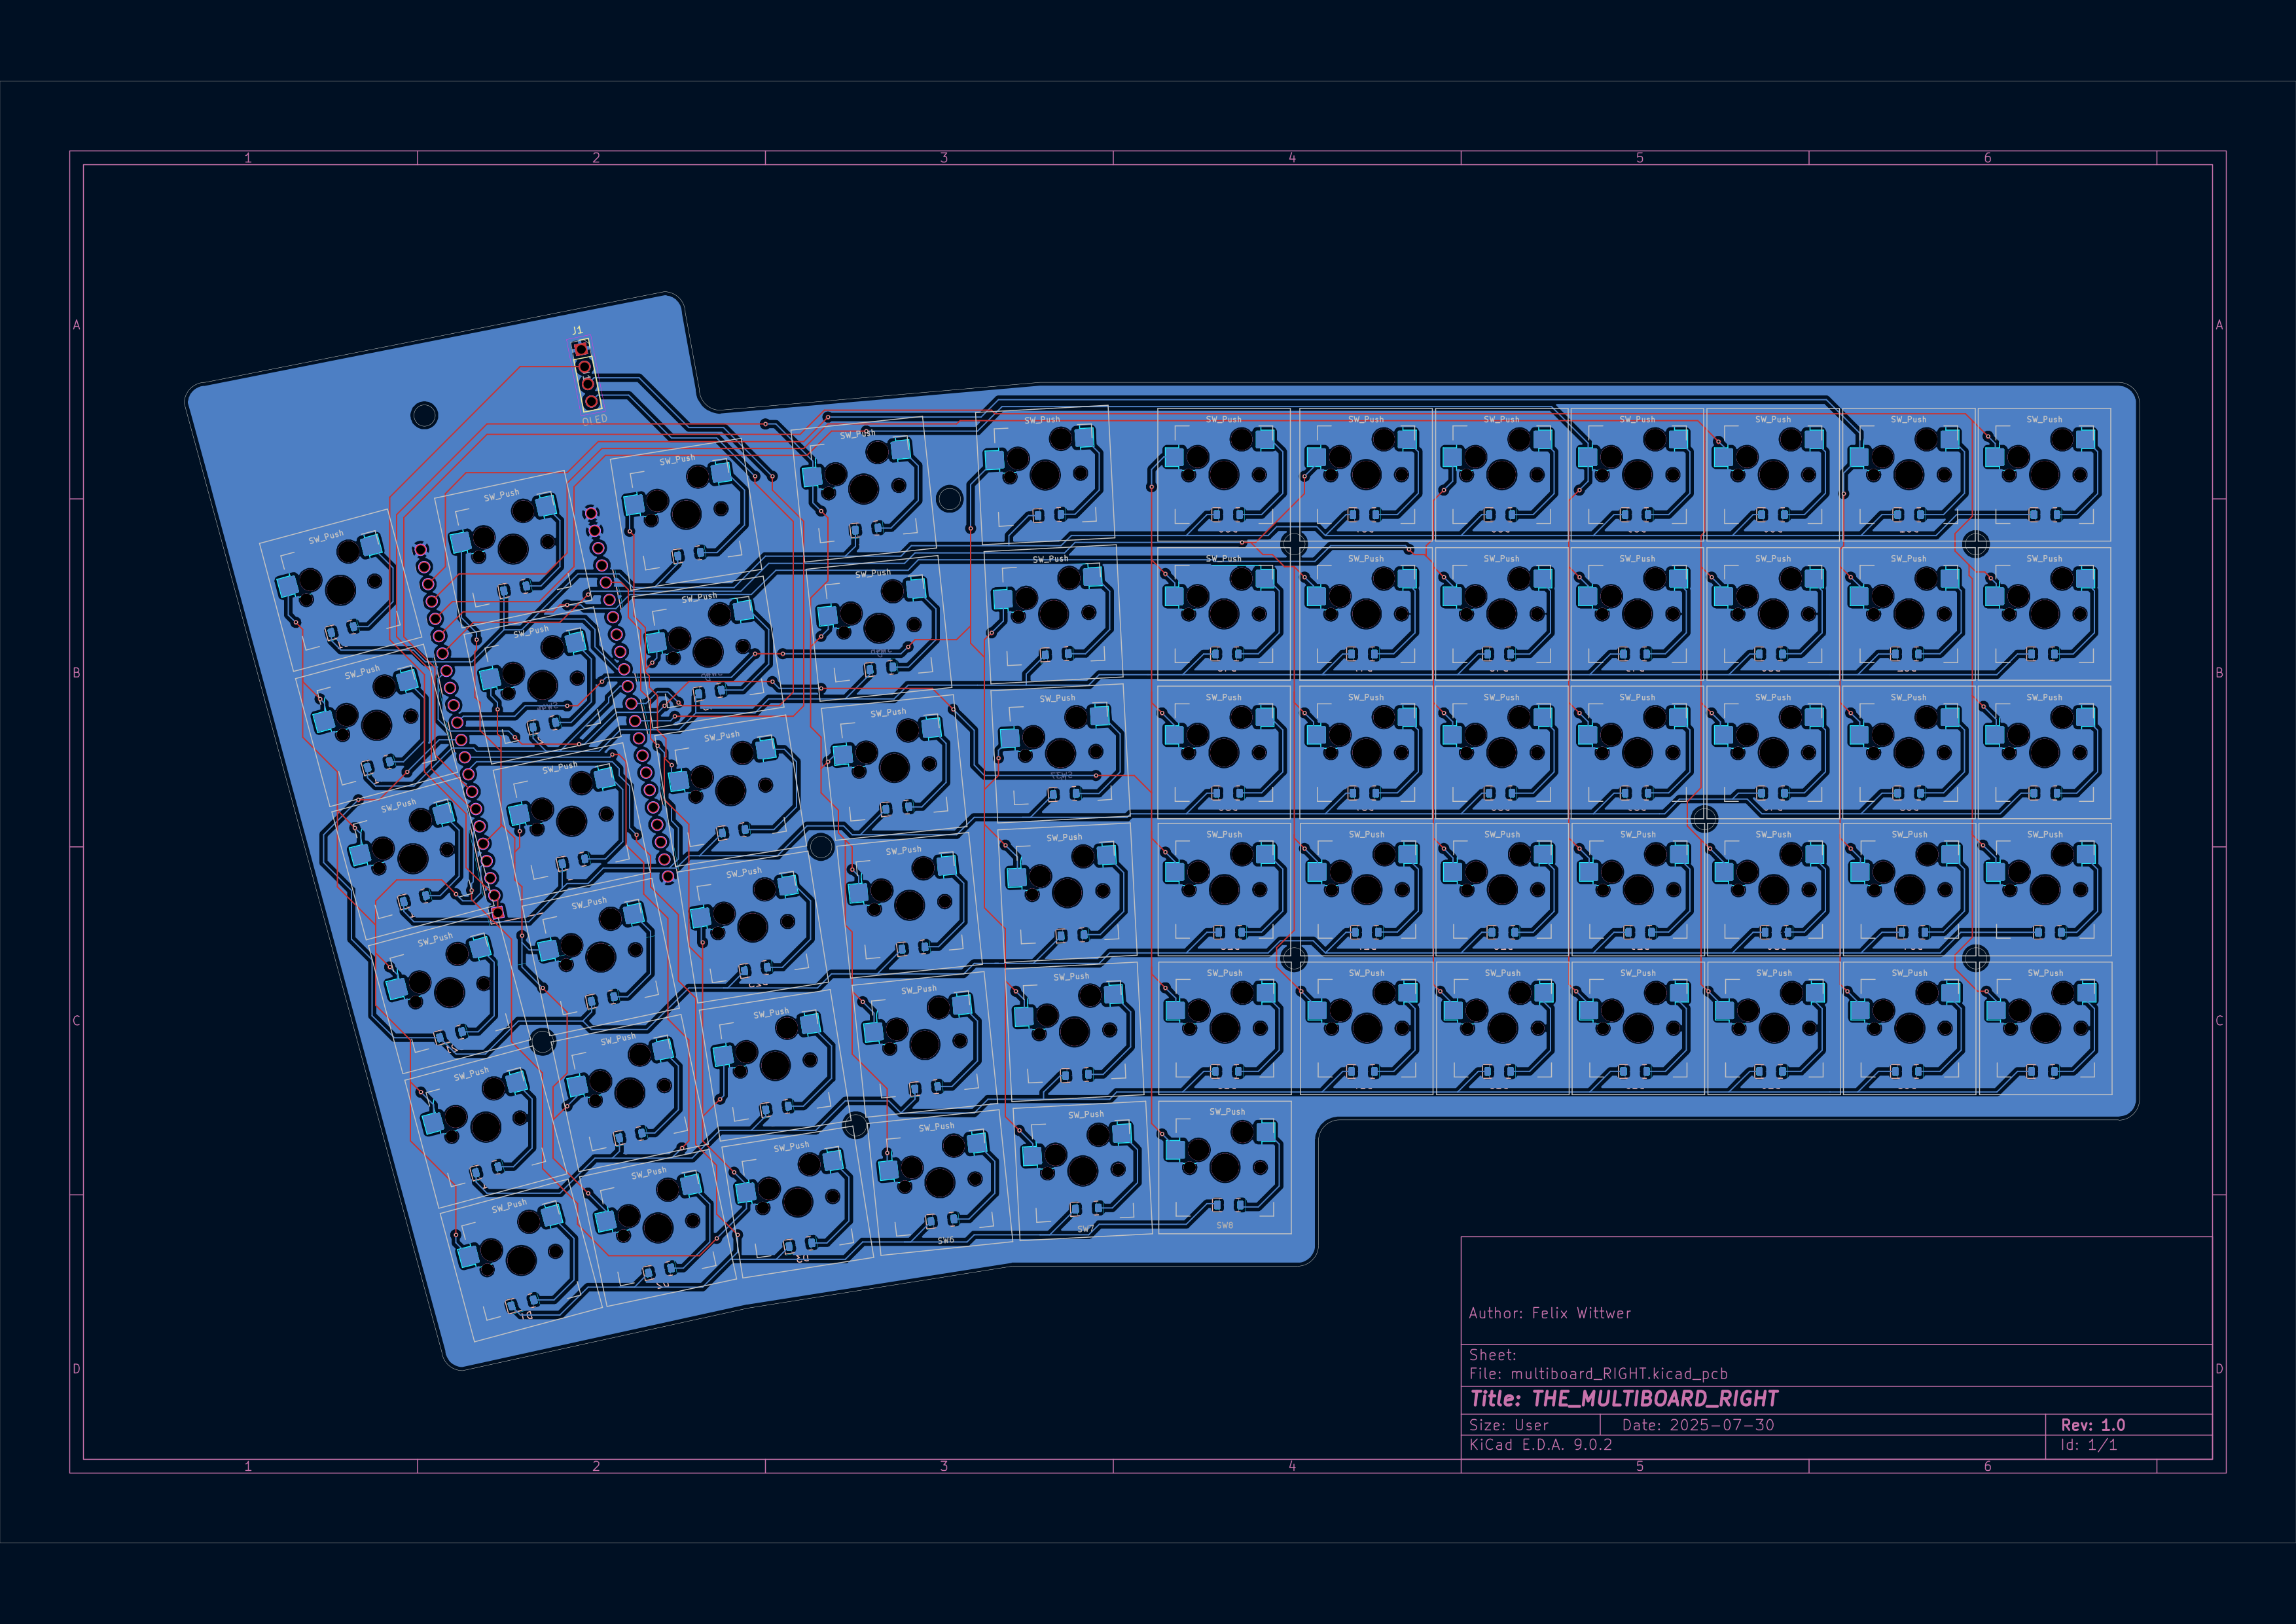
Session 2 (6h) finishing left and right main PCBs
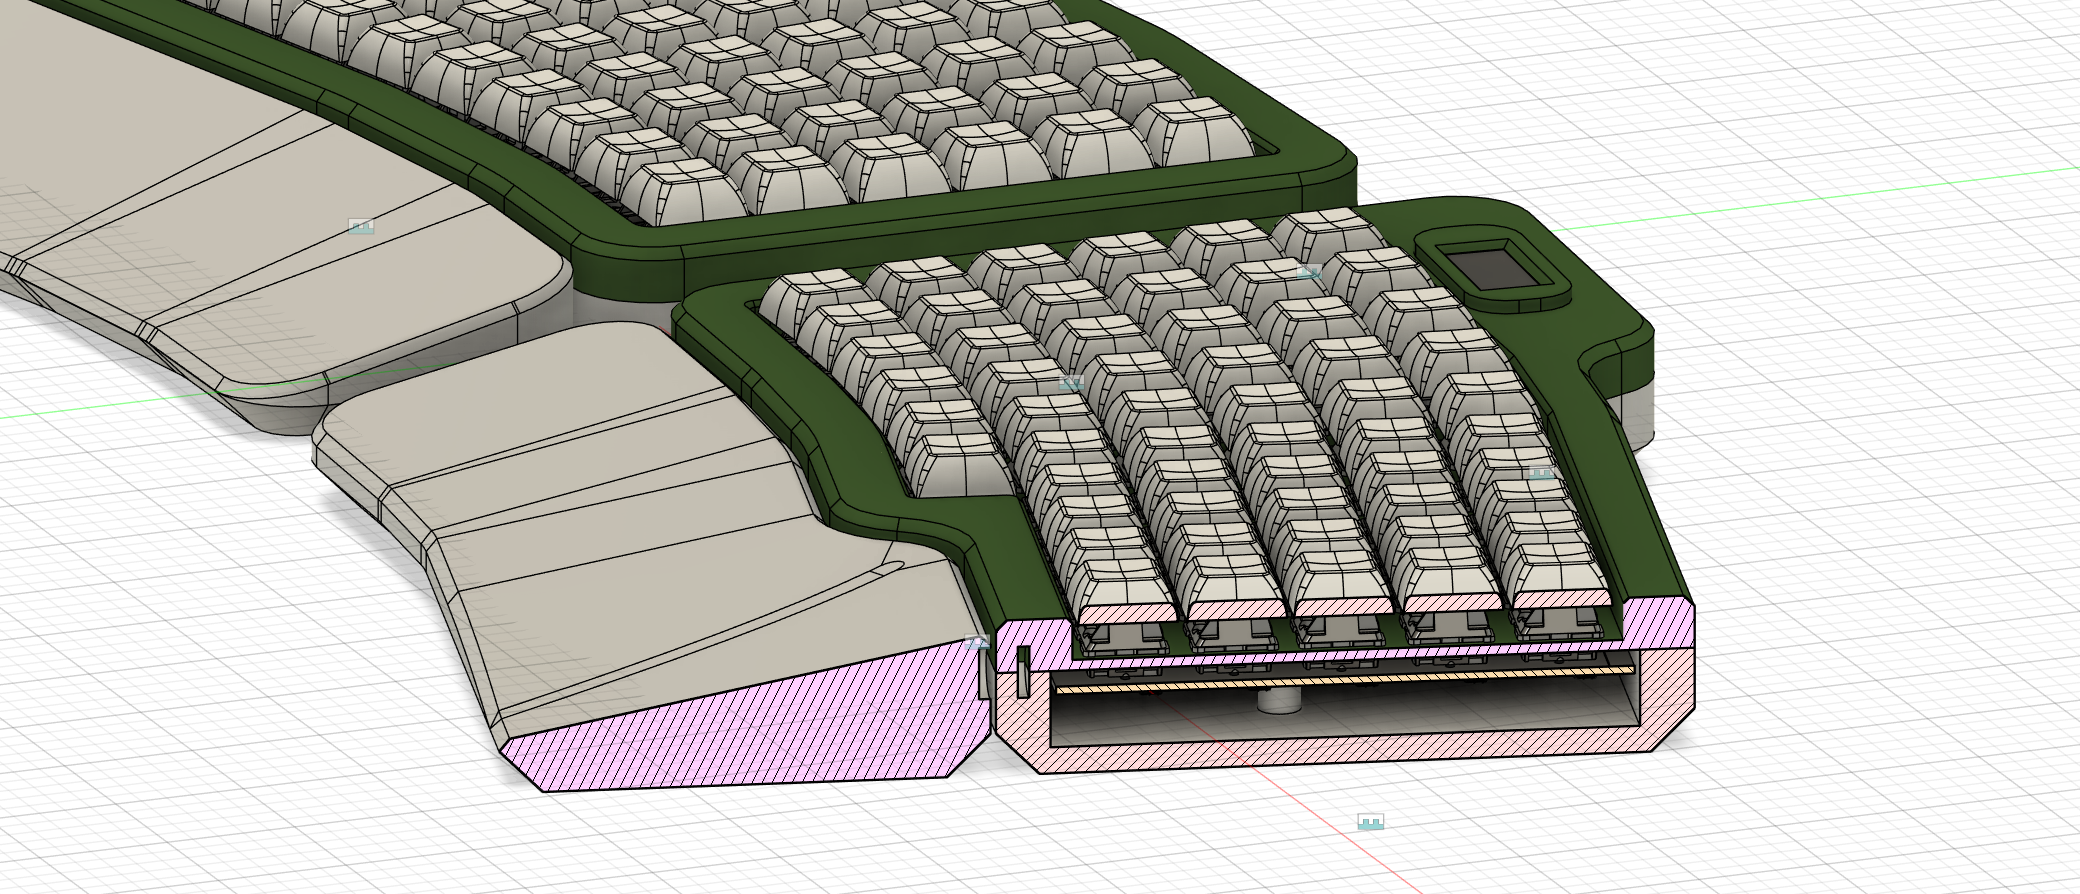
I have now succesful finised creating the left and right PCBs. I was actually speedrunning the right side until I noticed that the ESP32 was wrongly mirrored so I needed to redo most of the routing. So in the end it took almost the same thime even a bit longer that the left side. Because my PCBs are relatively large I am not going to design a 3D printed housing becuse it somply wouldn't fit into my 3D printers build volume. I am instead going for a PCB sandwitch
wit three PCBs per side. The main ones are already finished but I now need backplates and a front plate that is also going around the keyswitches.
Session 3 (30m) researching parts, creating BOM
I have just finished reasearching some parts and searching for cheap components on Aliexpress. I also had the idea of actually doing two seperate design cause the case is probably getting really big and not everybody has a printer with such a buildvolume at home.
July 31st (6h)
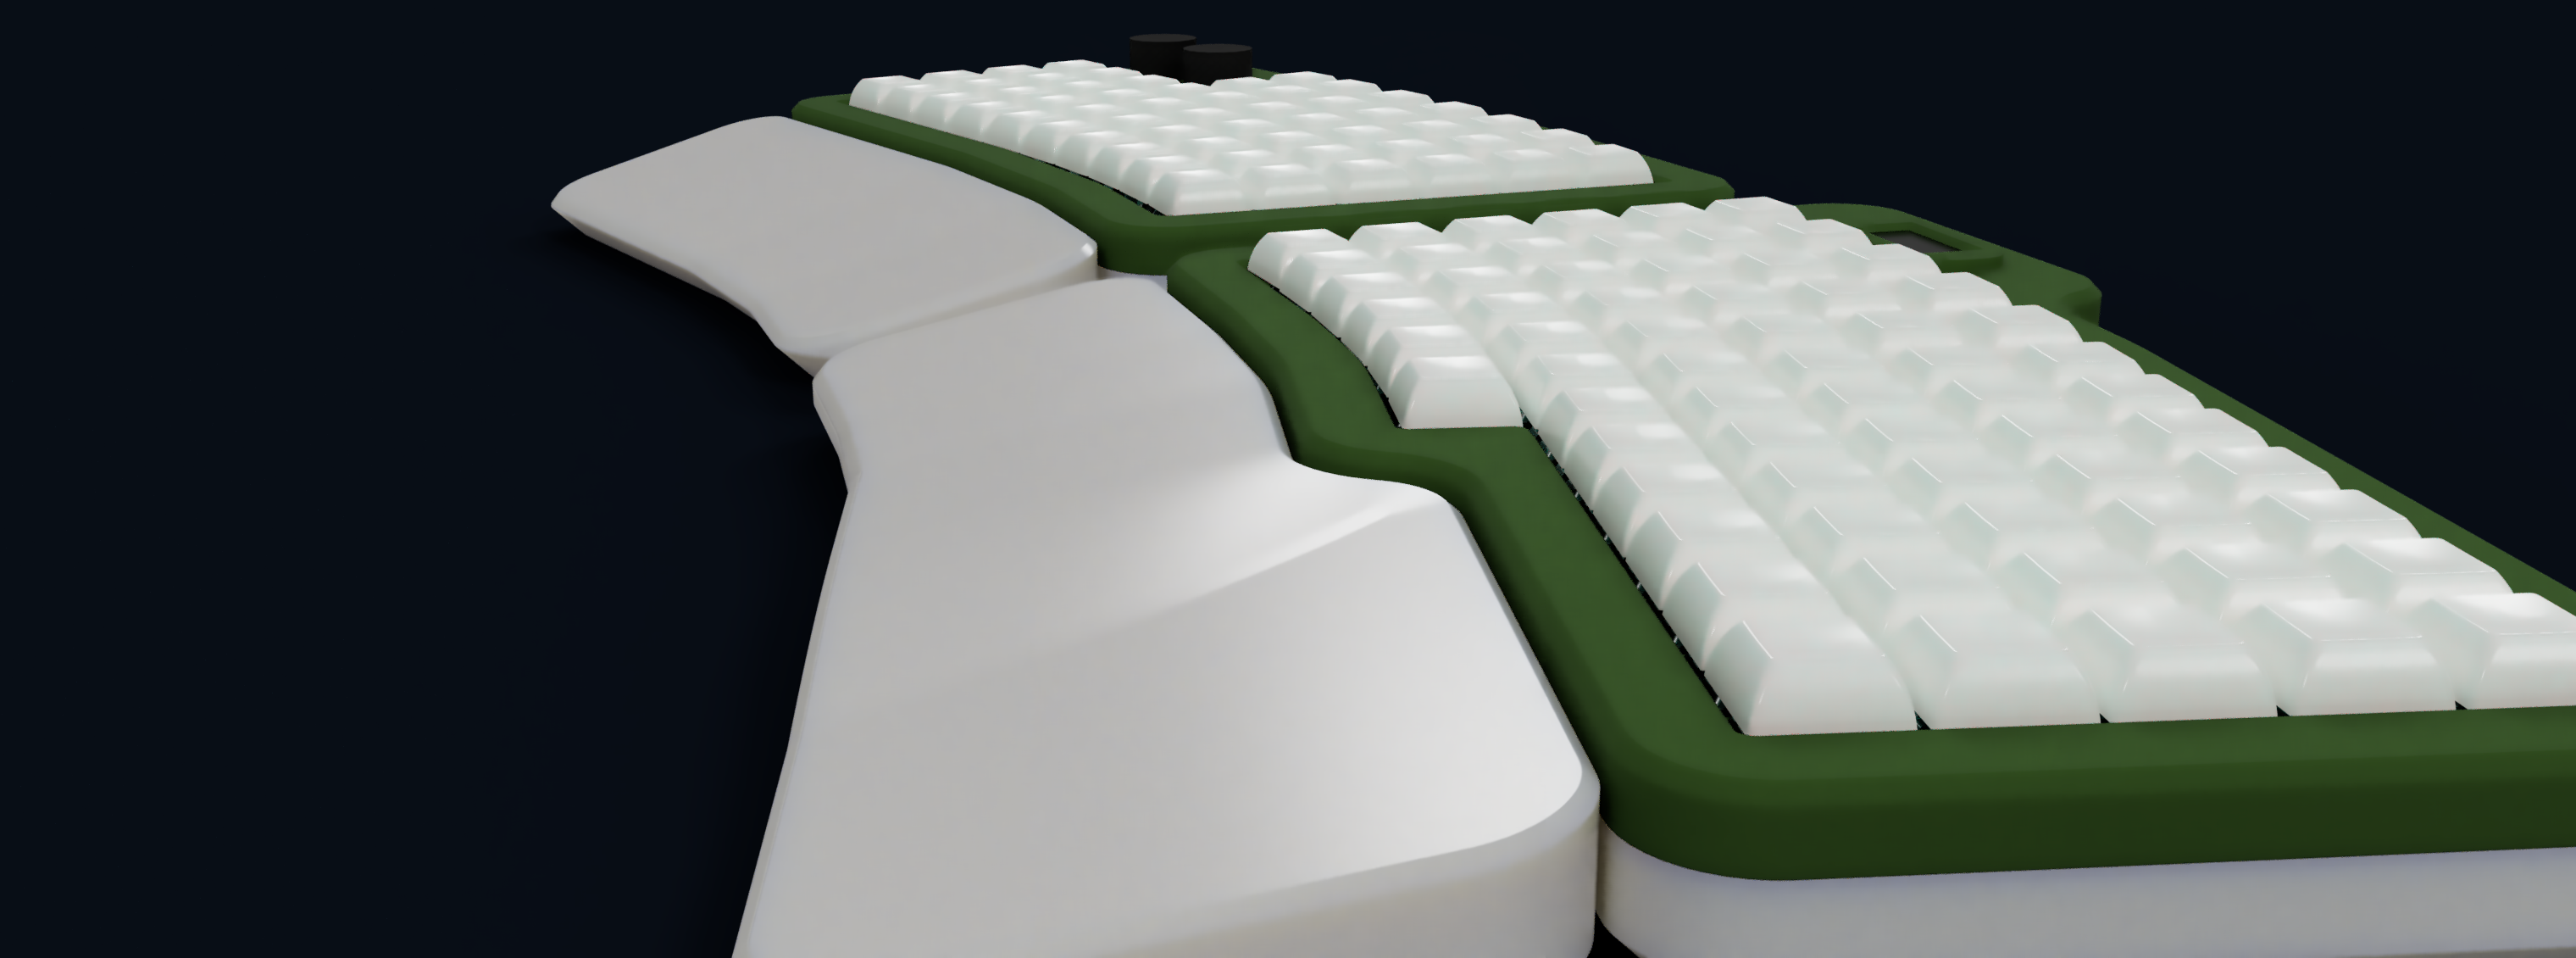
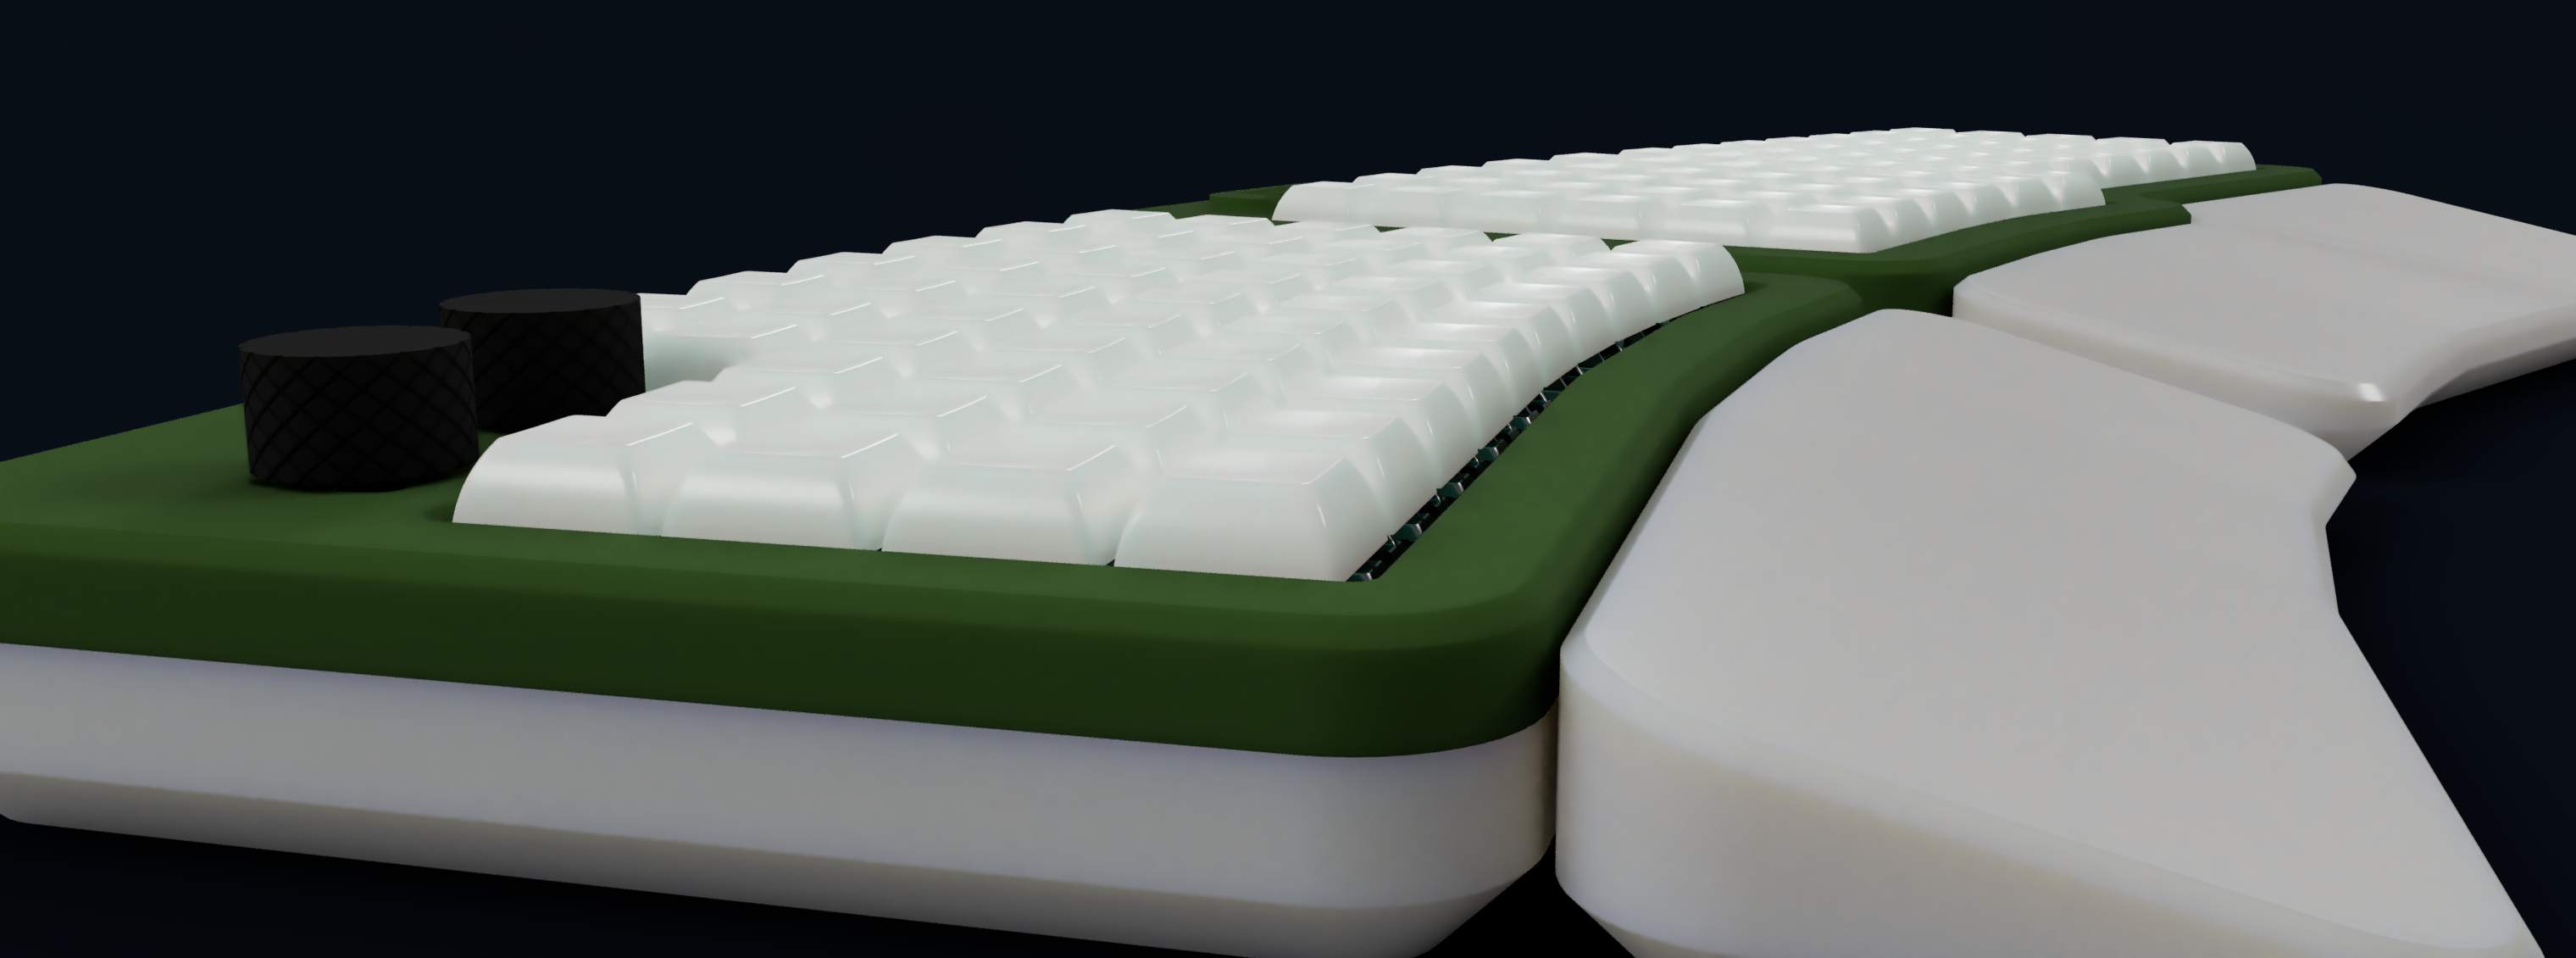
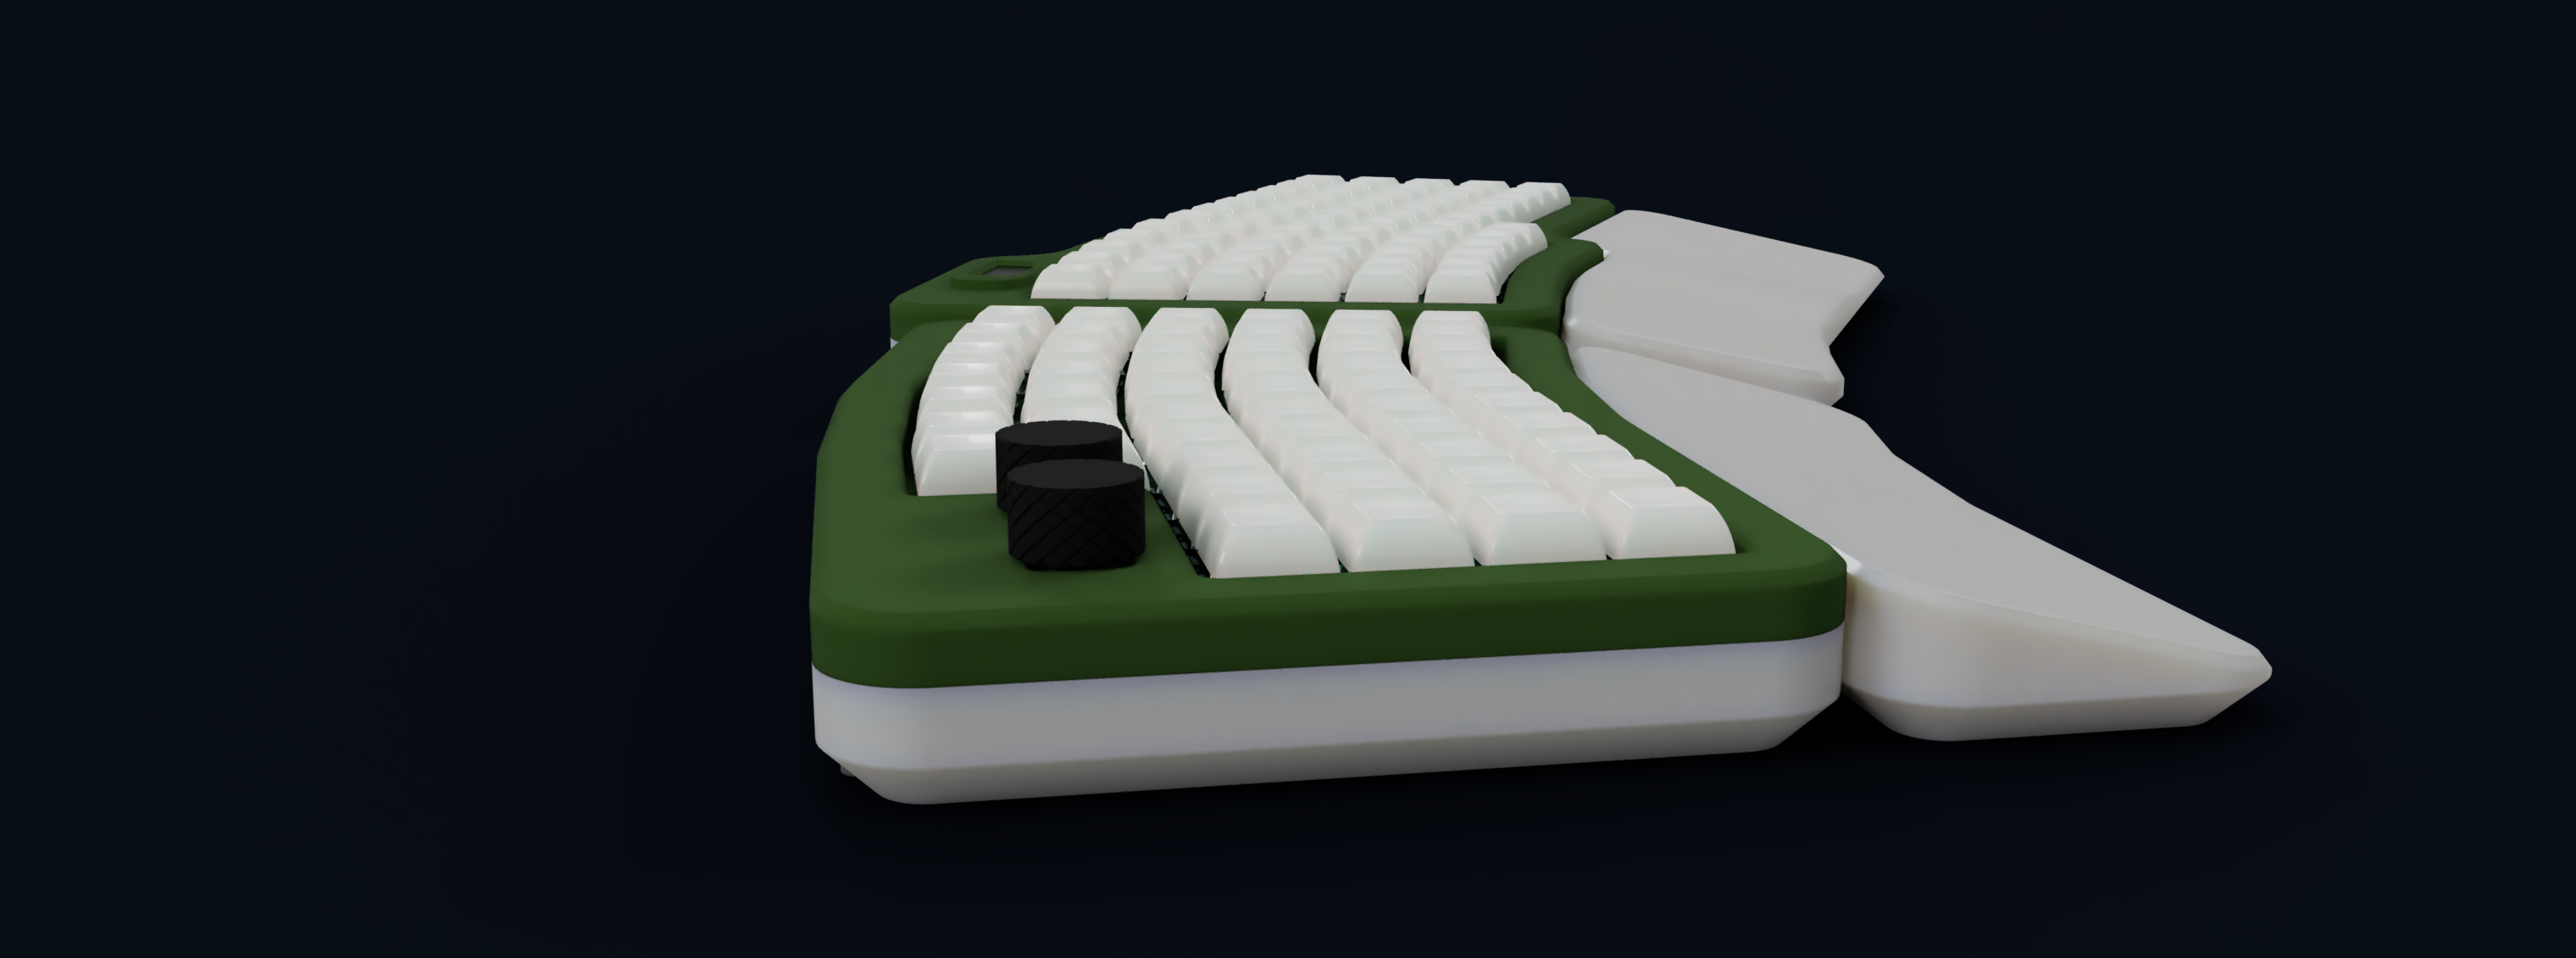
Finally finished with designing the case and placing all the components of the keyboard where they belong. Placing 120 keyswitches wasn't the best task in the world but at least in some areas I could arrange them in a normal rectengular grid. To make my keyboard a bit more special I decided to add some handrests which attach magnetically. I designed it in such a way that the magntes can bee added after printing the case so that you dont have to stop your print in insert them but rather do that later.
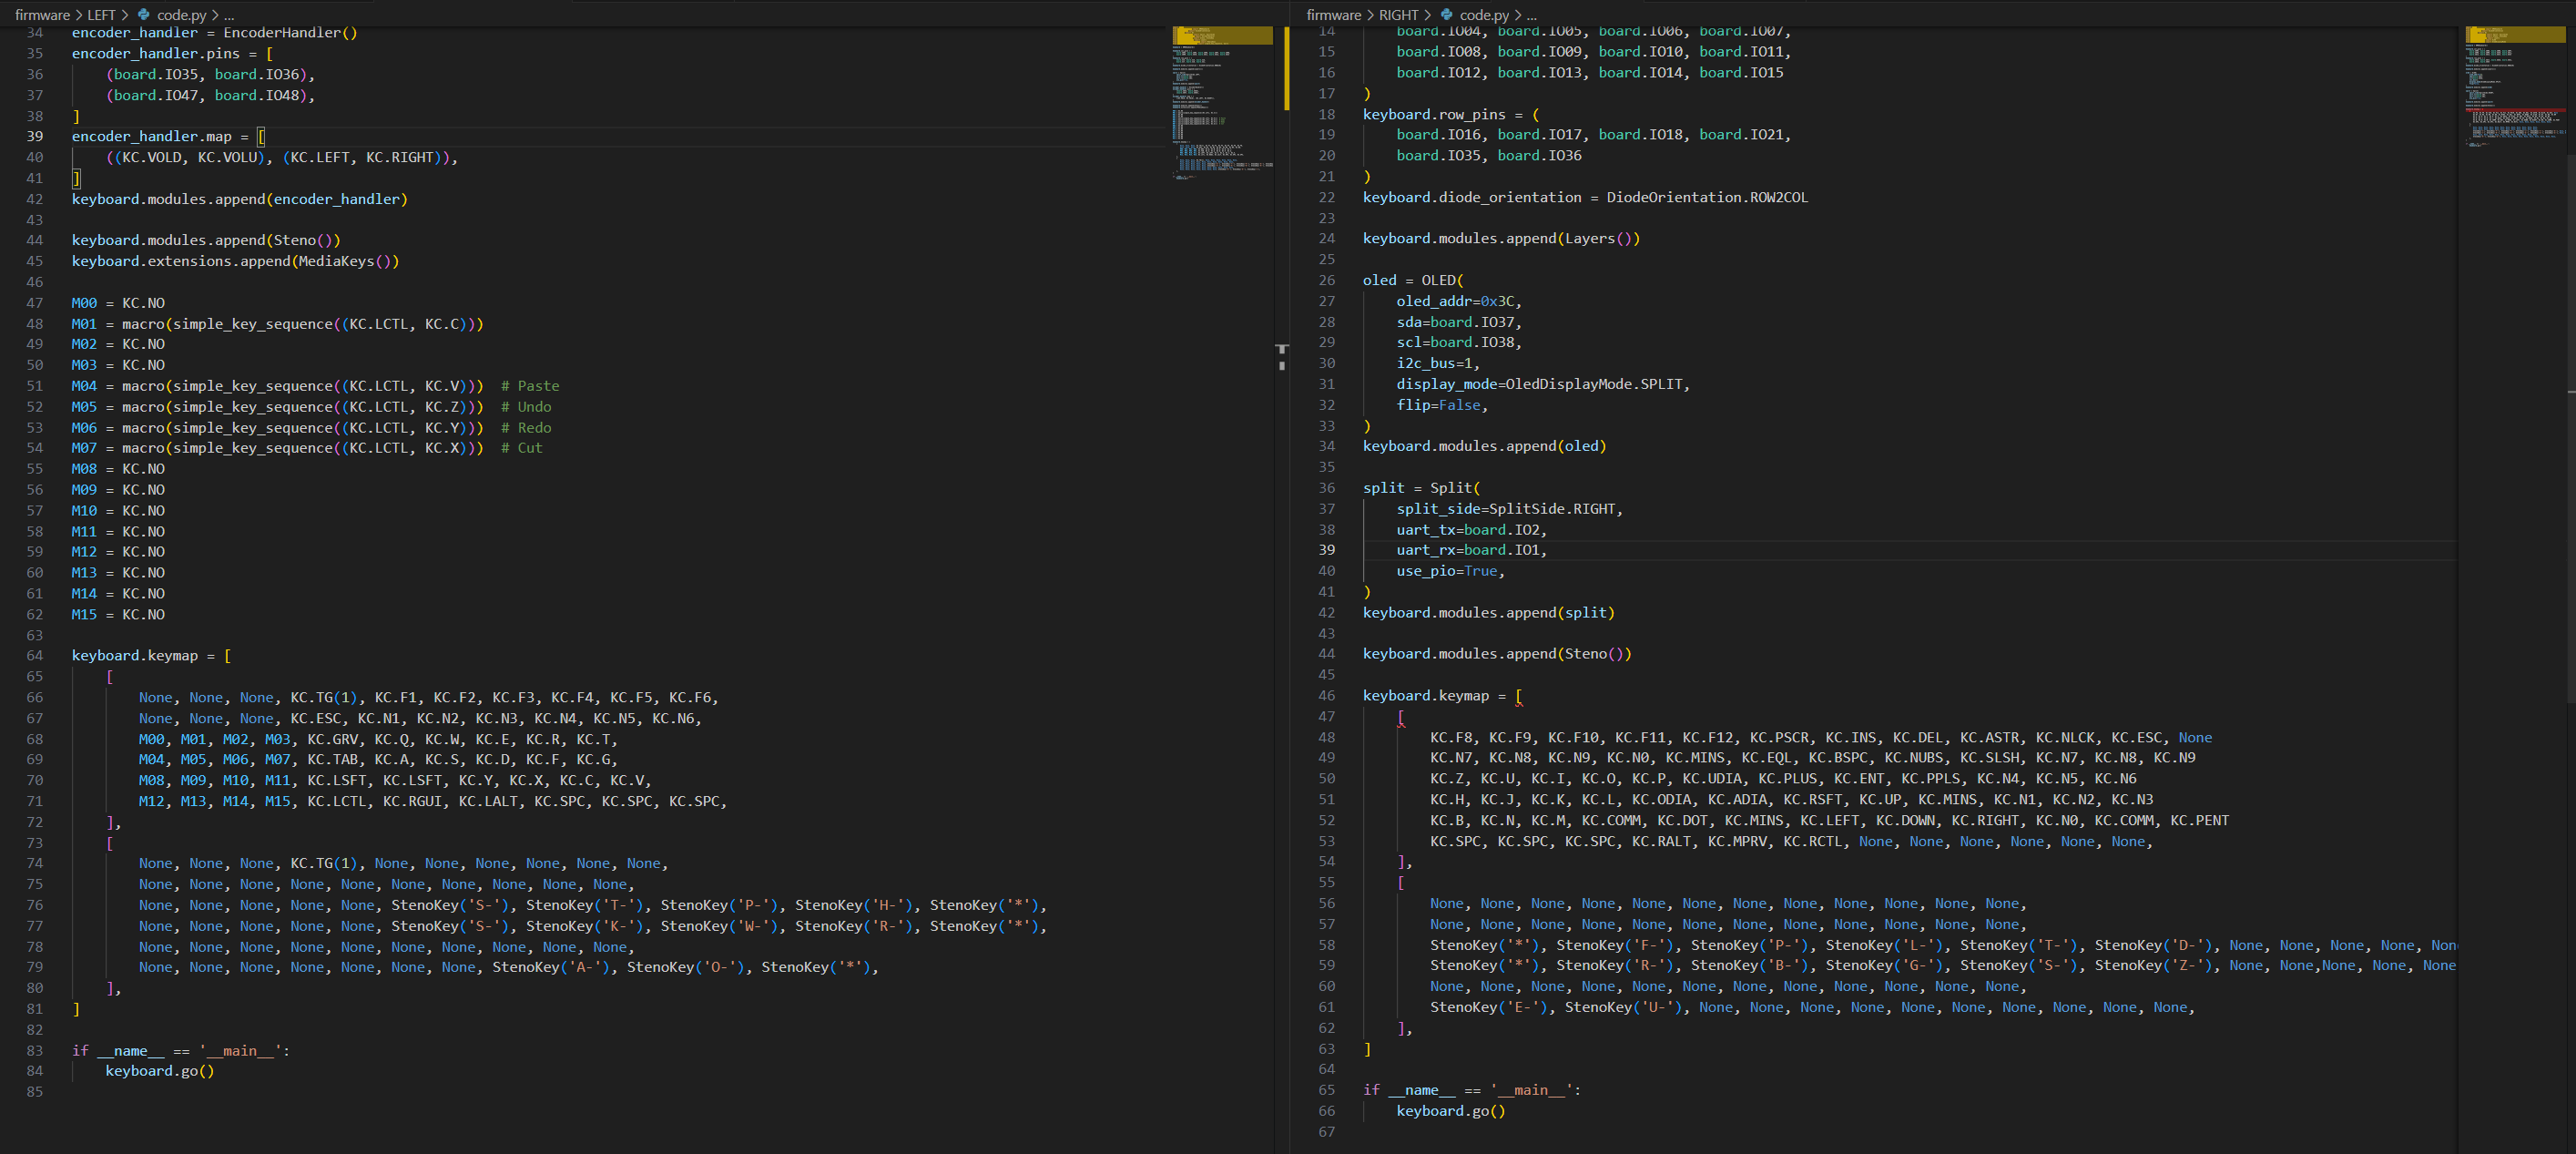
Session 2 (3h) firmware time
I decieded on going with KMK because it is realatively simpe and also supports steno. So it is perfect for my project.
Writing the actual firmware turned out to be a bit more diffcult than I thought because I have multiple layers on the ekyboard and steno isnT# usual on most keyboards. besides that I also needed to integrate the macro functionality on the left side.
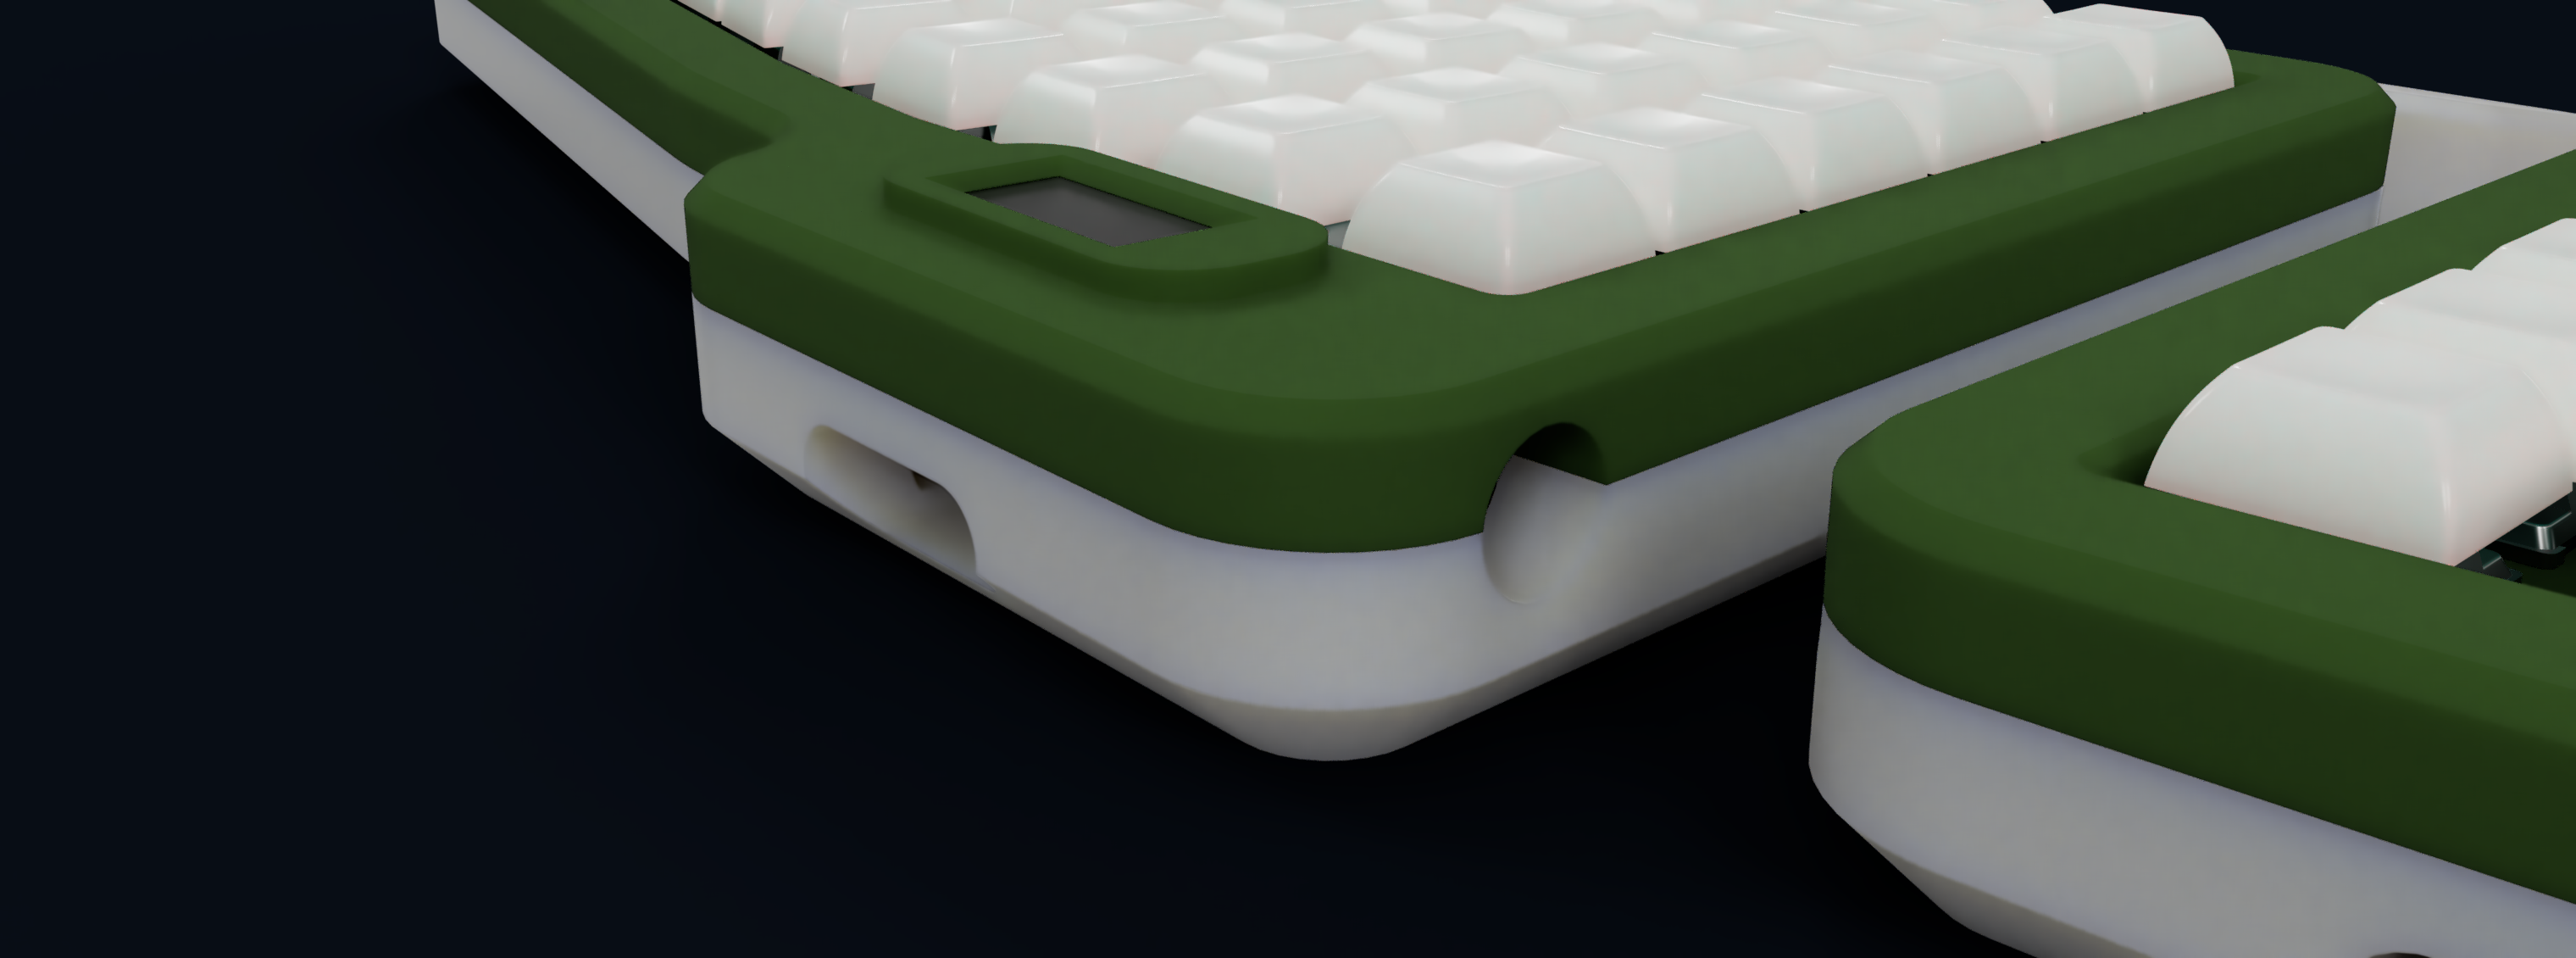
As of now there will be one key near the macro part that toggles between normal and steno mode. I also noticed that using the second usb port of the esp32-S3 isn't uspported by KMK natively so I need to modify the PCB a bit to have somethign like a beadphone jack to connect both sides via uart.
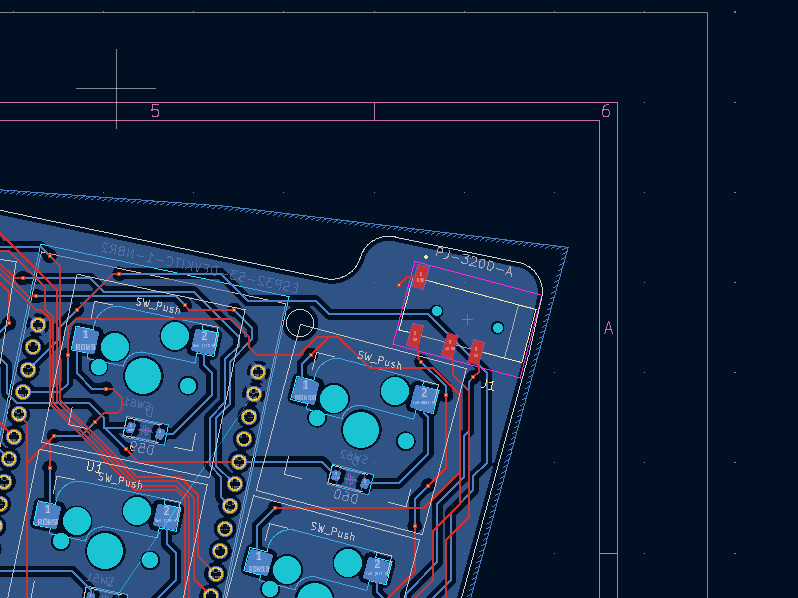
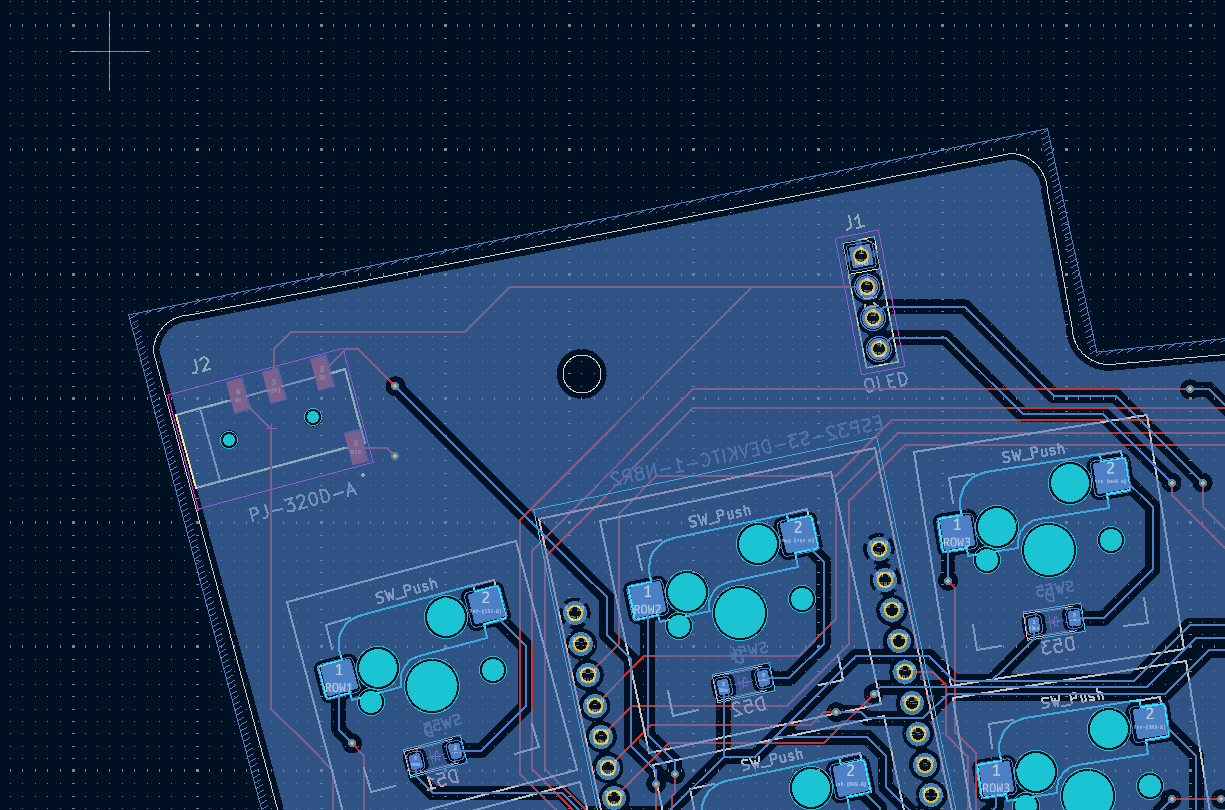
Session 3 (1h 30m) fixing the pcbs and cad
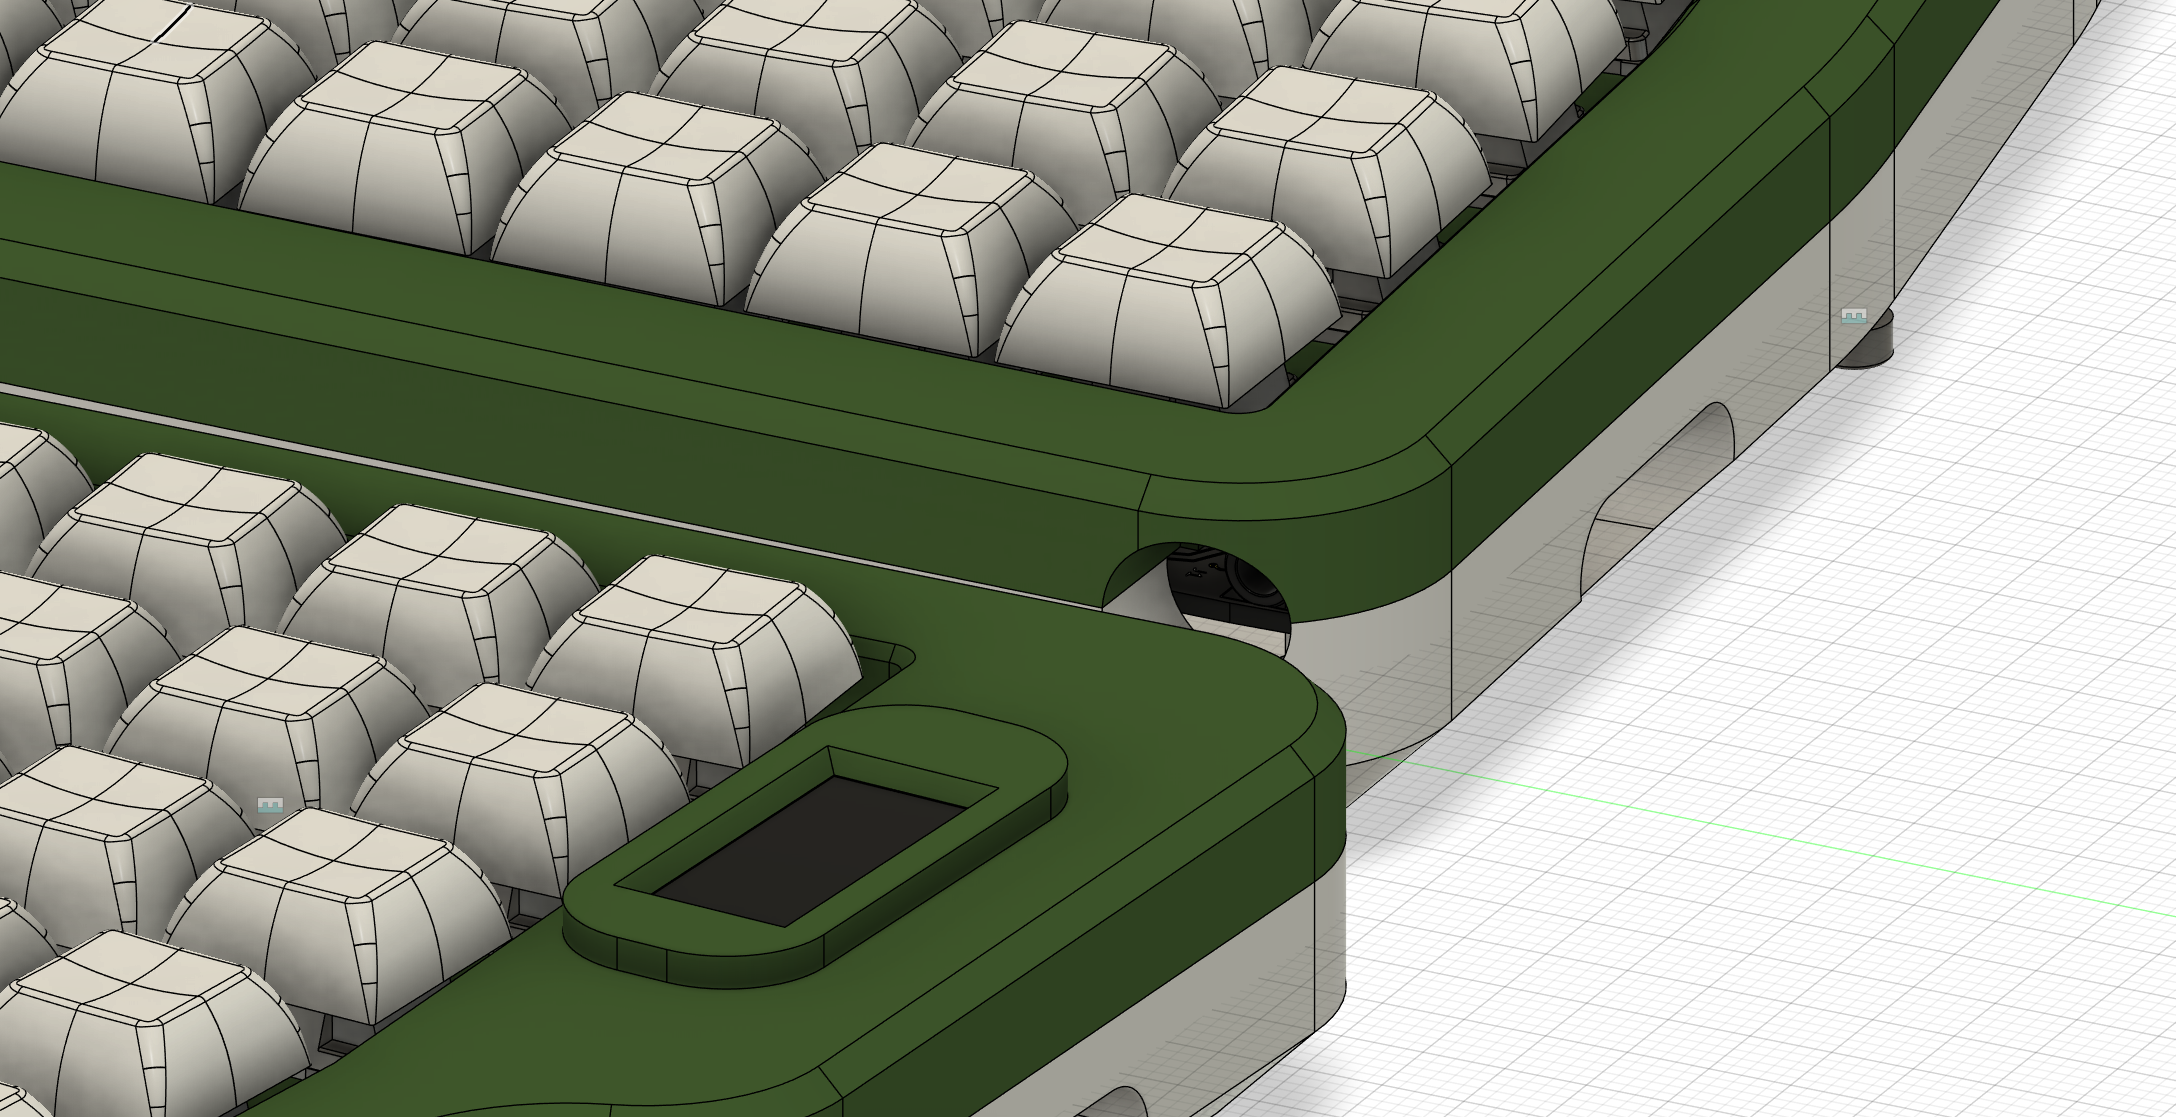
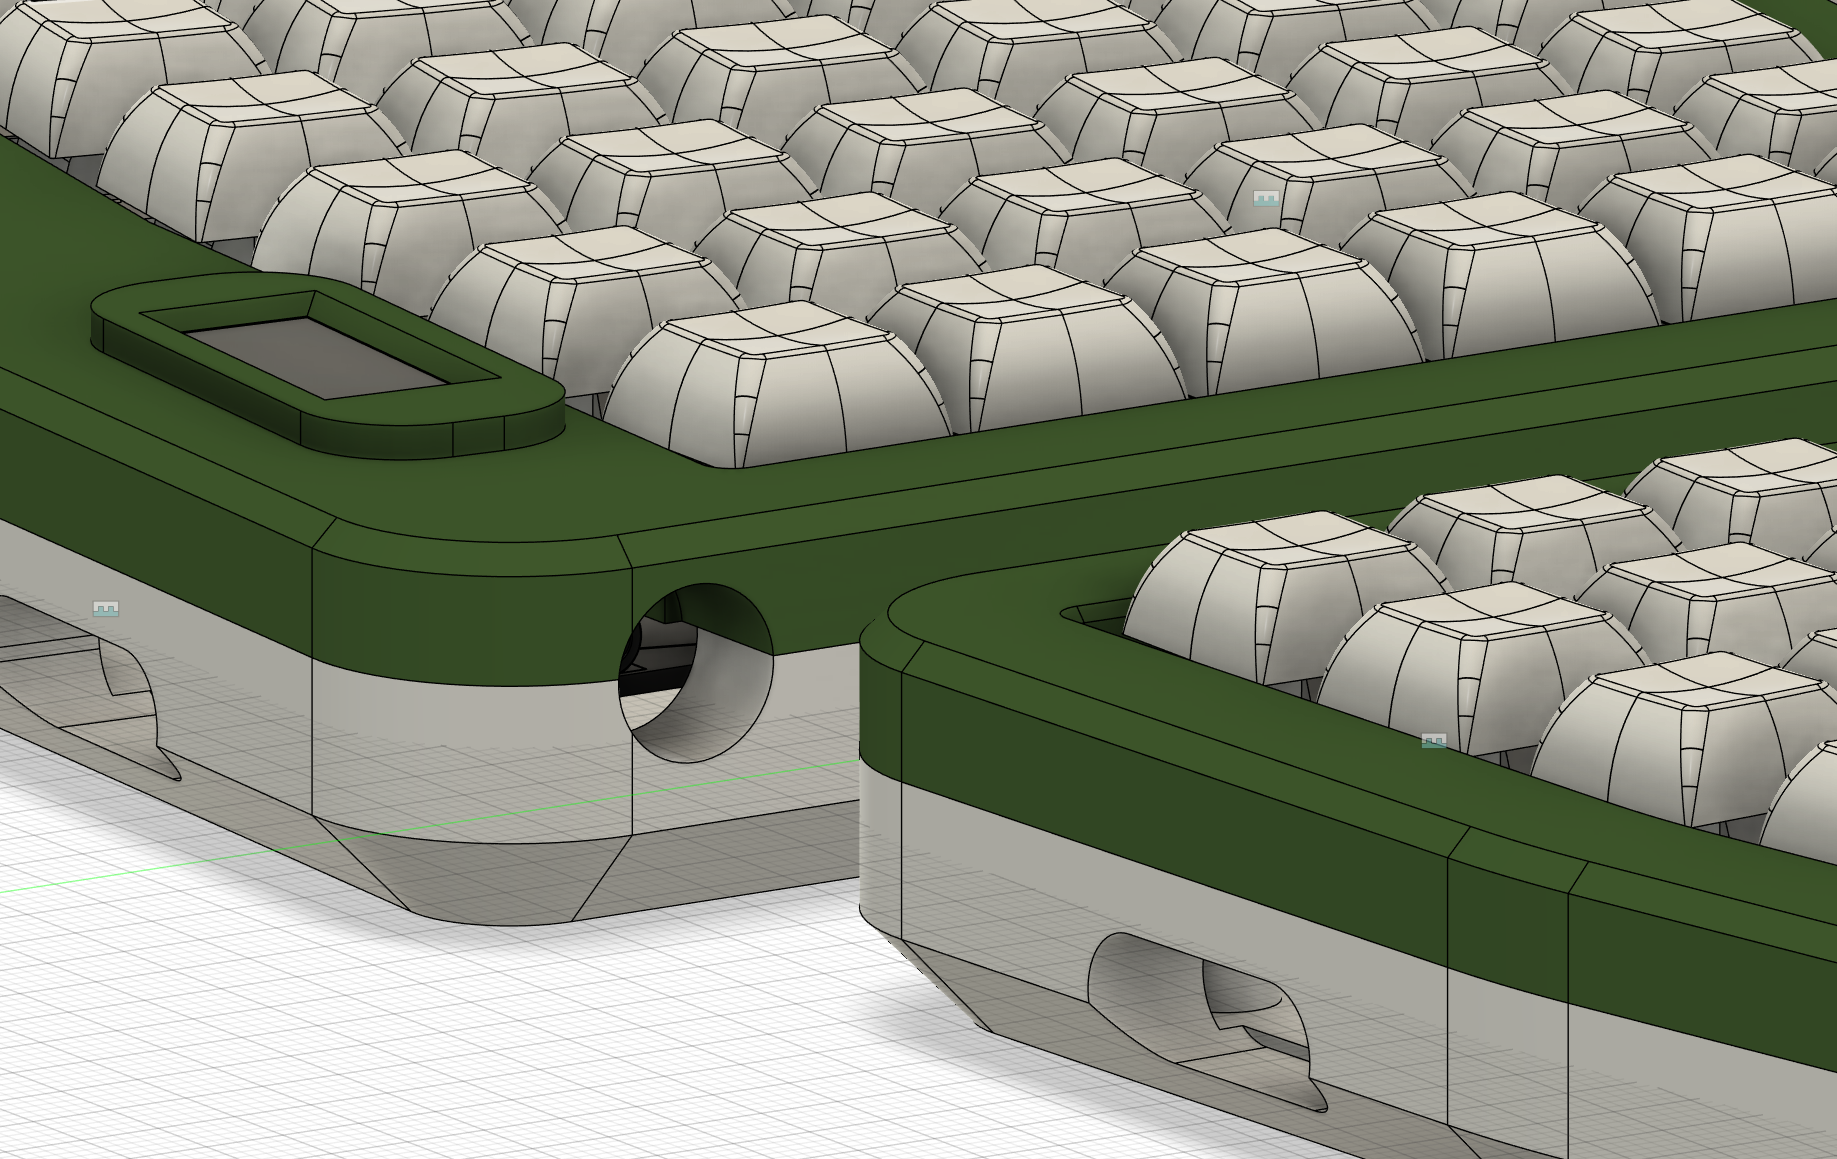
Adding a headphone jack wasn't as straigtforward as I though. First of all I needed to find matching schematics and also wanted to keeb the PCB shape the same so I don't have to do much ework on the case say so there needed to be done something on the shape.
In the end a got it working and got it also integrated into my existing CAD model. I think it looks got for beeing retrofited afterwards.
Session 4 (1h) finalising firmware, creation production files
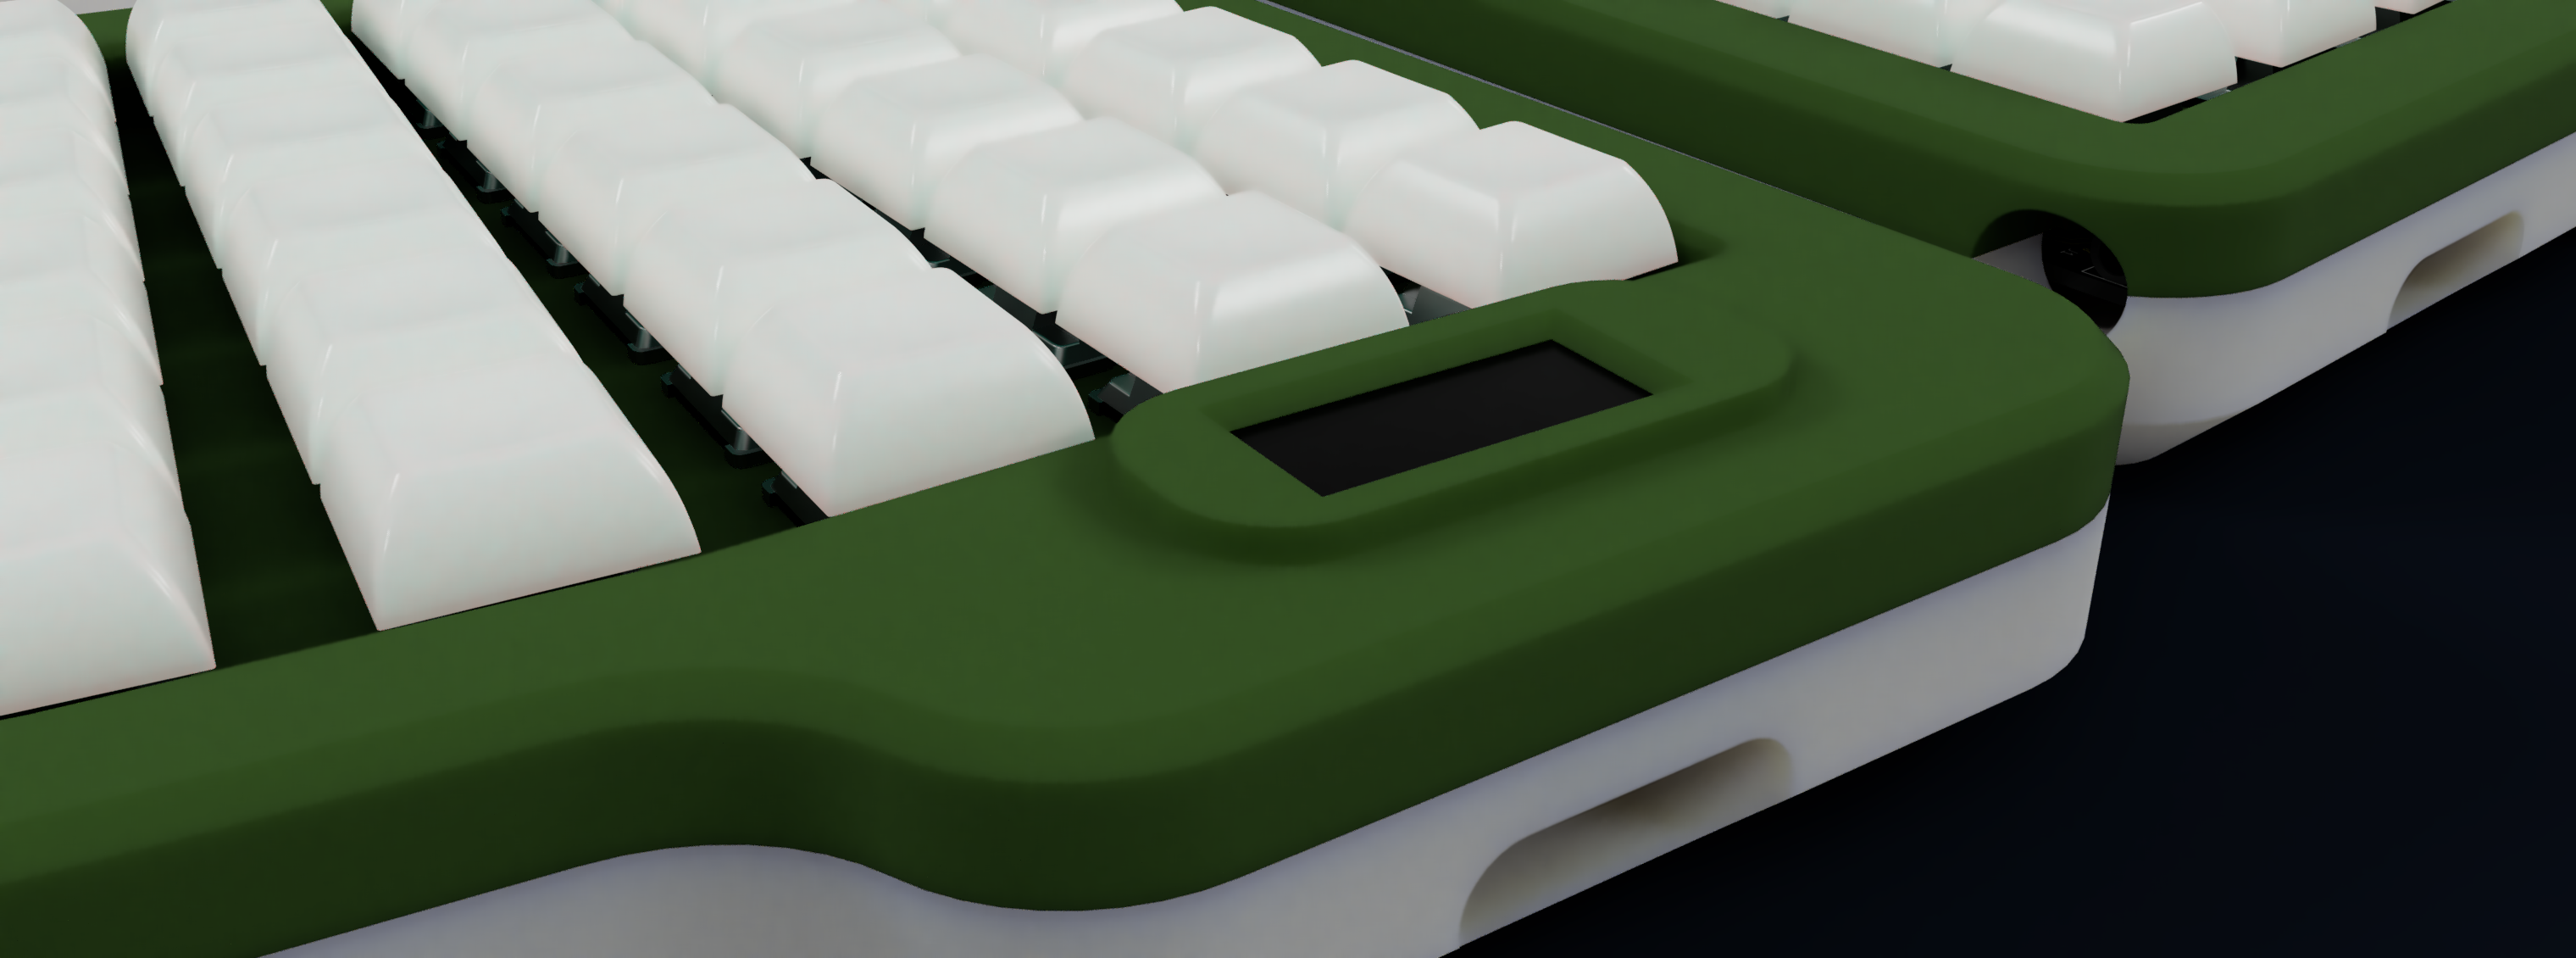
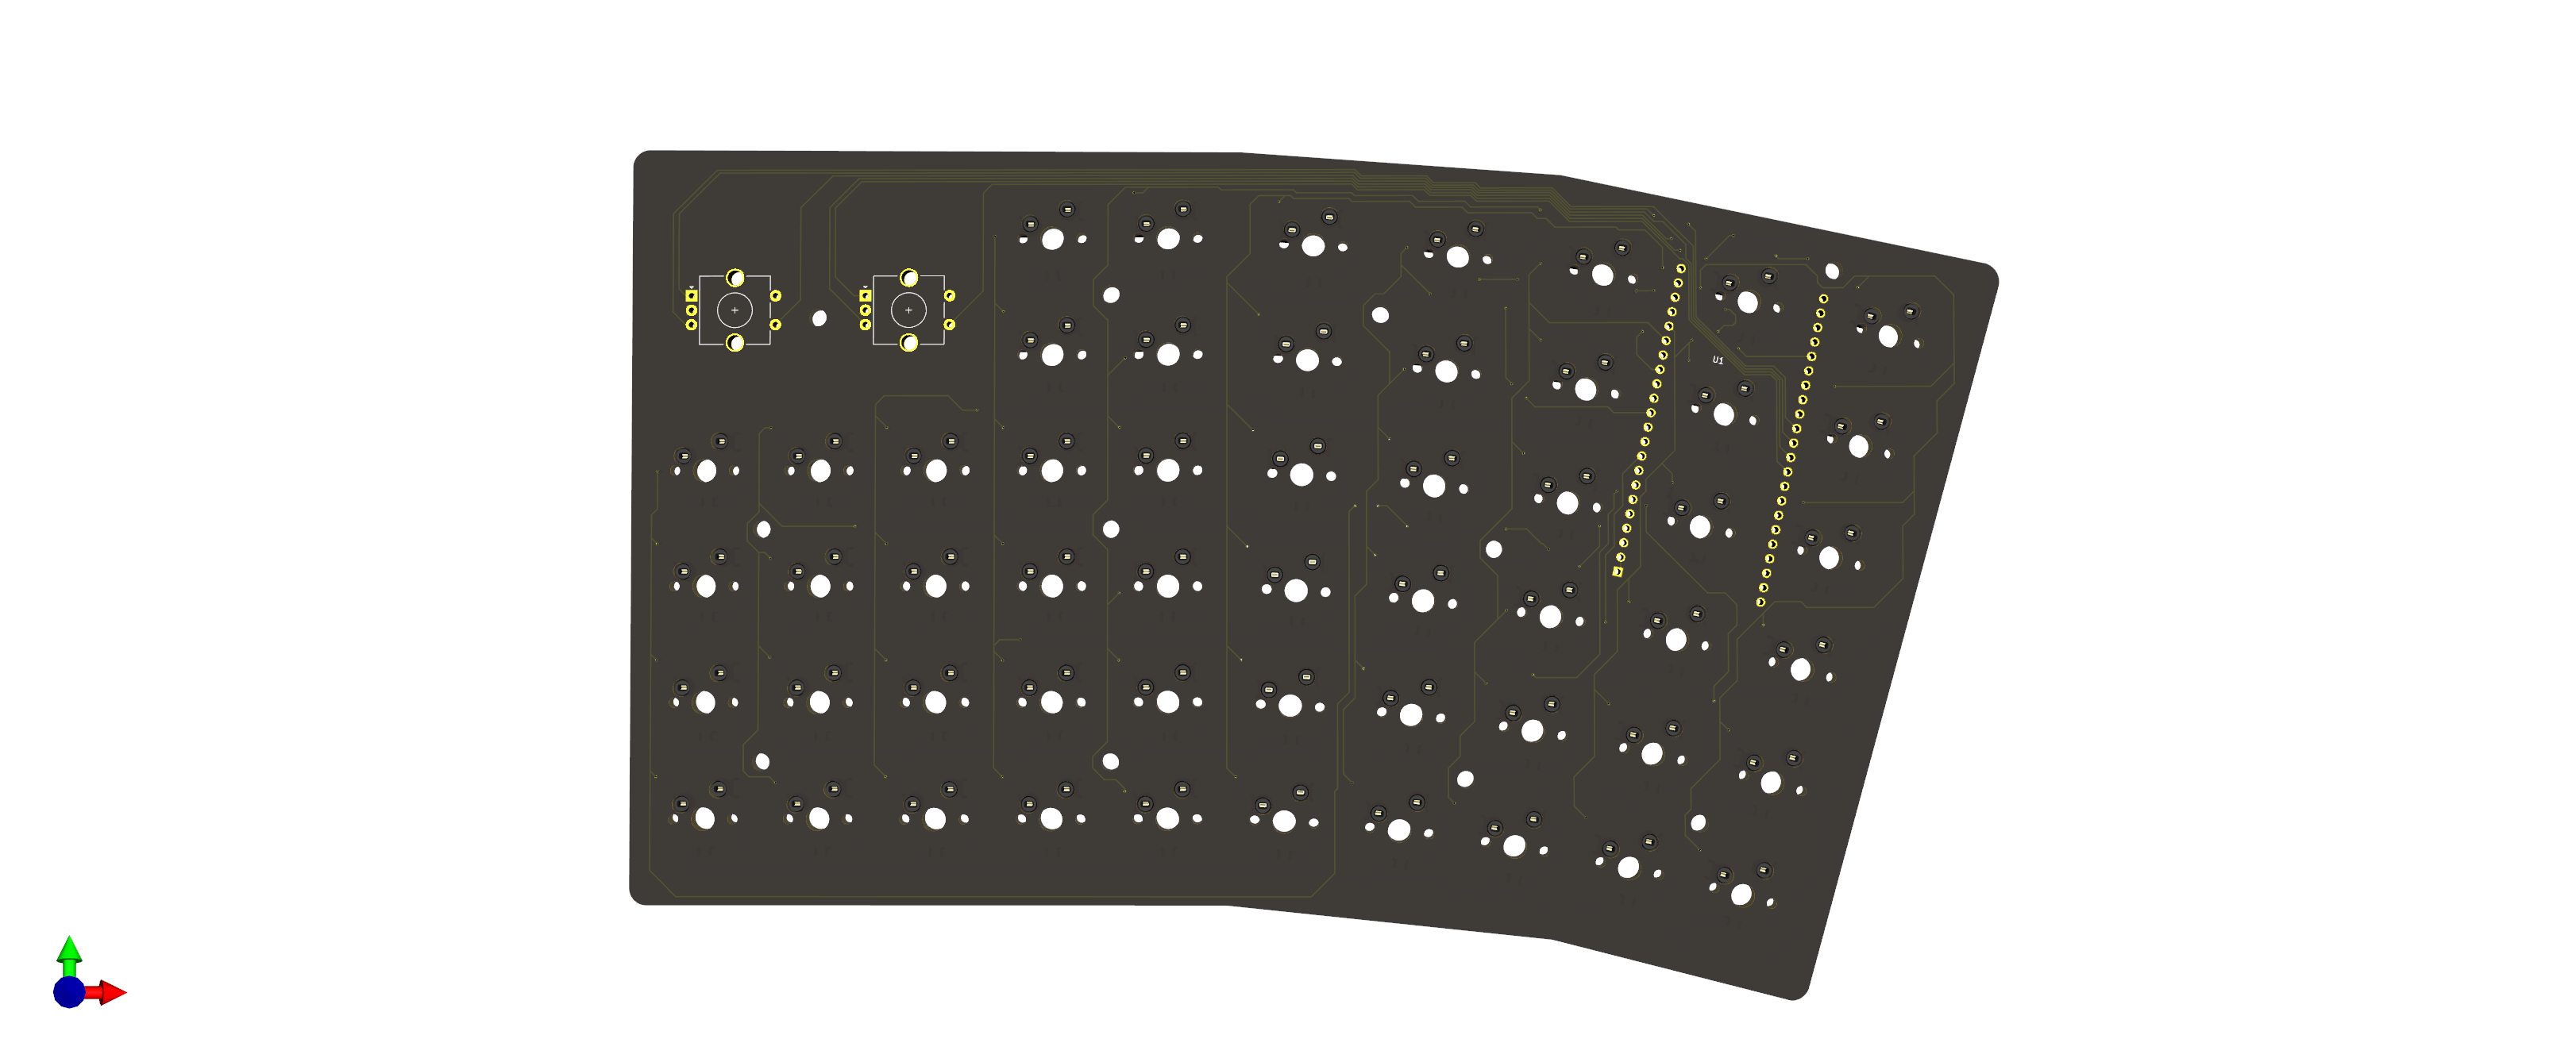
The last step now was to recheck everything and create the required files for production. Besides that the project als need to fullfill the hackclub requirements for a submission. I also decided to make some cool renders to show off my keyboard that took so long to desing. Rotation the footprints in KiCad was anabsolute nightmare.
Besides all of that I think I can submit my project now. I have check multiple times if I have everything.