
Dropdrone
A custom built 5 inch fpv drone that can carry stuff
onshape document
total hours: 40.5h
July 4th: Start!
I did research about components and sourced some components from aliexpress. I will use dji O4 air unit, xing 2207 motor, SG90 servo, 5 inch frame, M100 GPS, and Speedybee F450 stack. It took a while because components are expensive and i was trying to reduce cost as much as possible.
Also, I started to working on 3d modeling of servo payload system. I saw a video on youtube (https://www.youtube.com/shorts/8GbMEWLD8KA) which is simple payload system on fpv drone. I will benchmark this and make similar one. But I'm going to make it better and more refined because one in the video is made out of some random metal part and zip tie. I will use 3d printed part and possibly a metal part for stronger holder for smaller thickness.
I started looking and planning 3d model by looking at carbon fiber frame that i chose on aliexpress. I think i will mount servo on the backside of the drone and put locking system at the center of the drone for stability.
Total time spent: 6h
July 5th: Component changes and 3d modeling start
I did more research and a lot of searching on aliexpress for cheaper materials. I found cheaper SG90 servo so i replaced it. and i also found similar frame for better price so i replaced it too. it doesn't include 3d printed parts but i can design and print them myself ig. I replaced speedybee stack to unknown branded but cheaper stack.
I restarted to plan 3d model again cuz i changed frame and I will use holes for holding top and bottom part together to hold 3d printed servo mount(I will use longer screw) and put servo on the mount.
Total time spent: 5h
July 6th: more component changes and 3d modeling again
I'm currently trying to reduce cost and it is so hard :(( Its 383$ now including dji O4 air unit lite. I'm trying to fit everything under 150$ without air unit and battery. I changed motor to sunfun 2207 1750kv which is cheaper.
I restarted 3d modeling AGAIN because i wanted the payload system be removable and modular since flight time can be extended if payload system is removable. I'm planning to use fpv battery strap to hold 3d printed payload system onto the frame.
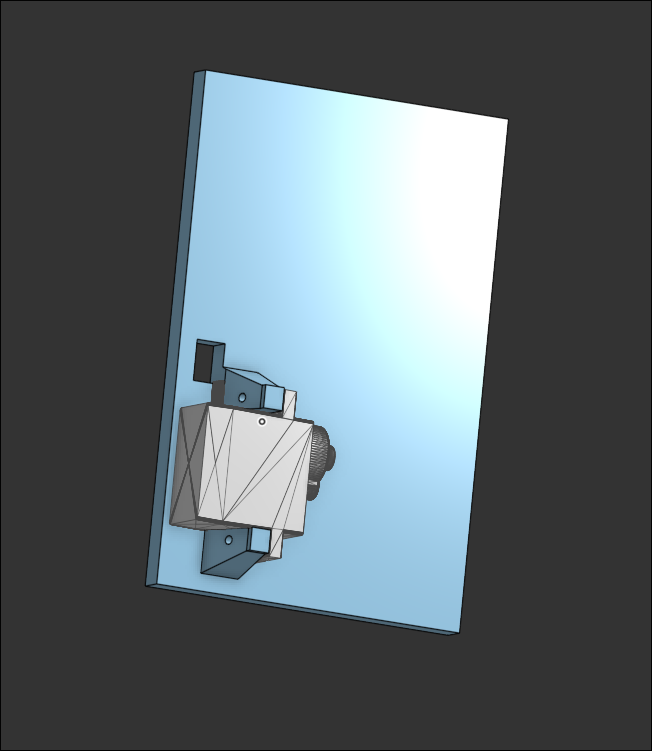
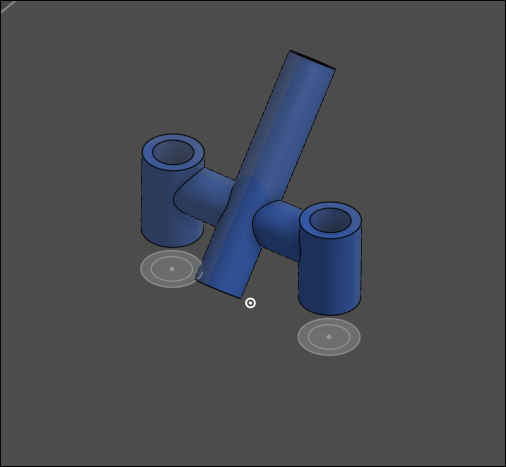
Currently, I made hole for wire and mount for servo motor. I'm planning to add strap hole on the left and right side.
Current CAD
Total time spent: 5h
July 8th: Finished CAD!!
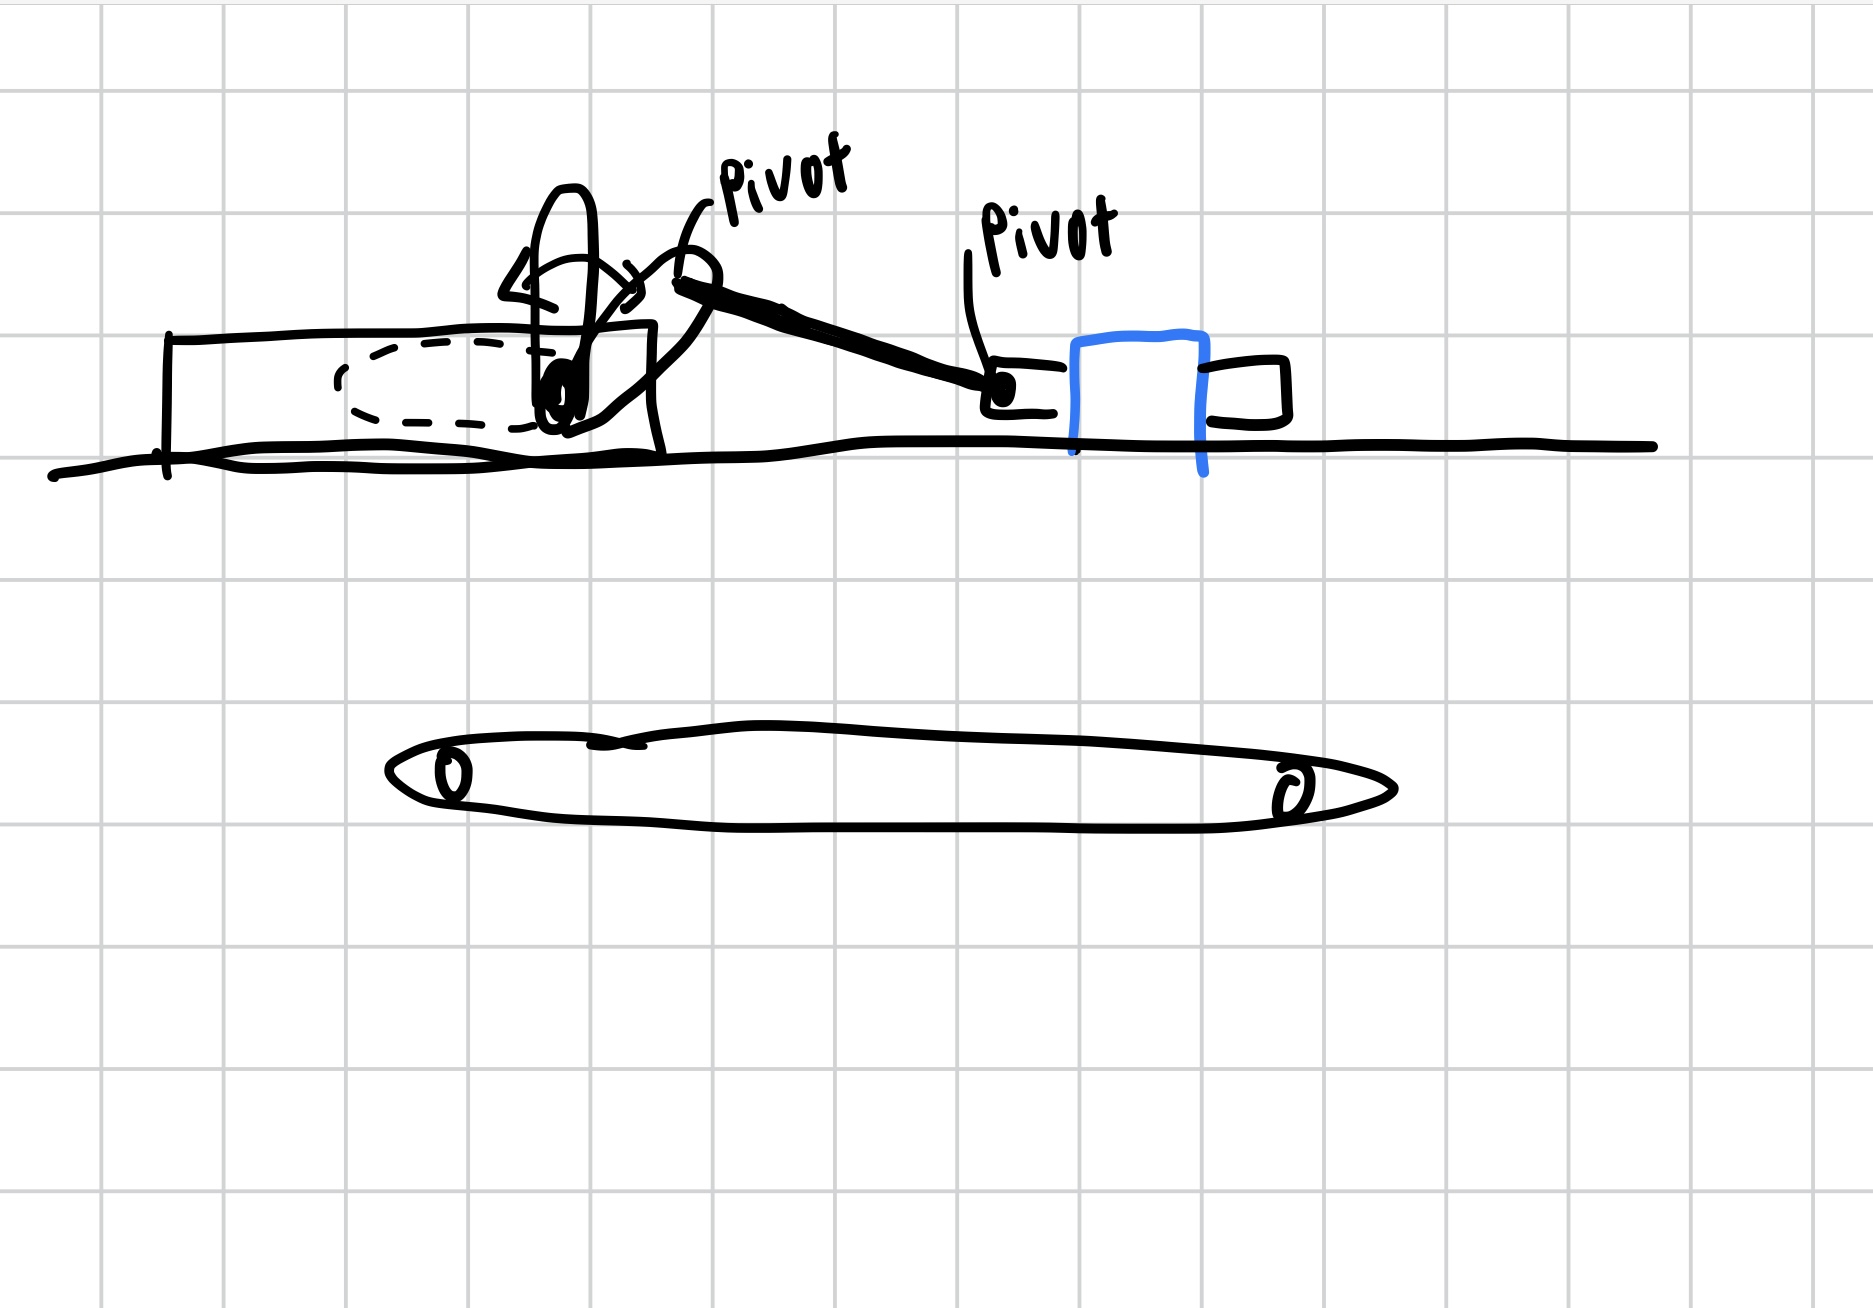
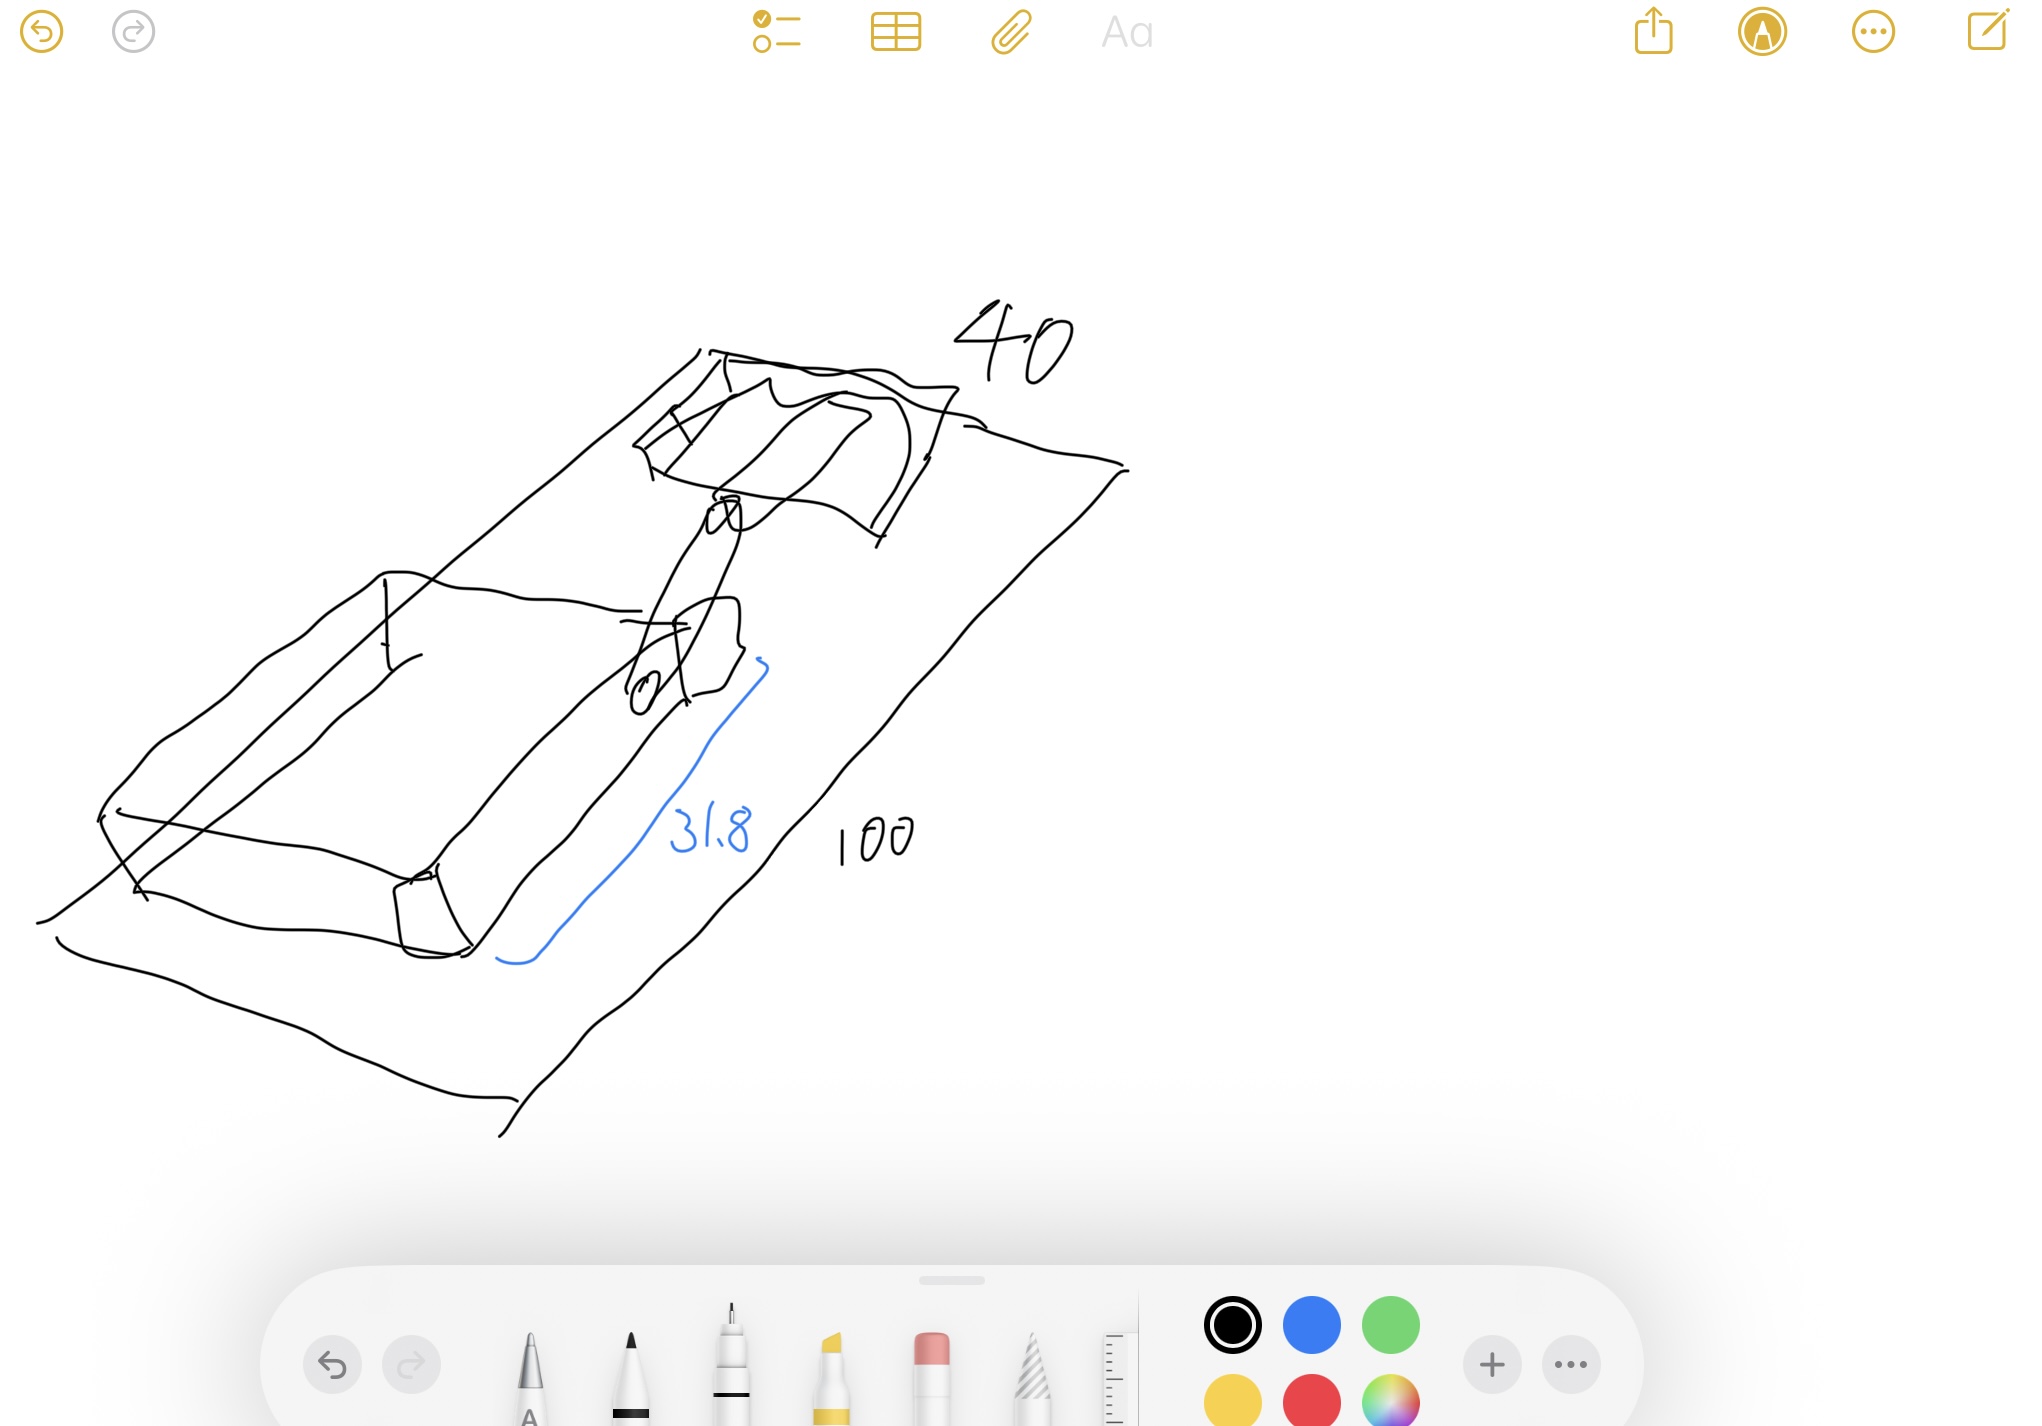
I finished CAD part. I added holes for strap and lock part. idk if it will work perfectly. So i'm going to fix it if it doesnt work when i get the servo. the hole will work as pivot and i will use metal strip to connect motor and the hole.
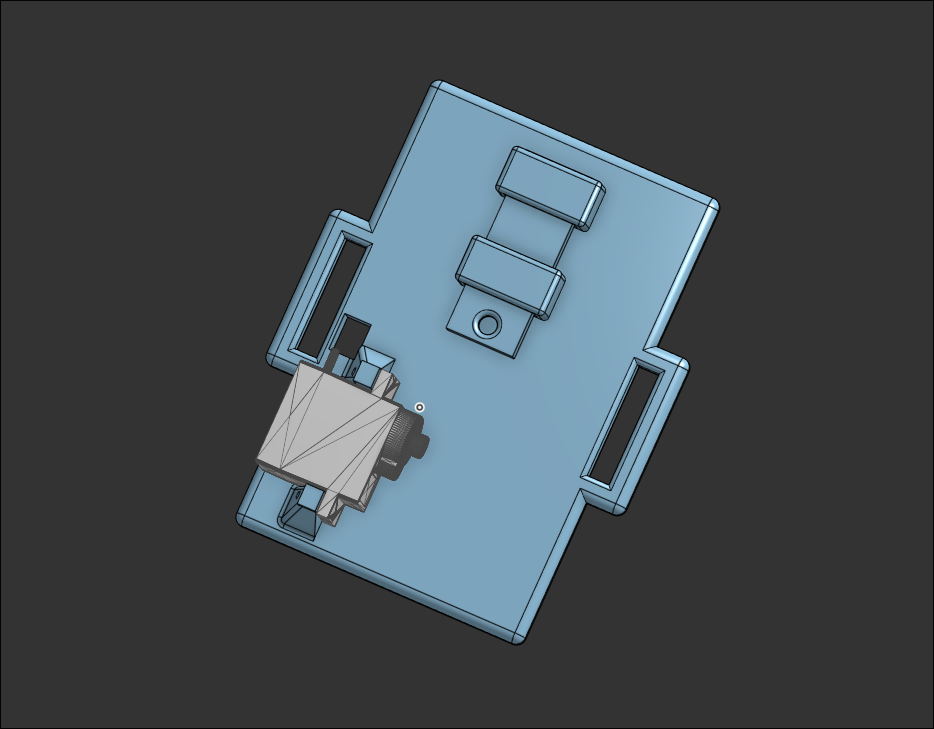
some sketches that i draw during modeling
Total time spent: 2h
July 10th: Finished!! (not really)
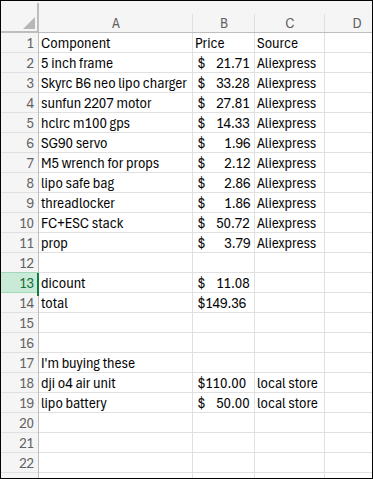
Today. I worked on reducing cost again. I replaced some parts with cheaper alternative and applied sale coupon :) So it is under 150$ without air unit and battery
Also, I wrote BOM csv for submission.
Total time spent: 3h
July 11th: CHANGES!!!
I found out that my project is a bit simple so i decided to design frame by myself. I was trying to do so when i was planning before i start and i 3d printed some test parts to see if it works. But it was too weak and bent so easily to be used for fpv frame. So i decided to use premade carbon fiber frame.
However, I found about cf cnc and it wasn't that expensive like i thought so i decided to use it.
I started designing fpv frame. It was kinda confusing because idk how to shape the parts. So i tried tracing frame photo on internet but tracing wasn't perfect and it seems to be more complicated than designing from scratch. So i decided to make one from scratch but using photo as reference.
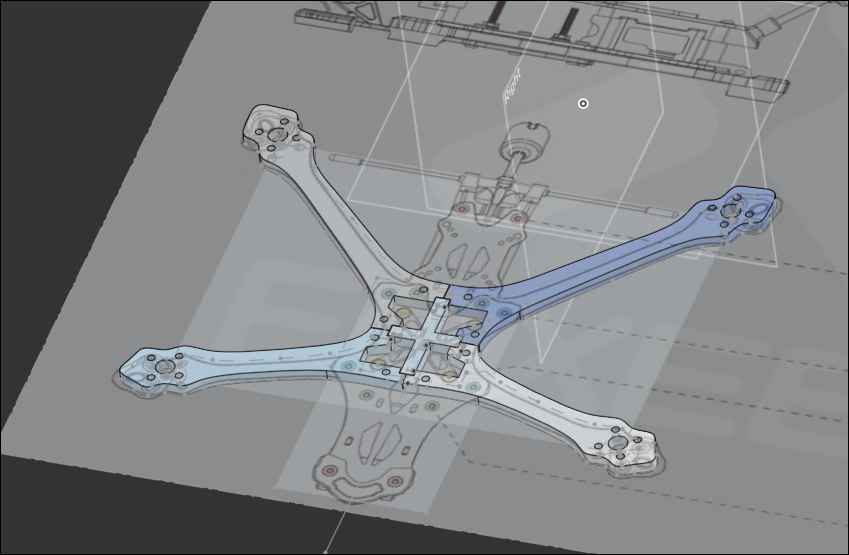
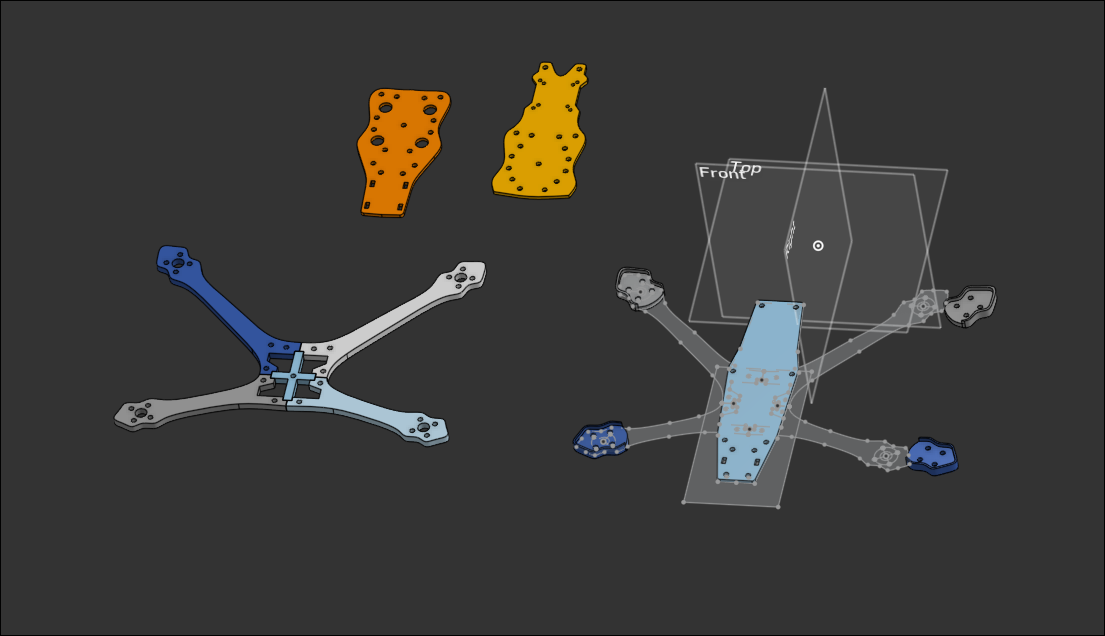
I designed arm and + shaped support first. and this is the result. I was worried about thin points so i edited quite a lot and finally got right design :)
I made some reference sketch like center line and holes so I can mirror sketches to make other side and make hole for screws on other parts easily.
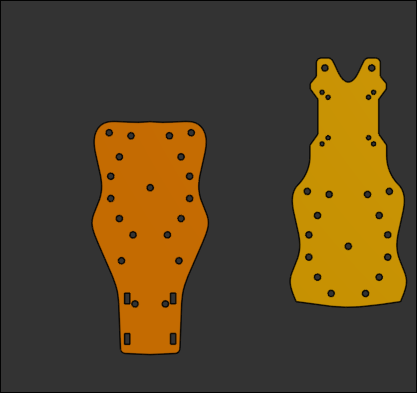
Next, I designed bottom plates. I seperated them into 2 pieces as most fpv frame does. I traced the photo a bit but changed most of the parts to make the holes that i made on arm work.

Total time spent: 8h
July 12th: More CADD
I printed the parts that i designed yesterday and it was very nice. the arm and + shaped support fits very well and holes are alligned nicely. But the pointy part of plate was making the frame too big so i reduced its size.
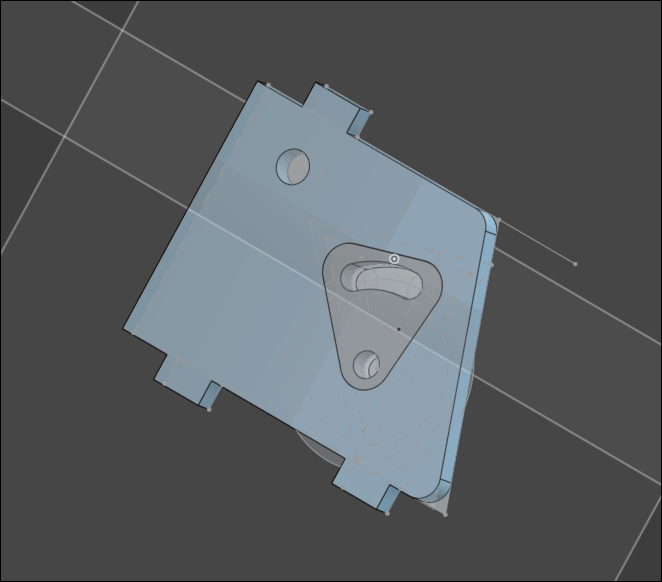
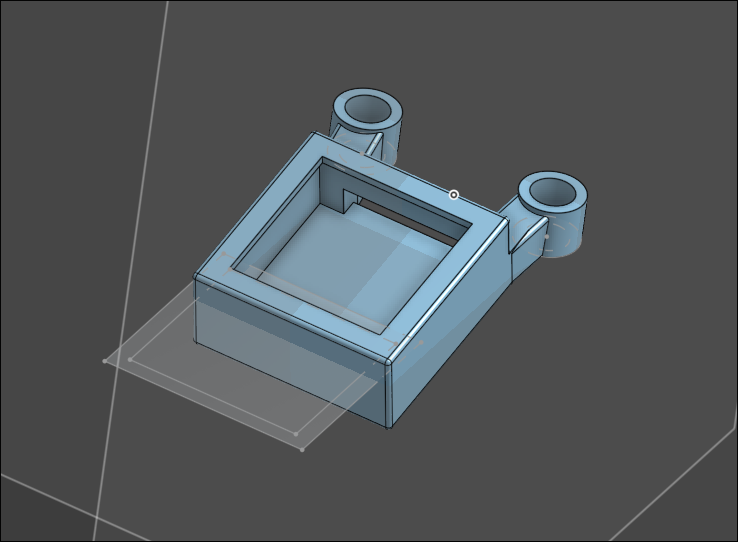
Also, I made side plate for mounting camera(+holes on plate). It was quite confusing process because idk how to make it and also most of frames use cnc aluminium side plate with threaded hole. but i cannot use cnc so i used some knobs to hold it in place and used top plate and bottom plate to hold it. and i made tpu dampner/connector for camera too.
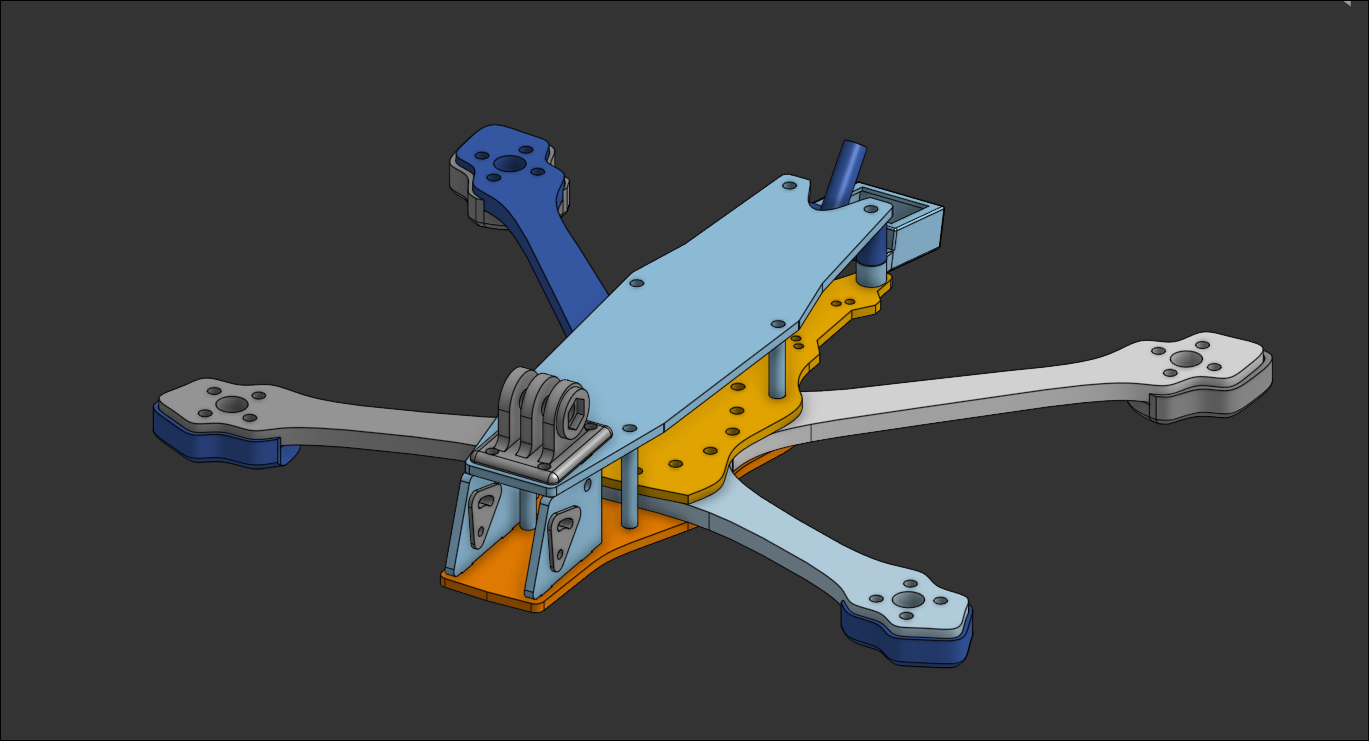
lastly, I designed top plate and addeddummy standoffs to see if it looks good. here's overall assembly view for now.
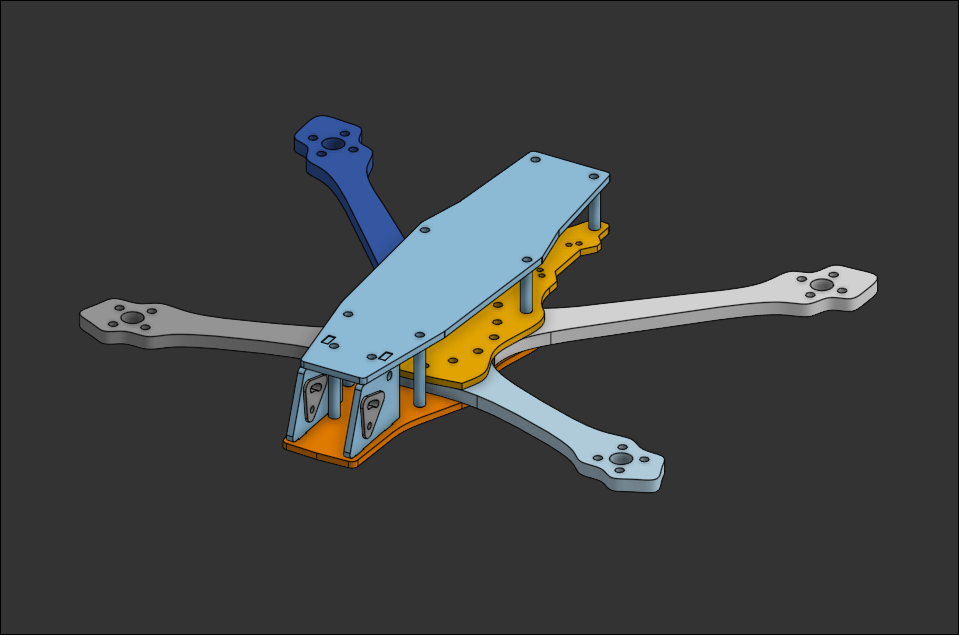
I'm quite happy how it turned out :))
Now. i'm going to make some holed on the plates and test print the parts to see if it works well as i designed them. Then, i think i will design some replacable parts like landing gear, antenna holder, and gopro mount.
Total time spent: 6h
July 13th: More CADD
First, I chose to use 3d printed frame because it was quite firm with 100% infill. and I will also use 3d printed standoffs with heatset insert because there is no point of using metal standoff when whole frame is plastic.
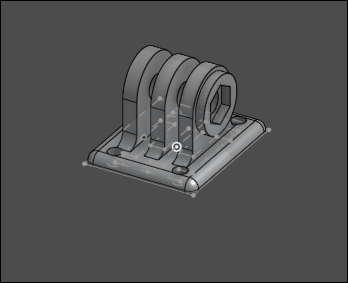
I designed gopro mount, landing gear, and antenna+gps mount today. Also, I sourced more materials like battery strap, non-slip pads for battery, mipi cable extension for cam mounting, heatset insert, and etc. It wasn't that hard process because it wasn't confusing and complex like frame design. I will edit some part after testing out when i get the components.
Total time spent: 5h
July 13th: FINISHHHHH
I edited BOM since i had some changes and I chose to use metal standoffs because i think it will be too weak and top plate could fall off from frame if i use 3d printed ones.
One last photo with everything together
Total time spent: 0.5h