
QuakeCord
An earthquake sensor that connects with discord.
May 25th: Research and Design + Build a Prototype.
I finally decided to start this project. I've been wanting to make something useful and about earthquake since I lived in a place with lots of earthquake.
The function I planned to have are: - detect earthquake - record the acceleration data for further research - send notification to discord
Here's a quick picture explaining this:
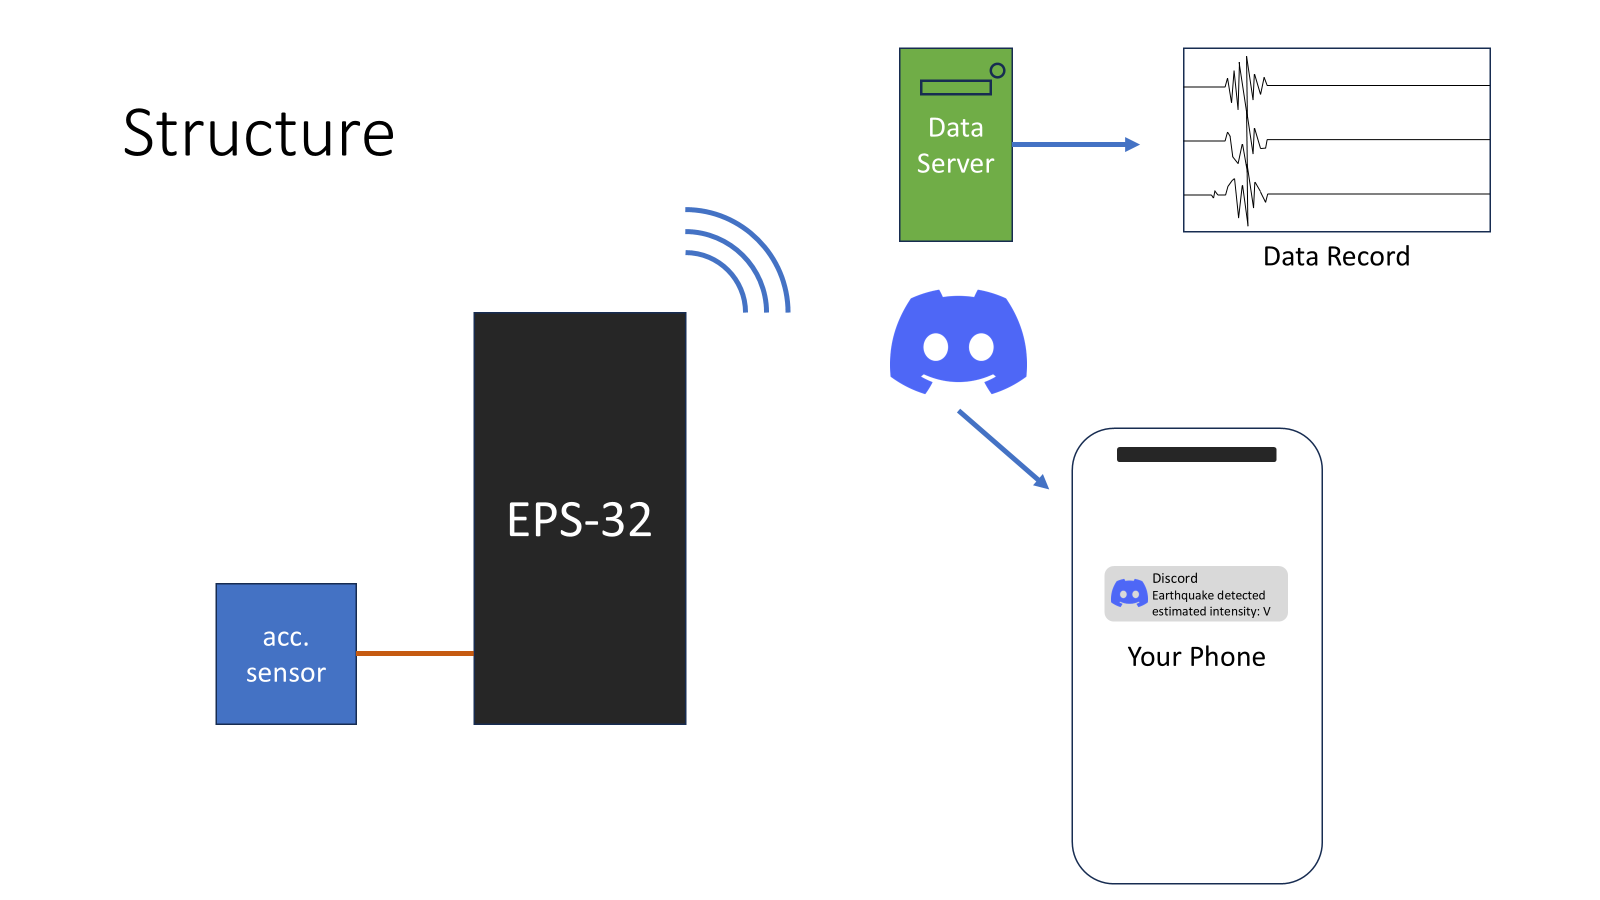
So the things I would need: - EPS32 (controlling the sensor) - An accelerometer (of course, for obtaining data) - A case (for dust protection) - A data server (for collecting data)
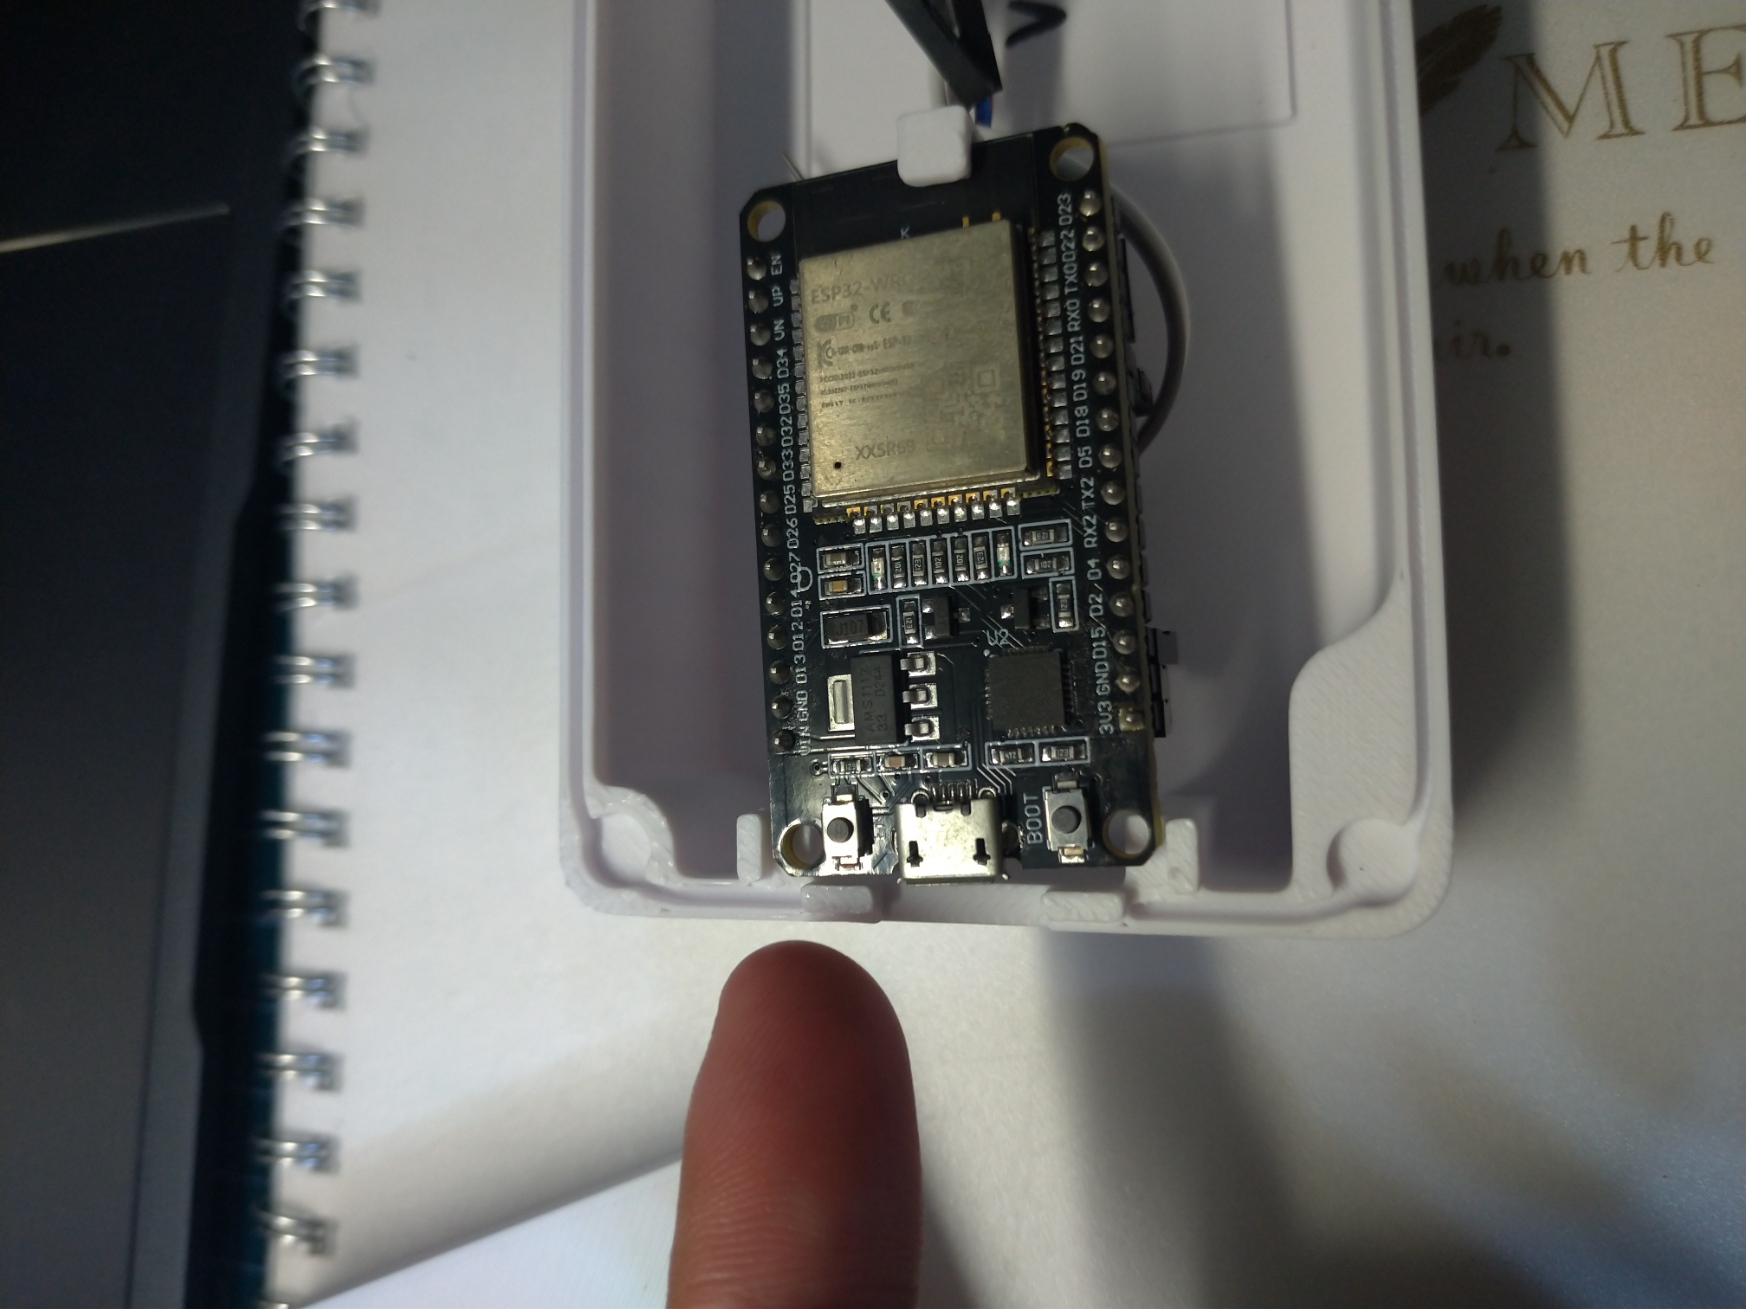
I'll use an ESP-32 dev module to control the hardware because I'm more familiar with it.
Next, I'll need an acceleration sensor. I ask Gemini for suggestion on the sensors, but it seemed like ADXL345 and MPU6050, which I already have, are the most sensitive sensor I can find.
So I read through the data sheet of the ADXL345 and MPU6050.
After all, I decide to use MPU6050 because its extensibility. It has an accelerometer and a gyroscope, which might make it more possible for something more complicated than only an accelerometer.
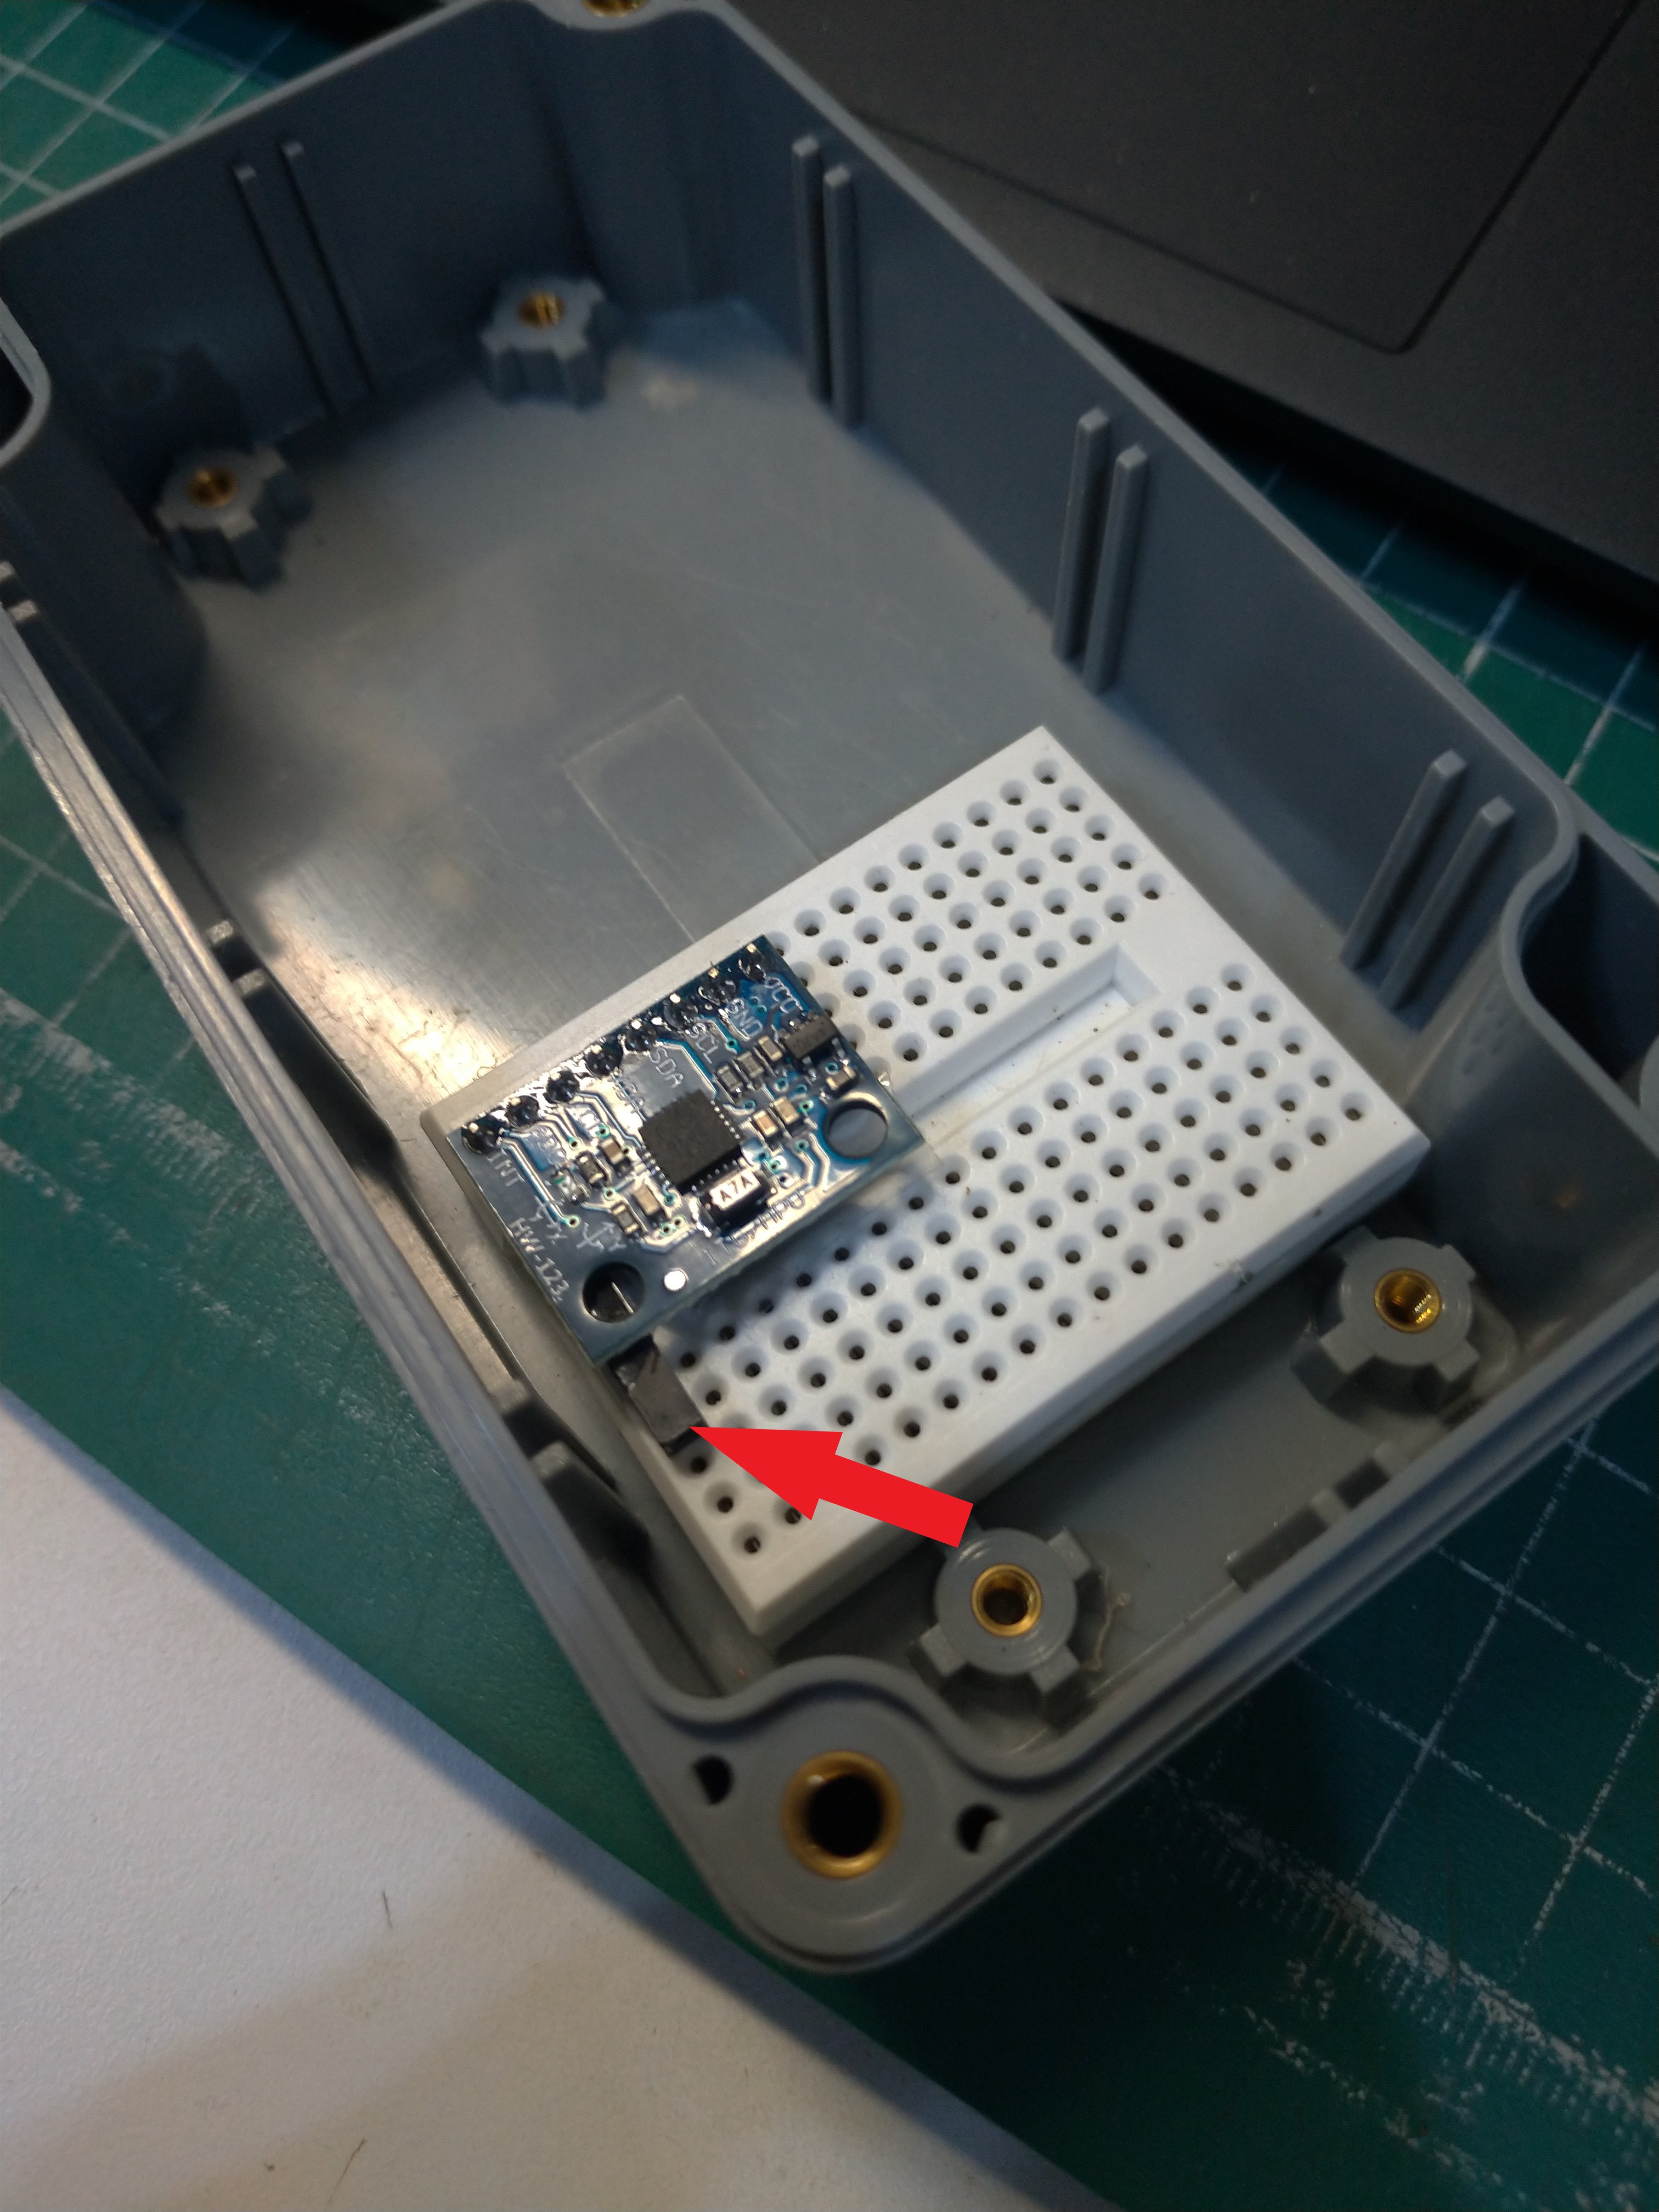
I use a breadboard to hold my sensor, which it flat enough at the bottom to make the sensor stable, and also I glued a little piece of plastic that somehow just fit the height of the sensor to hold the sensor's other end.
Then, I found a library for MPU6050 and spend about one hour trying to understand the example program.
Total time spent: 4h
May 31th: Draw design with FreeCAD.
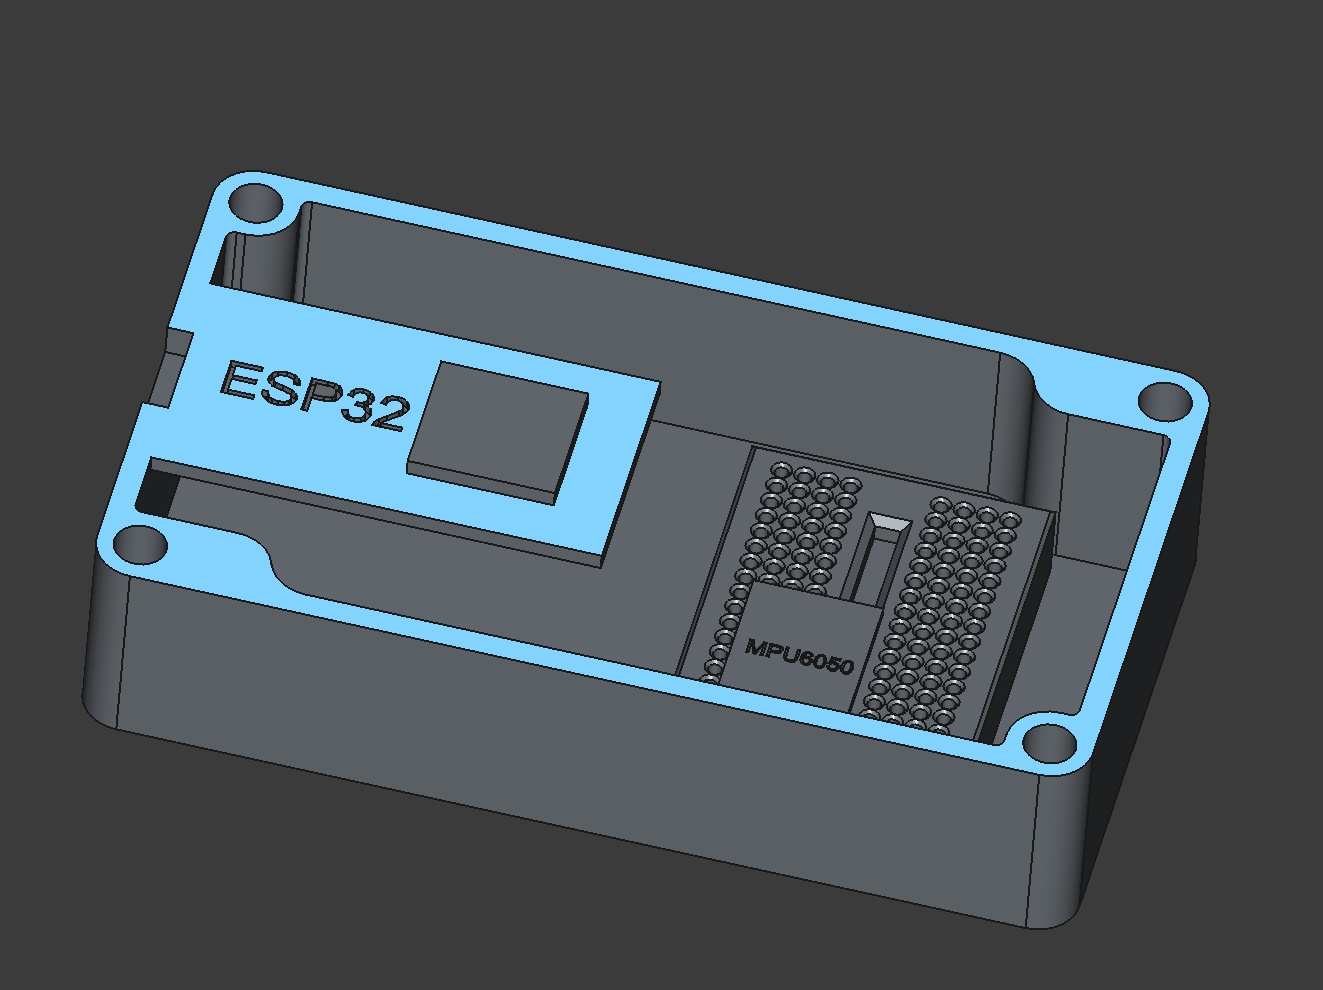
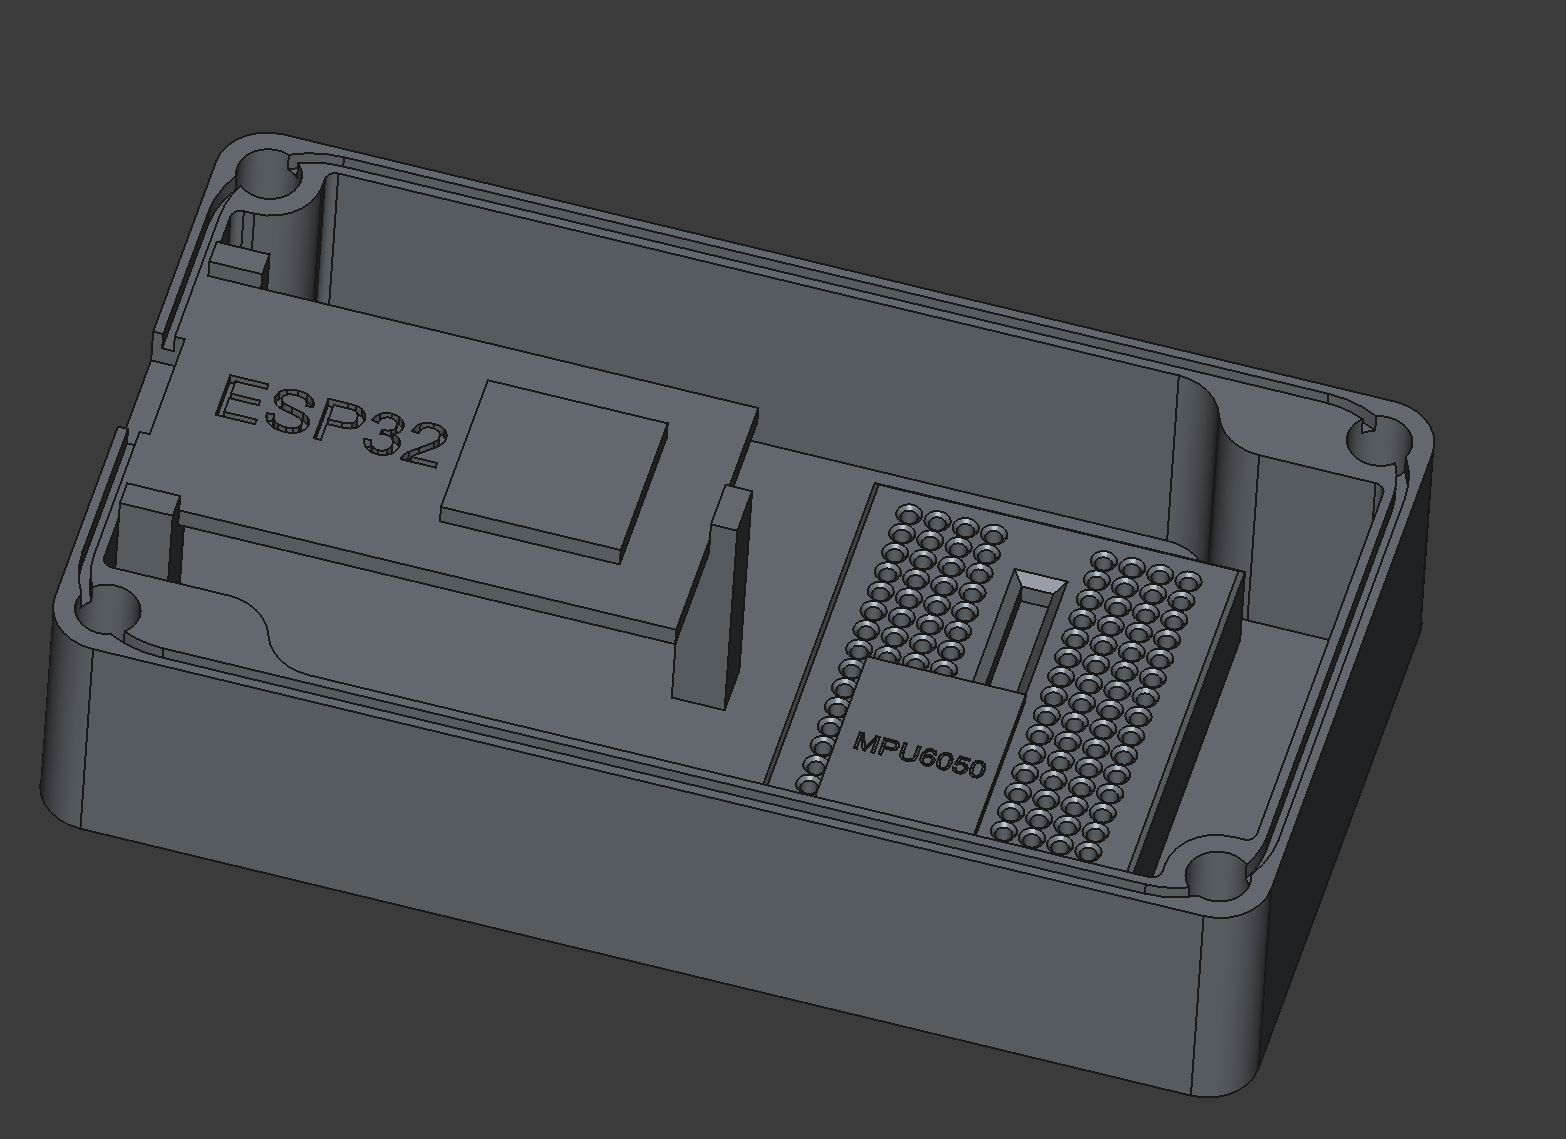
Basically what I did today is draw the case for the controller and sensor.
I use an existing box as a reference and slightly change the design a little bit to fit.
I got a little pissed when freeCAD not responding every time I was finishing a step.
Because I'm the first time using this software, so I feel a little hard to control everything, but after all the pissing and agony, I finally got something that can be showed.
Then I extract the case from the overall design to make it 3D printable.

Quickly I realized how stupid I am. I just forgot to add a hole for the power line.
So I quickly drill a hole on the model, then, even more stupid, I forgot that the board needs to be placed facing up to let the user be able to read the builtin lights. I almost cry out, like I spent 3 hour just for this thing to have a shape, and now there's lots and lots of problem.
After fixing that, the model looks fine, so I export it and put it into Cura to slice it for 3D print.
A very huge problem popped out. Though I am going to use my school's 3D printer, most of the printers have a time limit of around 2hr, anything above that might got removed by the teacher. So I gotta go find my teacher and try my best to persuade him to let me print this part that takes 6 hr to print (9 hr when all are printed at the same time).
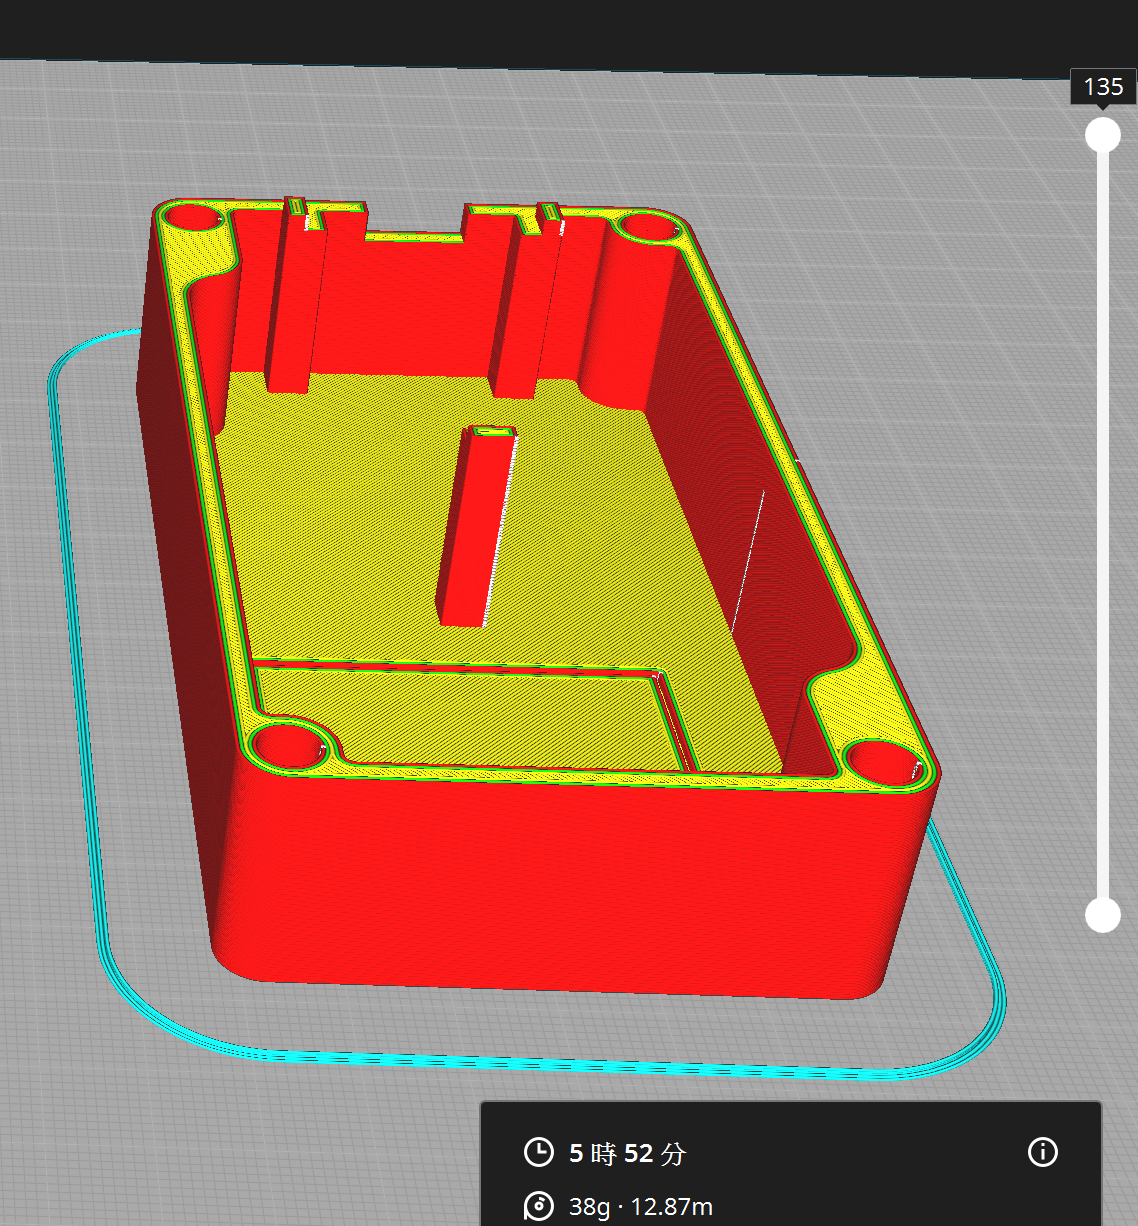
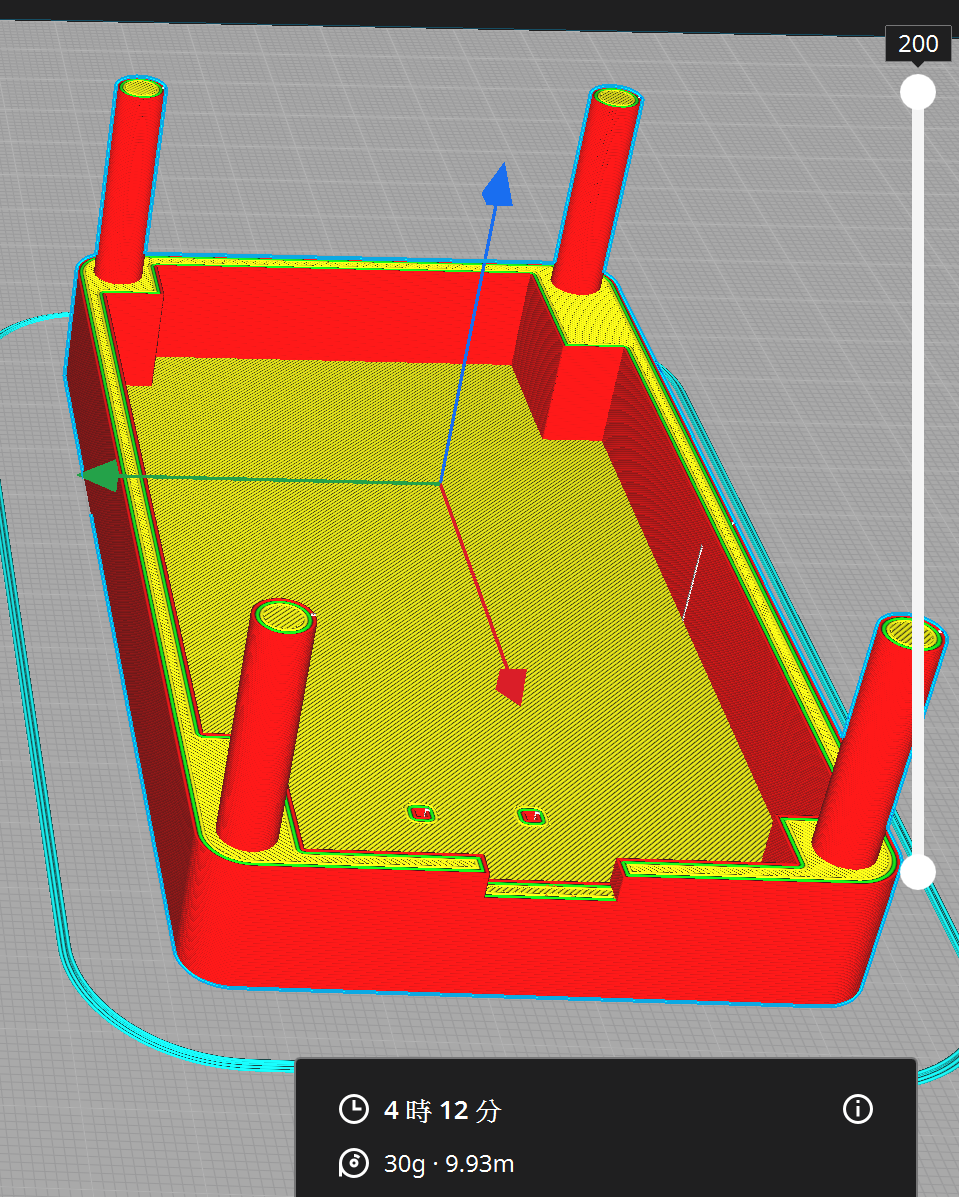
(時=hour, 分=minute)
Well, at least I worked something out. Just... have to tell my teacher... Hope this works.
I worked a little bit more at night to fix the closing gap. Now it look something like this
Total time spent: 8h
June 2nd: Try printing the model and fixing it.
Today, I ask my teacher to print the case out for me. Well, you know, teacher... he just bring out his super fast 3d printer and get everything done under 2 hrs.
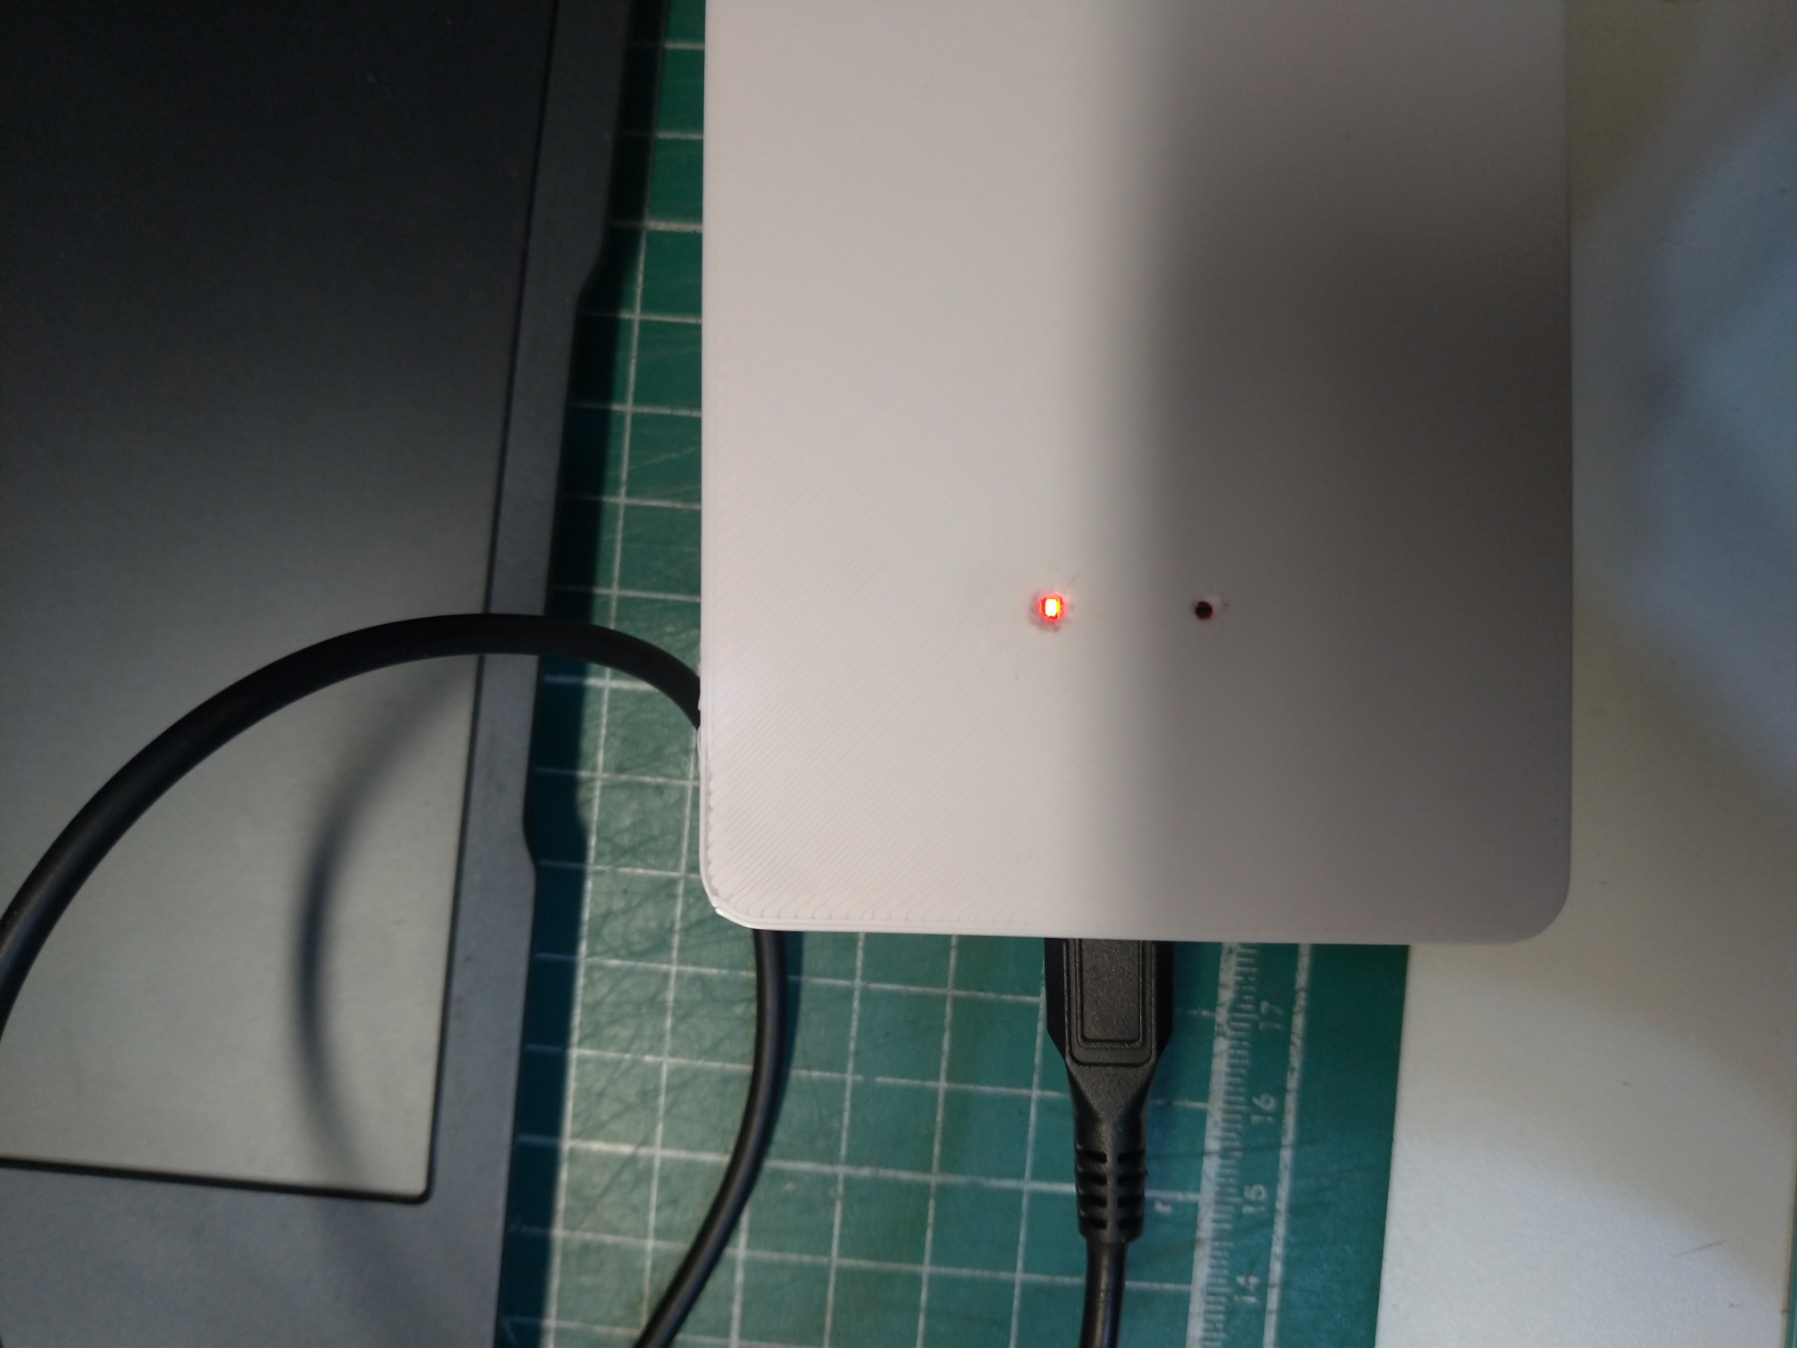
The led holes are too small, so I change it to be bigger in the CAD and also drill the printed model to make things look nice. In fact the alignment is incredible.
The board holder worked as expected, but a little bit tight, so I fixed it again.
After I got the case, I soon found that there's two main problem:
First is that when I touch the four feet
of the cap, it instantly break apart, which means it's not a good solution to use the structure. But it surprised me another time by being able to fit and close just using the little trench
I dug around the edge.
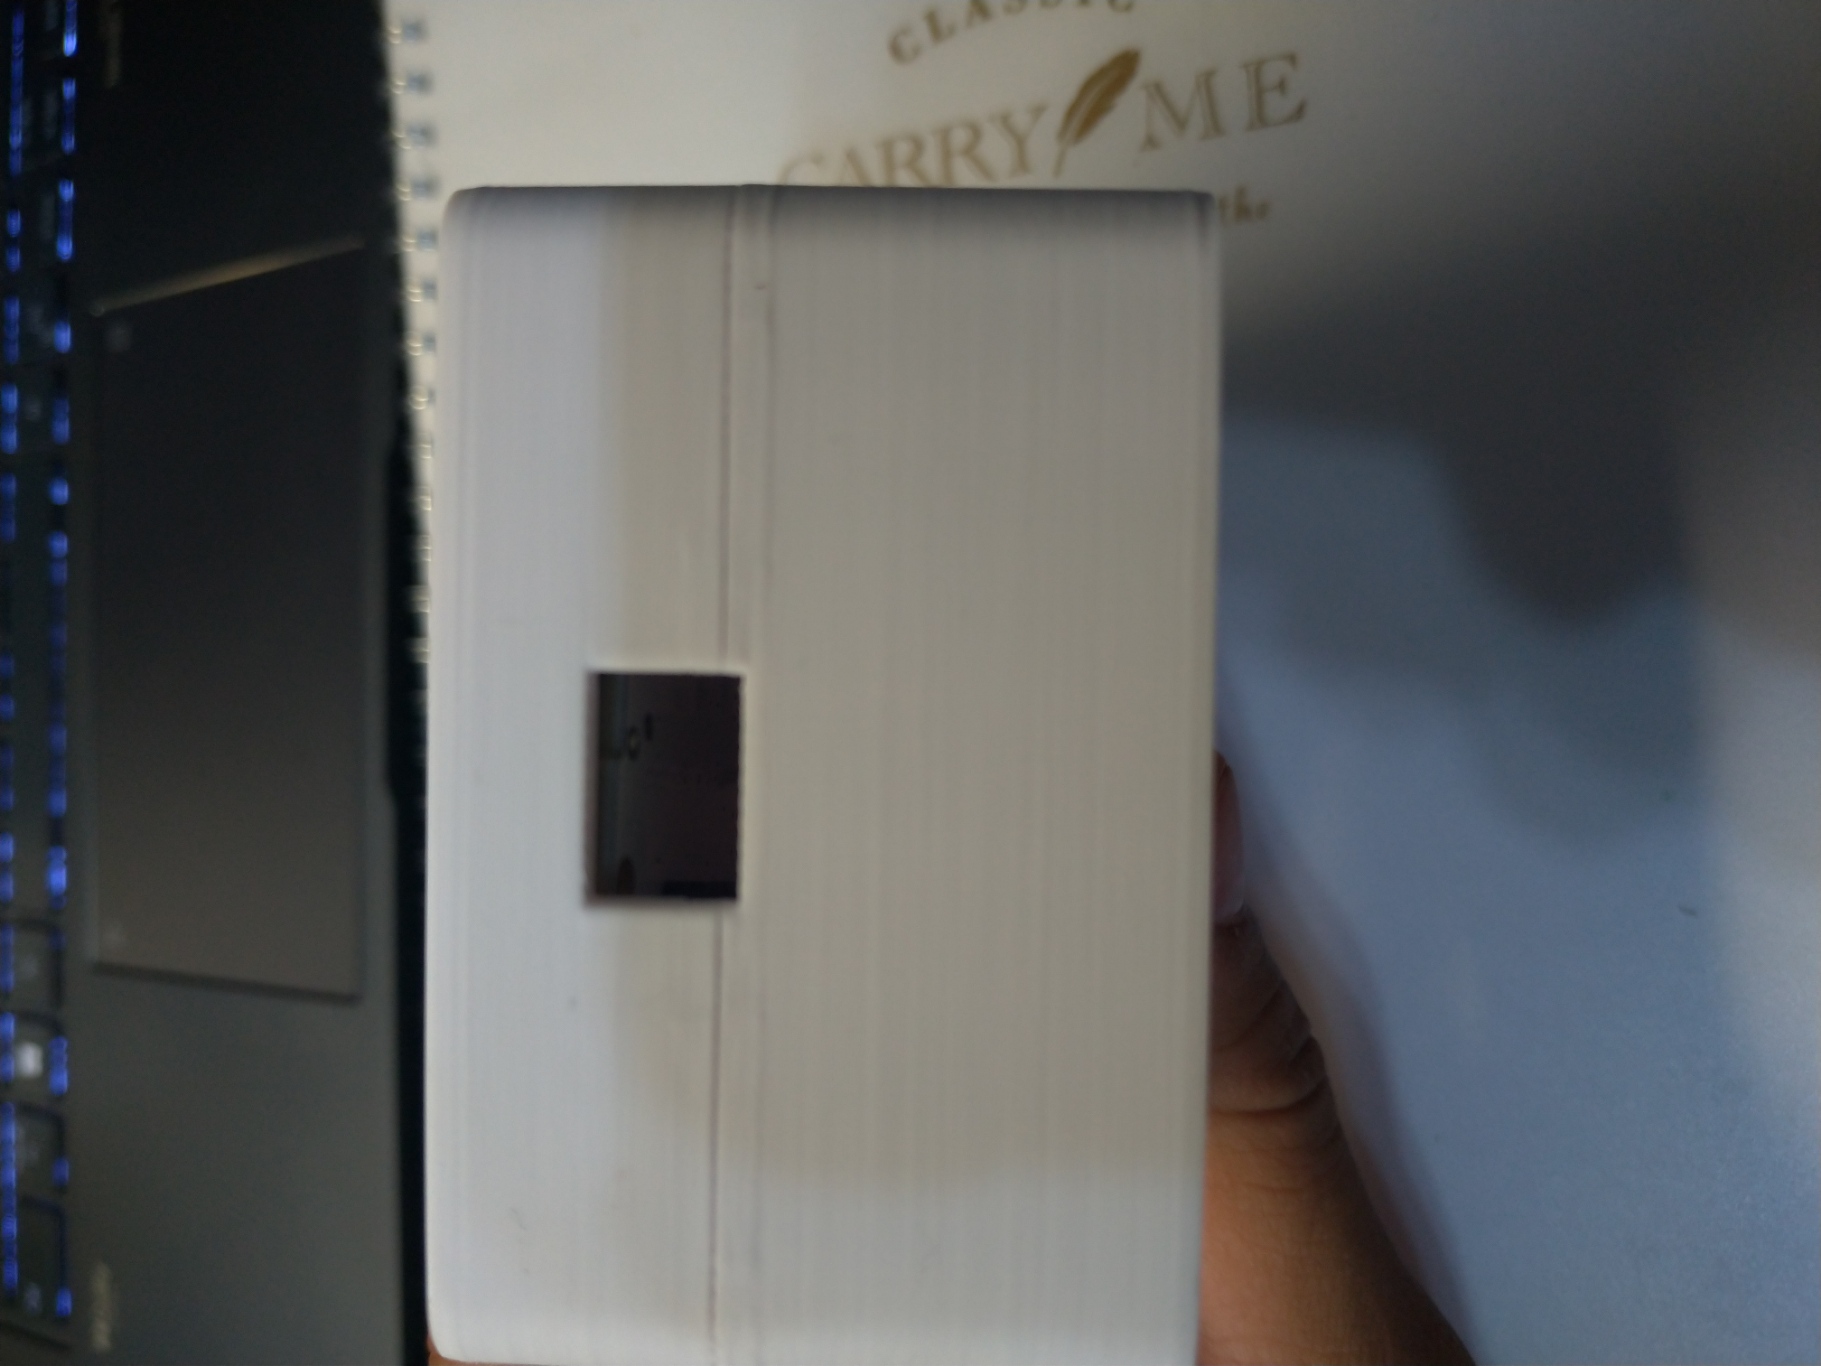
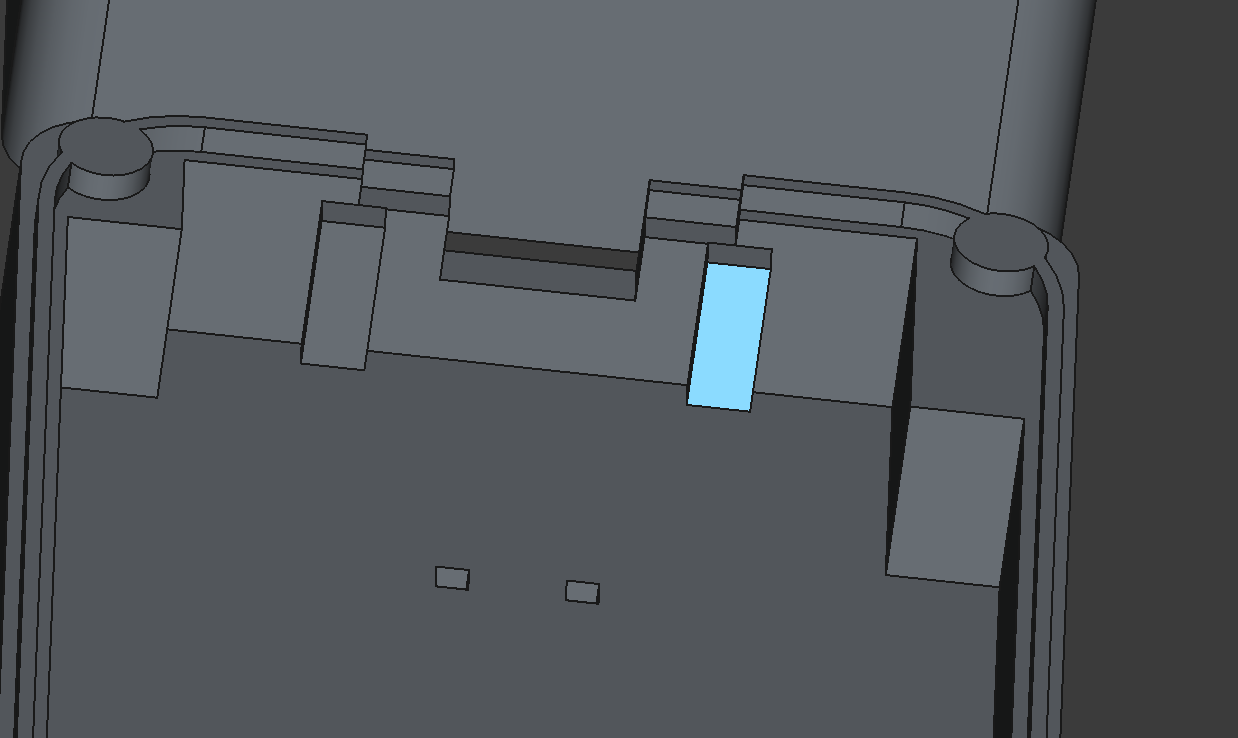
Second is that the hole for power doesn't fit the power plug at all,
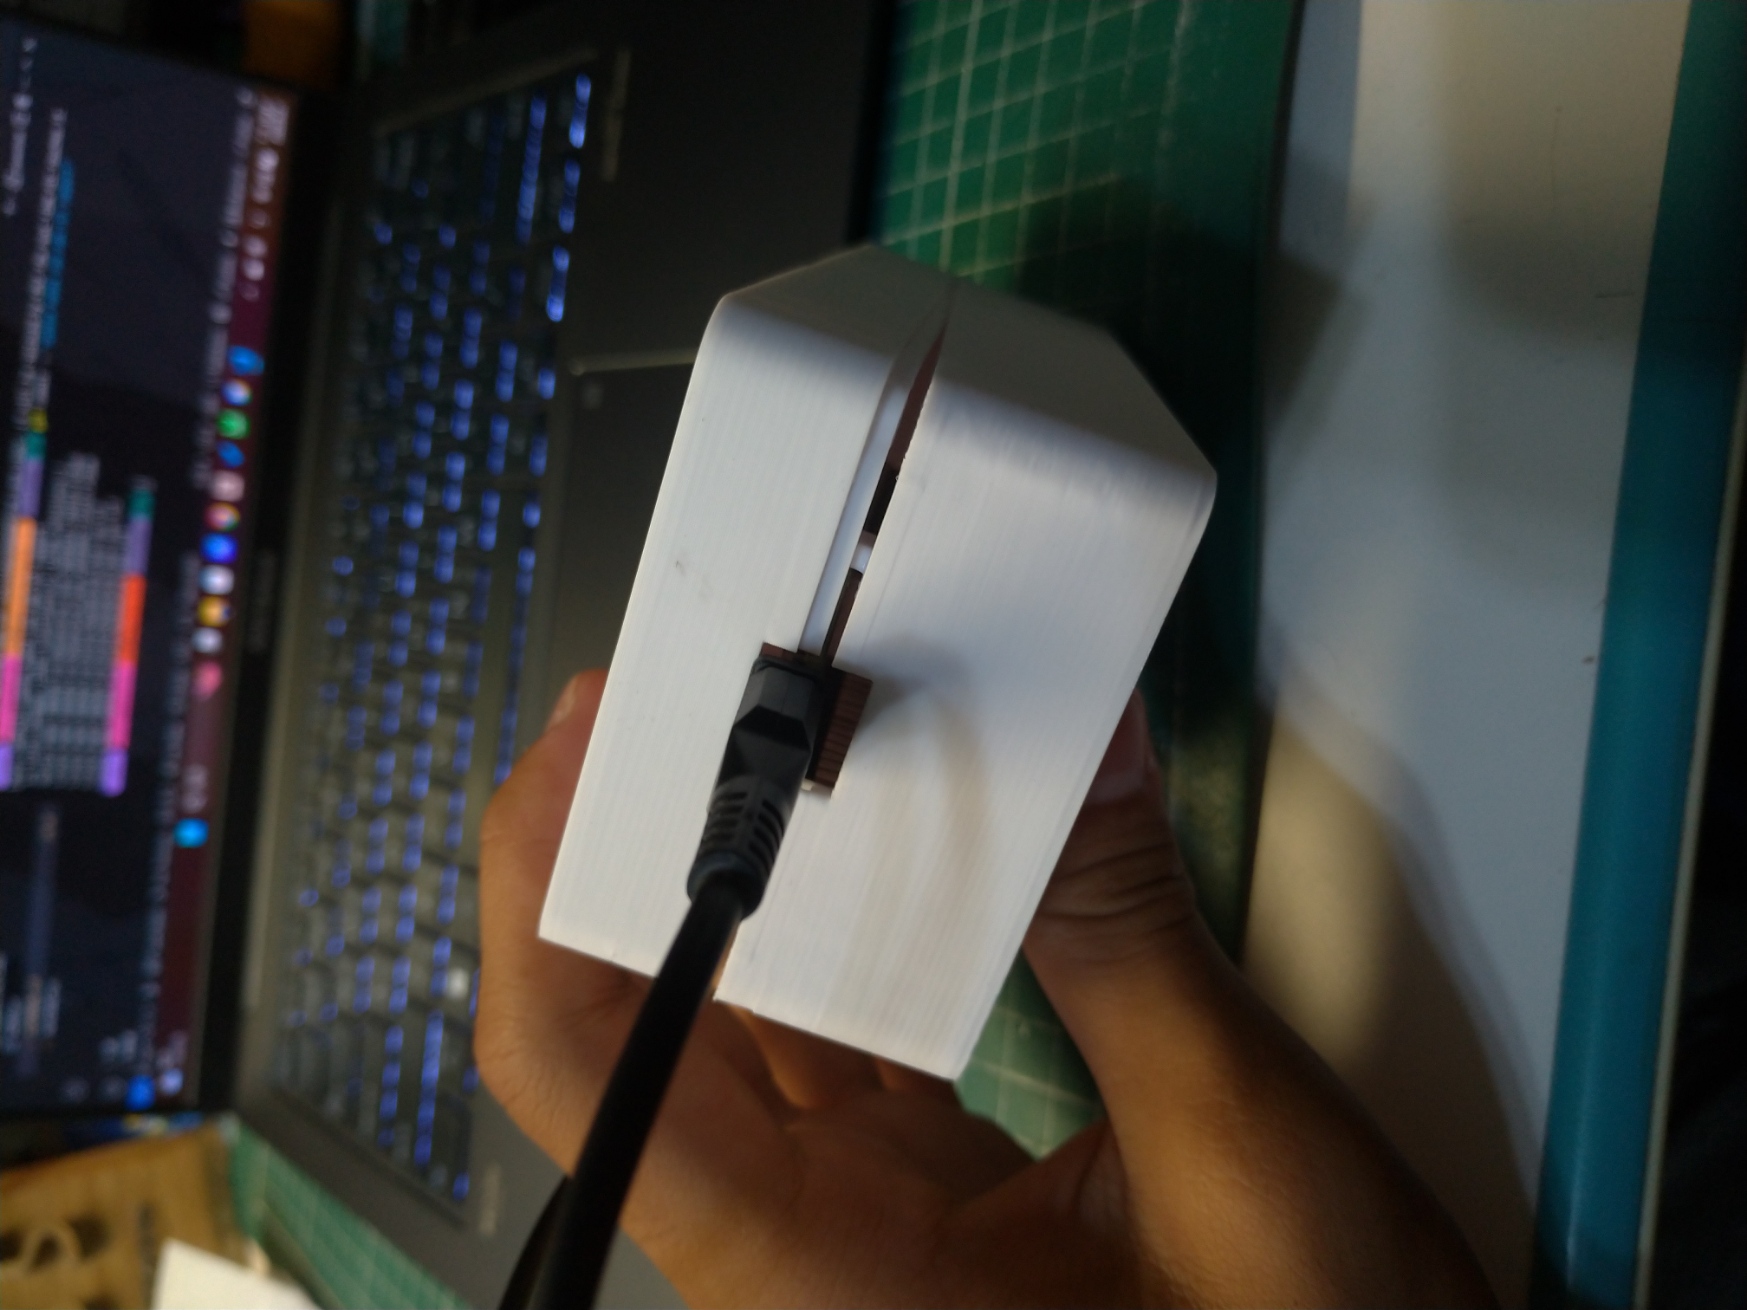
so I just fix that simply going back suffering in the CAD.
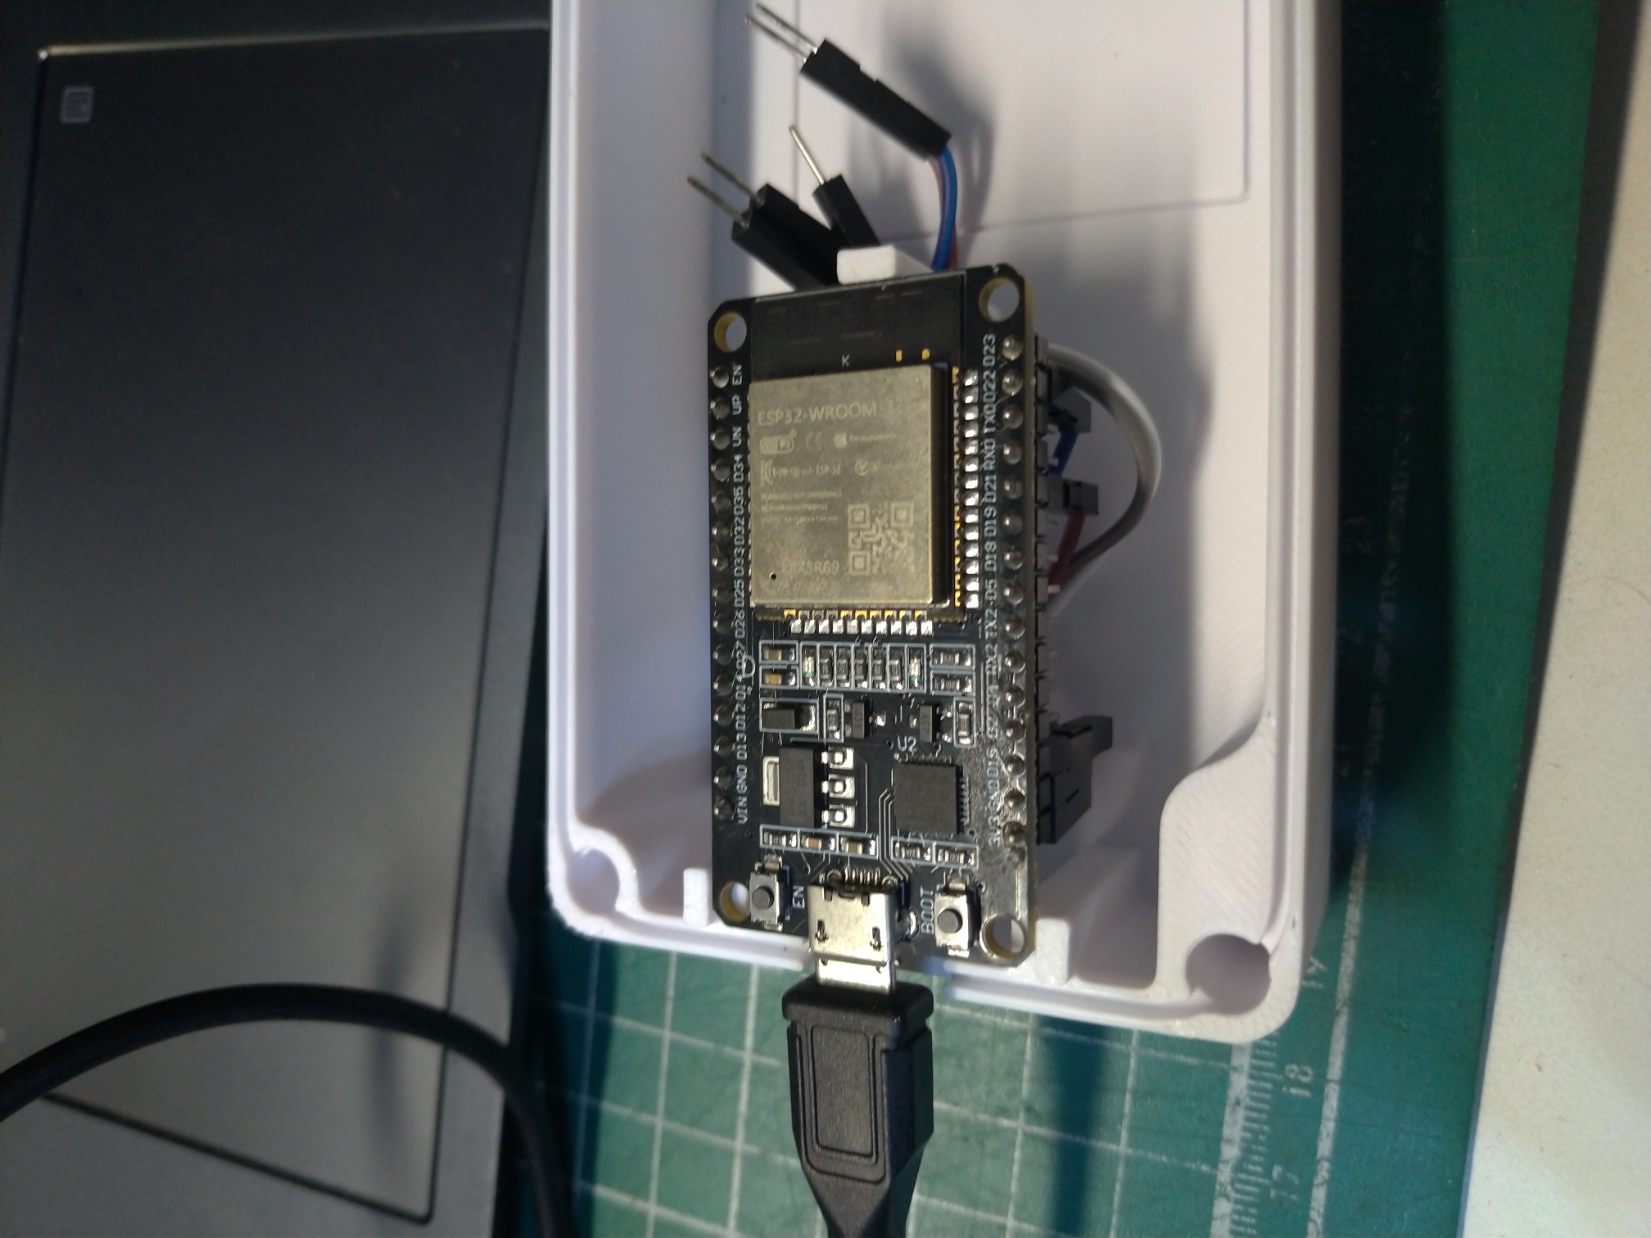
Also, I added a little bump to hold the ESP32 just to make sure it doesn't slip like this
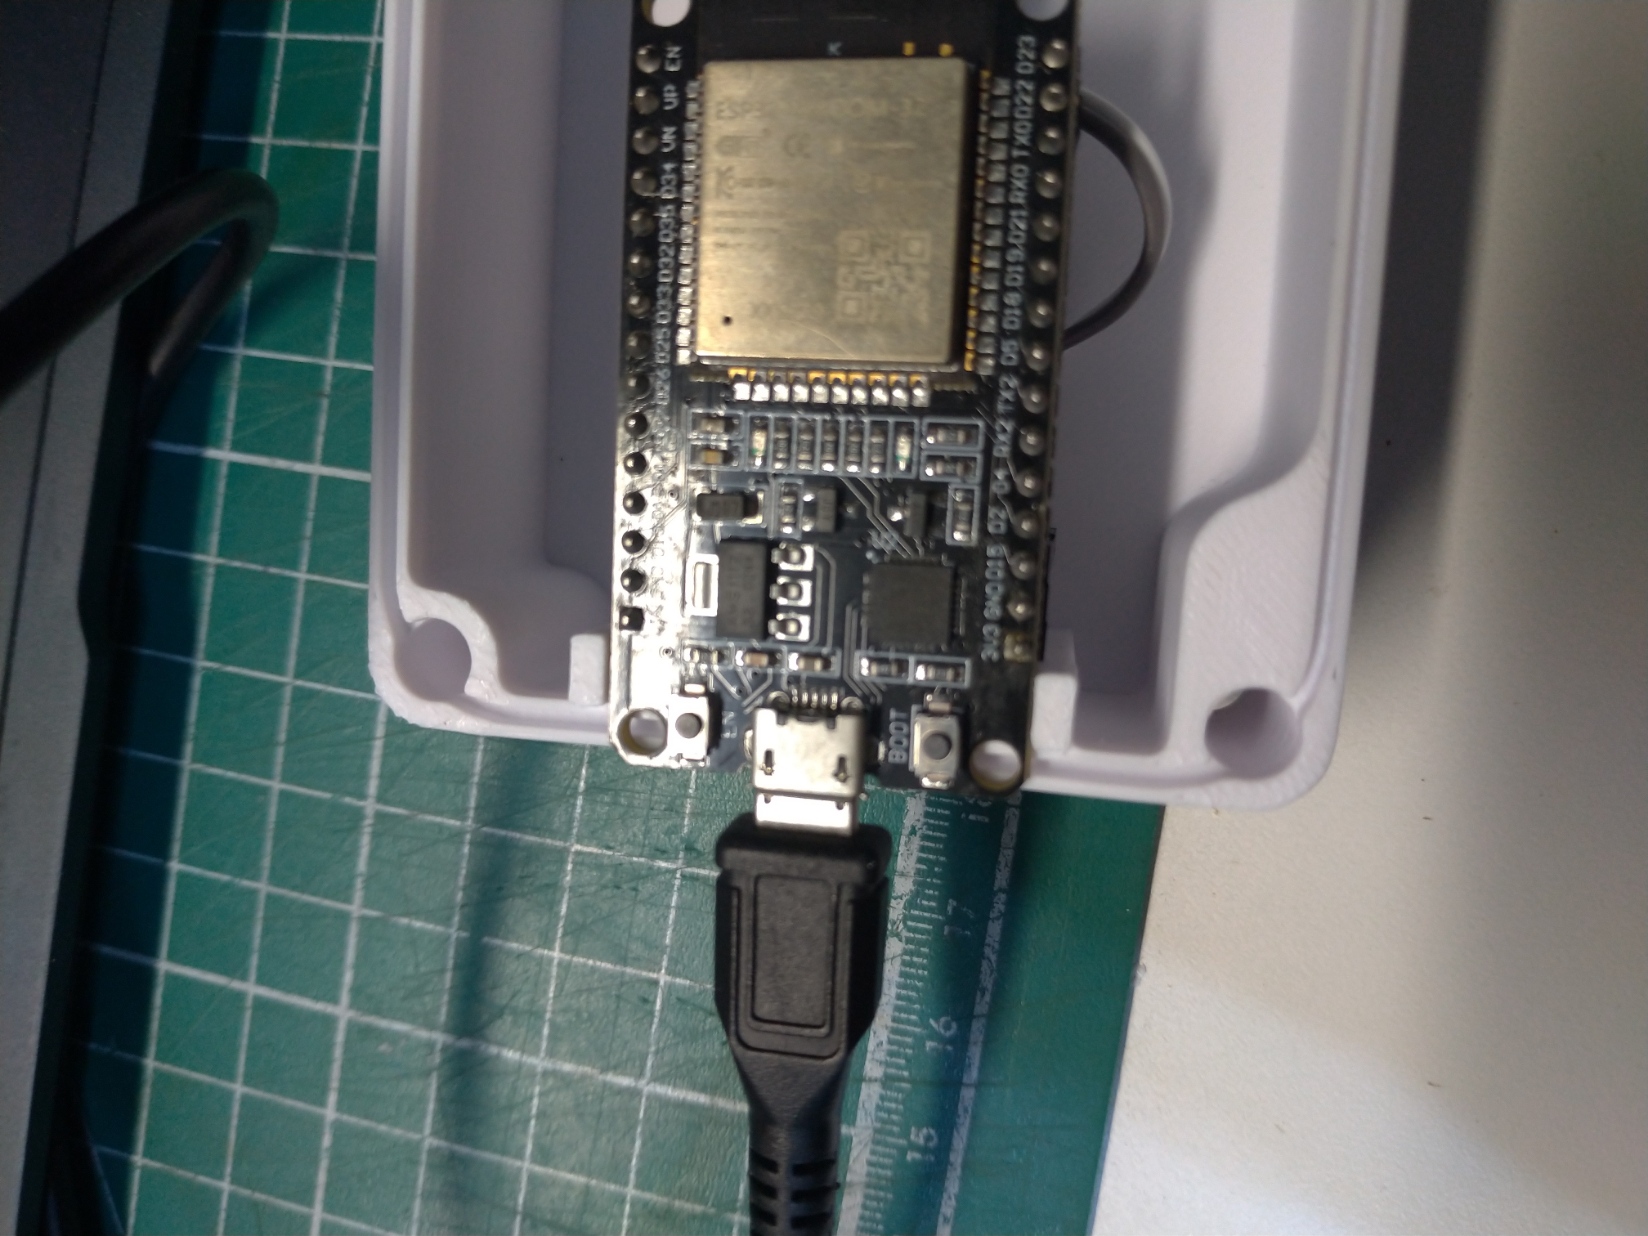
also I worked on the MagFire project today, and you should definitely check it out.
Total time spent: 2h
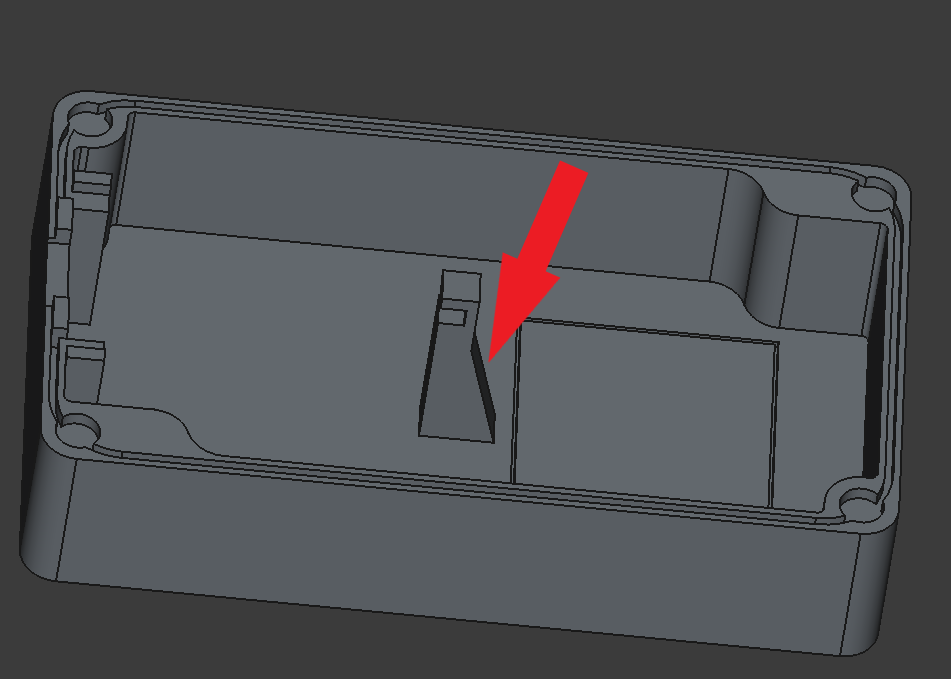
June 3rd: Fix the model once again.
So I some how figured out that this support here might not be strong enough to withstand the force installing of push into it, so I add made the support thicker at the bottom to prevent it from breaking.
Total time spent: 2h
June 4th: Print the second model.
My teacher seems supportive and help me print another version of the model, this time, the power line fit smoothly.
However, the board holder is a little bit too loose, so I changed the CAD once again.
I was thinking to add a little hand at the edge of the cap the hold the board so that it don't fly up and make it impossible to plug the line in once it's unplugged.
Though my teacher suggested me to just put some foam around the board, but to me, it doesn't feel good to tell a random person who want to make this to randomly put some foam in some random places and make it look like a thing taken out from the landfill, so I just decided to fix the CAD and print it again.
Total time spent: 3h
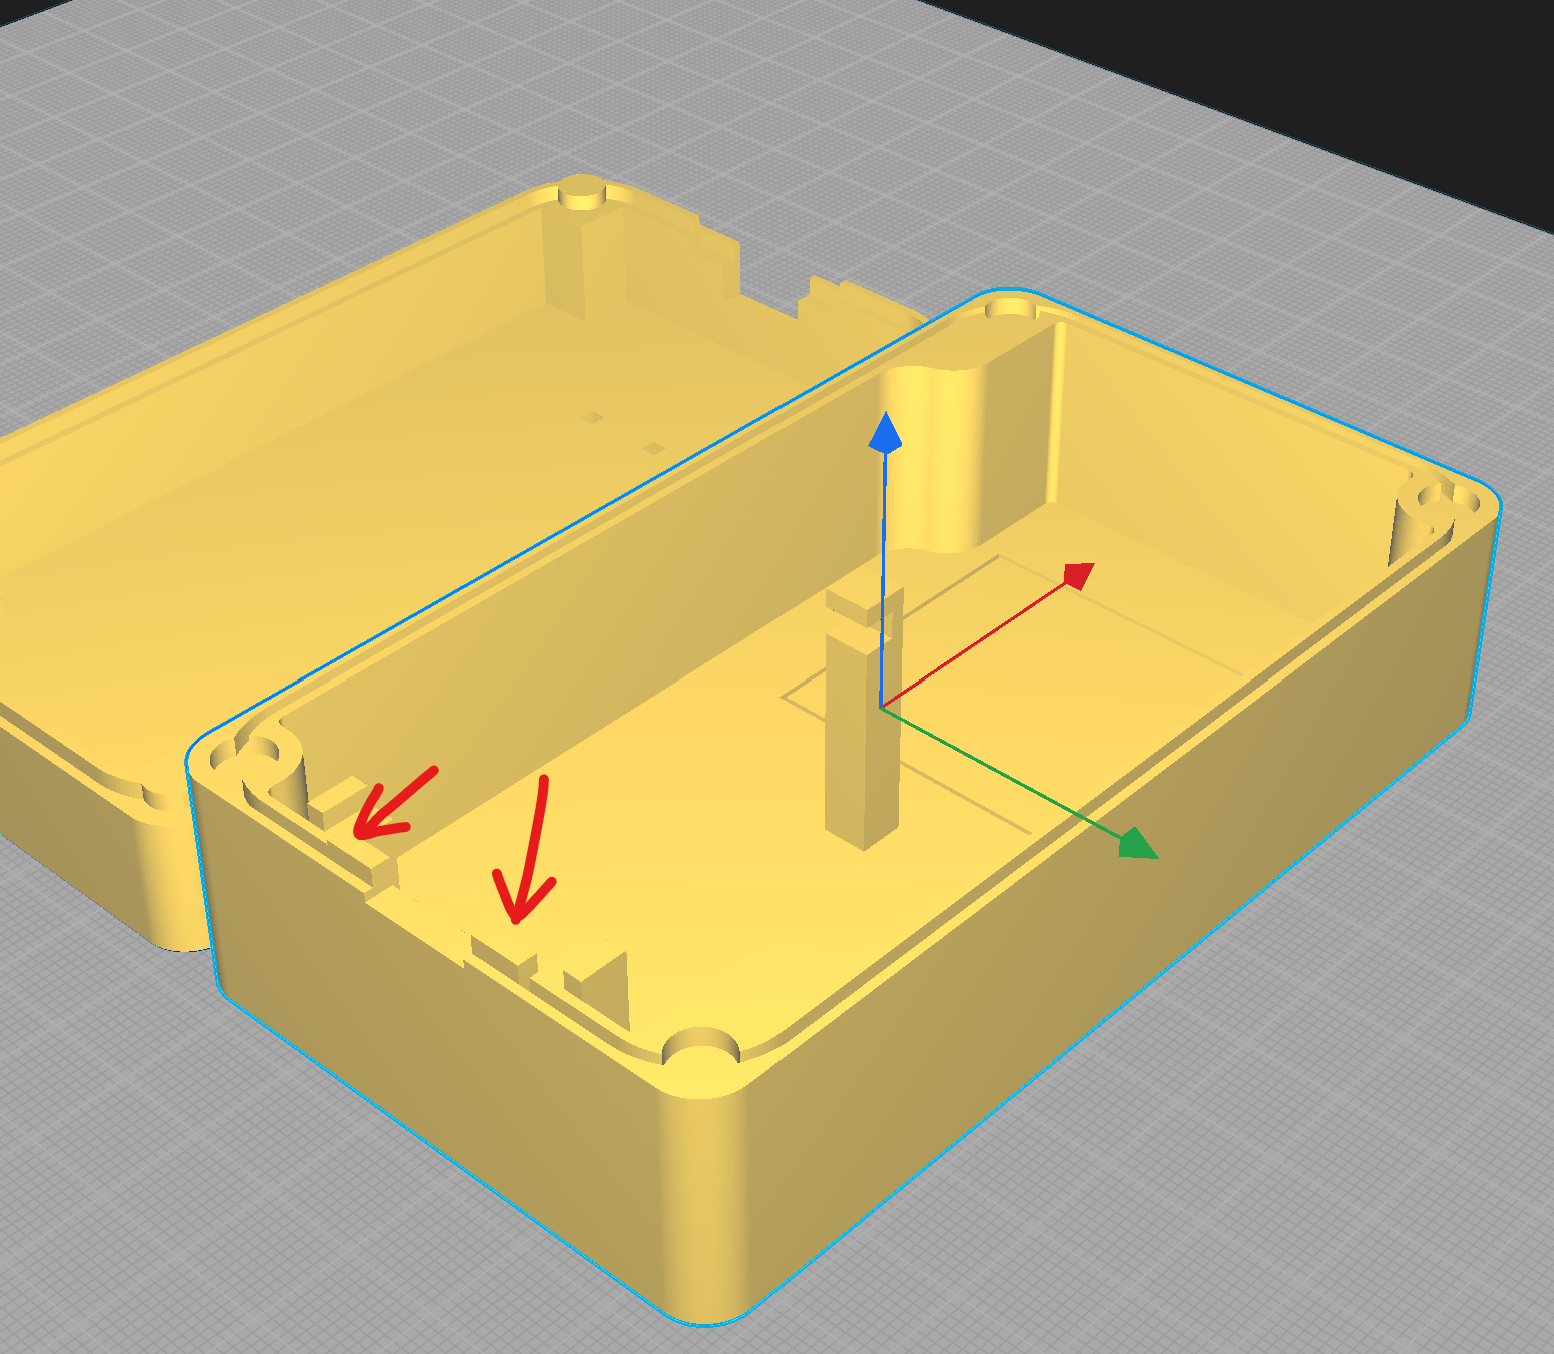
June 6th: Fix the issue of the second model.
So I added some parts to hold the board better
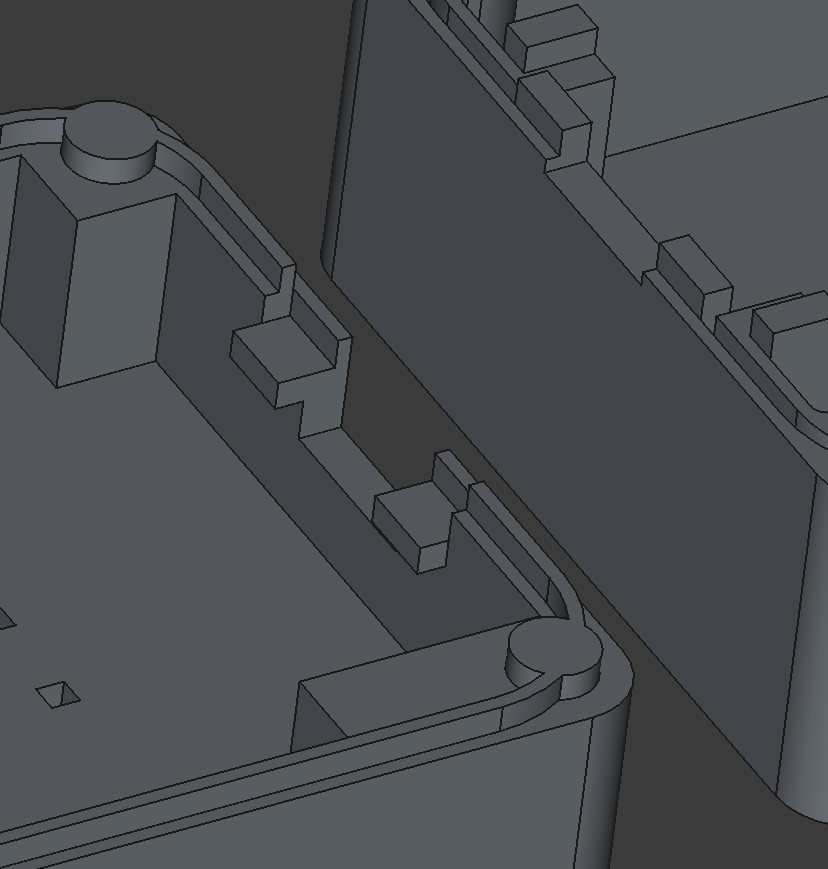
and hope it works.
Total time spent: 1h
June 8th: Working on the firmware.
So Today I wrote the firmware for the ESP32.
I first started with the example script of the MPU6050 library. Then I rearrange and separate it into multiple functions that setup and read the data from the sensor.
While I was taking my break, I think of the possibility of running multiple thread on the ESP32, so I looked up online, and I found this blog (Traditional Chinese). I read through and found it very interesting so I decided to implement it.
When I test the code, it worked just as I expected. But it was not done yet, still some small bug to fix and I have to link it to discord.
Another thing is that I fell into an issue that the data I'm getting is not gal (a kind of acceleration unit) rather a unknown unit. So I did a little free-fall experiment to the sensor and get its data. The experiment data are in freefall_experiment.xlsx

and average the result and calculate the ratio of the value get to gal, in which I found out that the data sheet is absolutely wrong. (they say 2048:960 but actually 8028.6:980, probably because I use DMP...)
About an hour later, I finished the webhook for discord. Now the last thing is to let it decide whether it's an earthquake. (Well, I just gonna suffer when I see this)

I also got my hand on to the data server. I wrote it in python, which is more familiar to me then arduino. So I quickly finished the server. Now it should be able to store the data sent from the sensor and send signal to restart sensor if it receives unregistered data to make it register again (well, also for calibration purpose).
Ok, I've finished all the part. That was really tired to write code for such a long hour.
Next week I might just print the new model out and assemble it and finish the rest of the job, and hopefully mark a end to this project. Total time spent: 6h
June 9th: Write tutorial for building the project
I finished the tutorial of making a QuakeCord from step 1 to step 7. It was just continuous writing, and kinda boring I would say.
Total time spent: 3h
June 10th: Still writing the tutorial and update the model
So I updated the model once again. I add some support onto the cap.
Total time spent: 1h
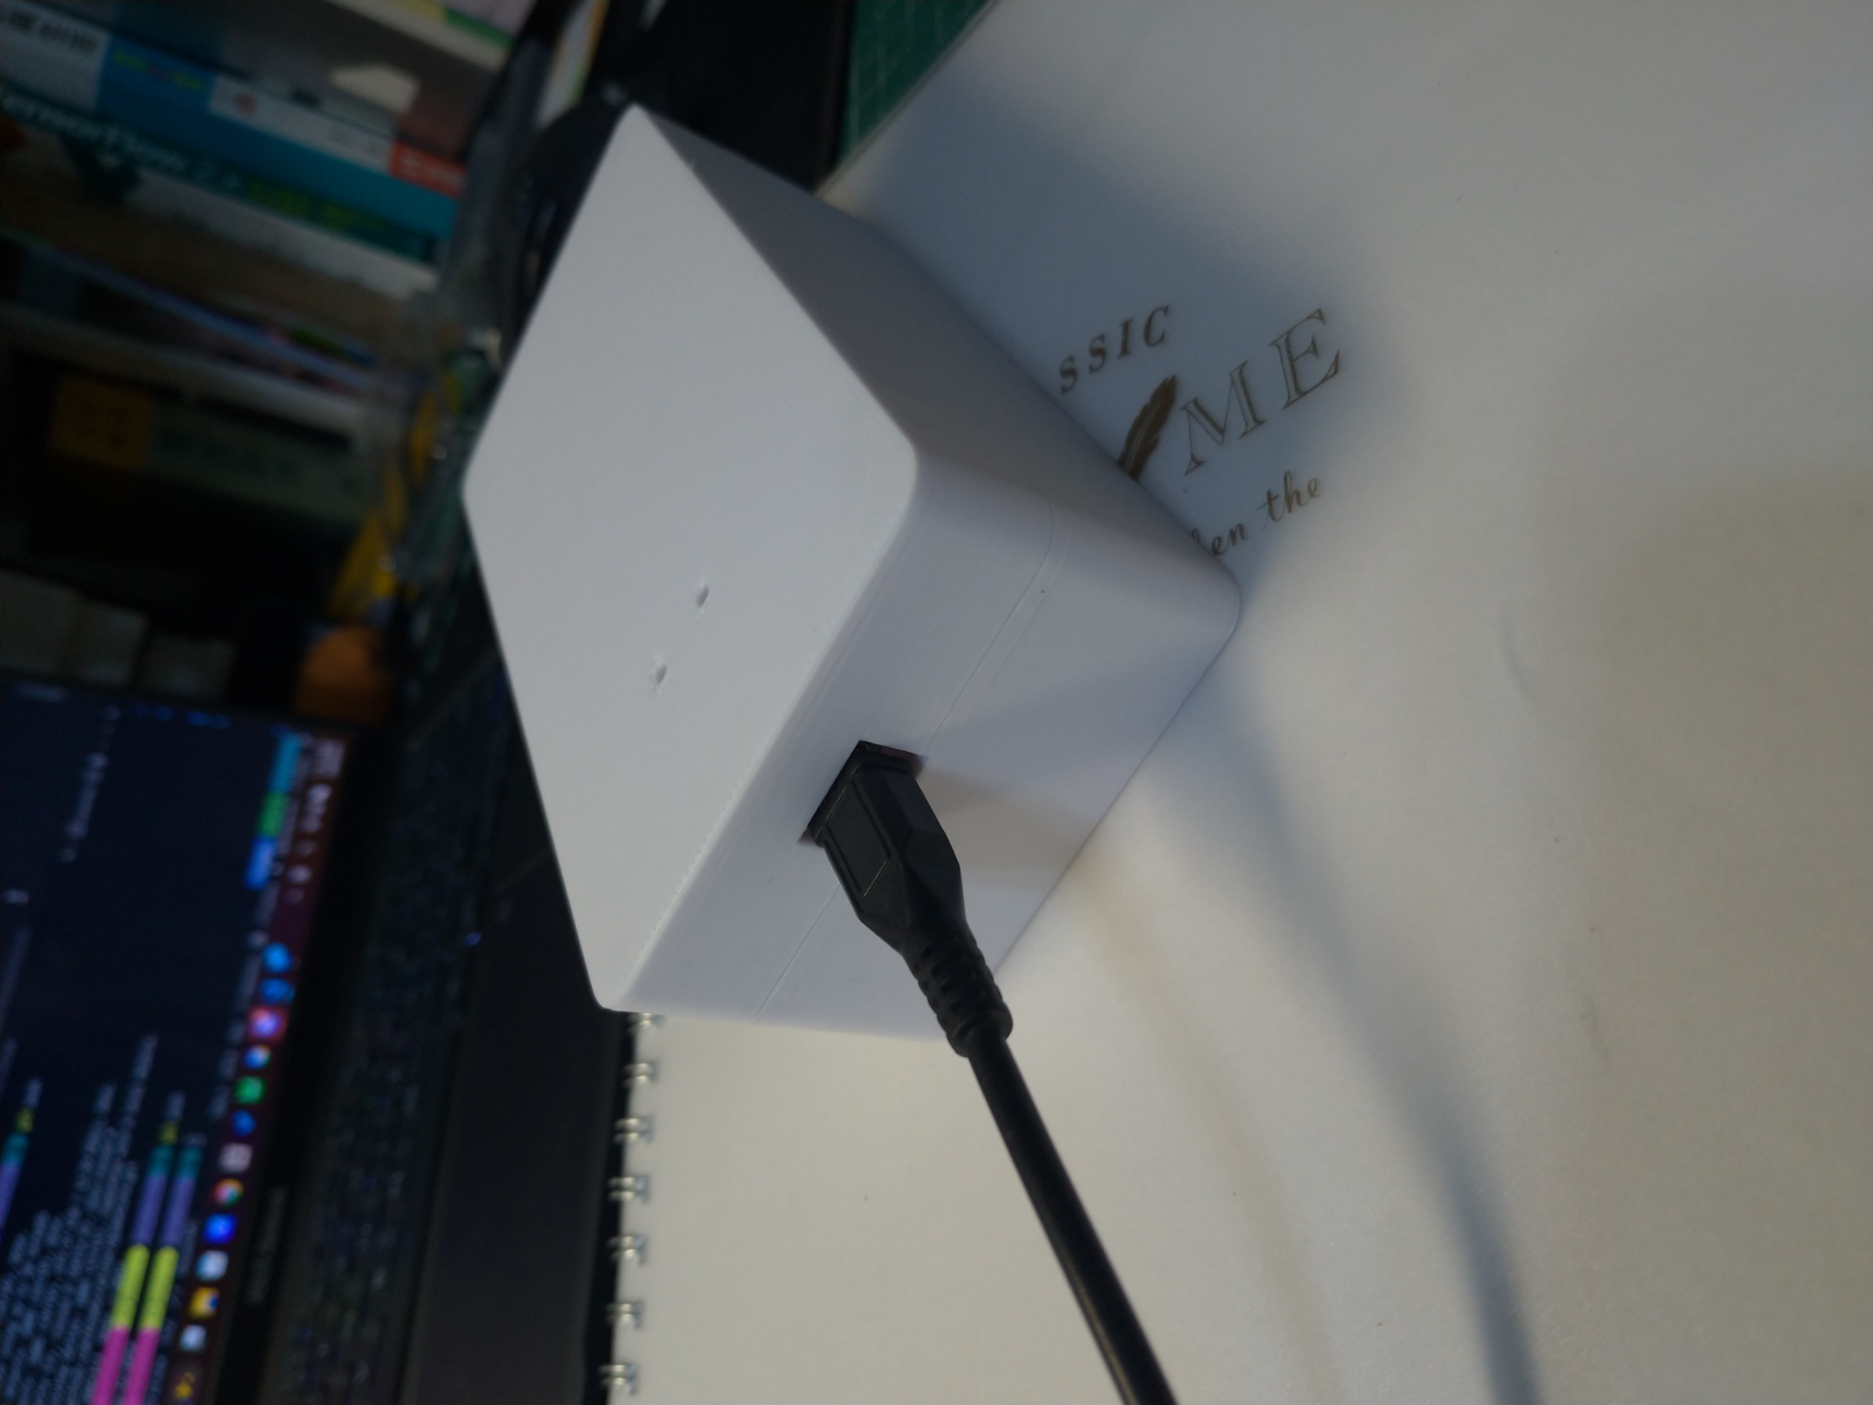
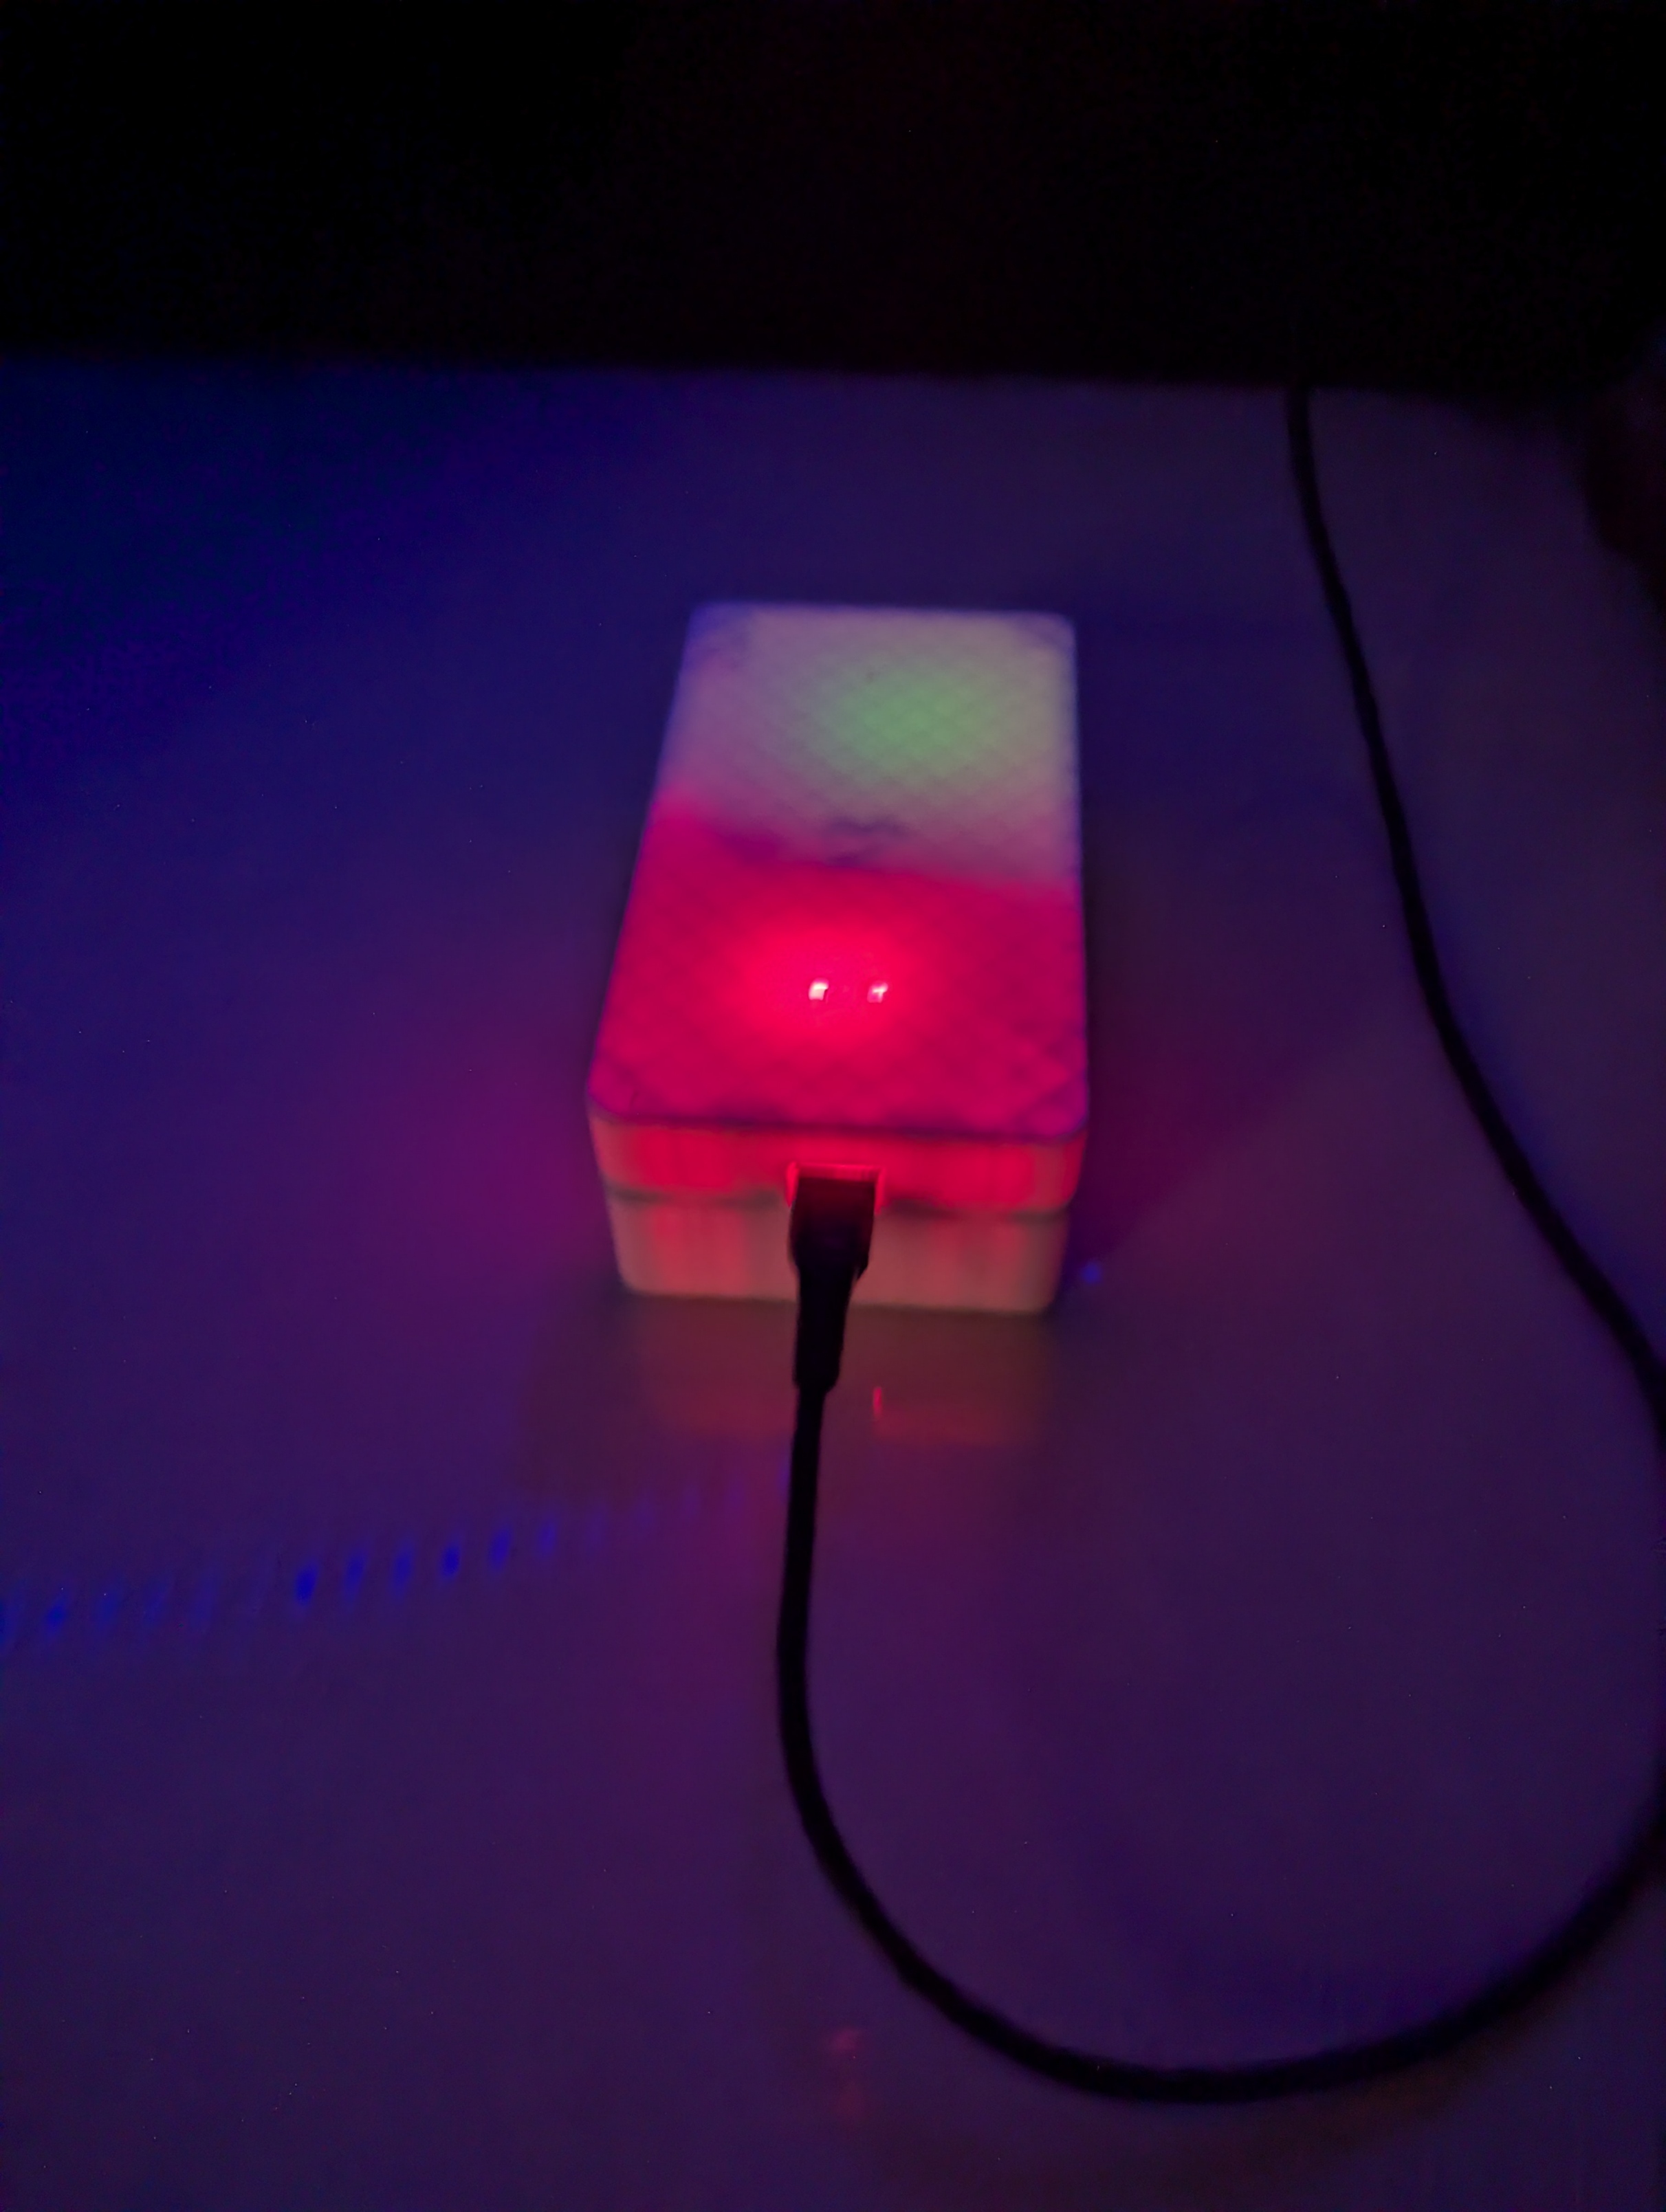
June 14th: Assemble the parts.
I officially assembled all the parts together and deployed the project. I put the sensor in a vacant room where no one will go and set up my data server, now it's working and collecting data.
also, I found out an issue with the INT pin so I disconnected it so it could work as expected.
Total time spent: 1h
June 14th: Take picture and finish magazine page.
Today I finished the magazine page for this project and also took picture for it.
Total time spent: 1h
June 26th: Got OSHWA certificate.
I got the open source certificate from OSHWA. That was really an encouragement for me to keep doing this.
Here, take a look at this beautiful thing

Also, the PCB finally arrived.
Total time spent: 0h
July 1st: Update server to allow live data visualization.
I rewrite the server program to allow me to access the data right after it's sent to the server.
I made a web ui and add some charts to show the streamed the data from websocket.
Total time spent: 3h
July 2nd: Finish up the update.
So I finish up the update of the streaming page and push to github.
Total time spent: 1h