
Cantilever Printer
Designing and building a custom cantilevered mini 3D printer
Total time spent: 23 hours
7/20/2025 Log 1: Project Goals and initial BOM
To start this off, I decided upon a couple design goals for this project. The main reason I'm doing this is just to see if I can and because the cantilever style is very interesting. Taking advantage of this style, here are my goals:
- Small 120 x 120mm build volume to make the printer easy to fit in to any space
- No extrusion, use the rails as the frame
- Make it a
corner
so it can sit cleanly in a corner of a wall and be completely functional - XY at the top, moving Z
- Affordable, reasonably high quality, reasonably fast (I'm coming from an Ender 3 so not expecting much)
As usual, I made my Onshape document and a starter BOM to see if this is possible. I'm using a fellow Hack Club contributors BOM as a starting point, since I've never built a printer before. Also, since I'm still waiting for approval on my other project, I haven't made an Aliexpress account and see all the welcome deal prices, so I'm currently marking them as full price but expecting the project to be much cheaper. Even then, I have most components selected and am still under $300 for the printer, which is pretty impressive to me.
I began by putting together the BOM as best I could, finding some 3D models for my linear rails, motors, and controller, and started a rough model which I will continue later. This was mostly about getting that BOM together to figure out how much I need to do and how much it'll cost.
Time spent: 2.5 hours
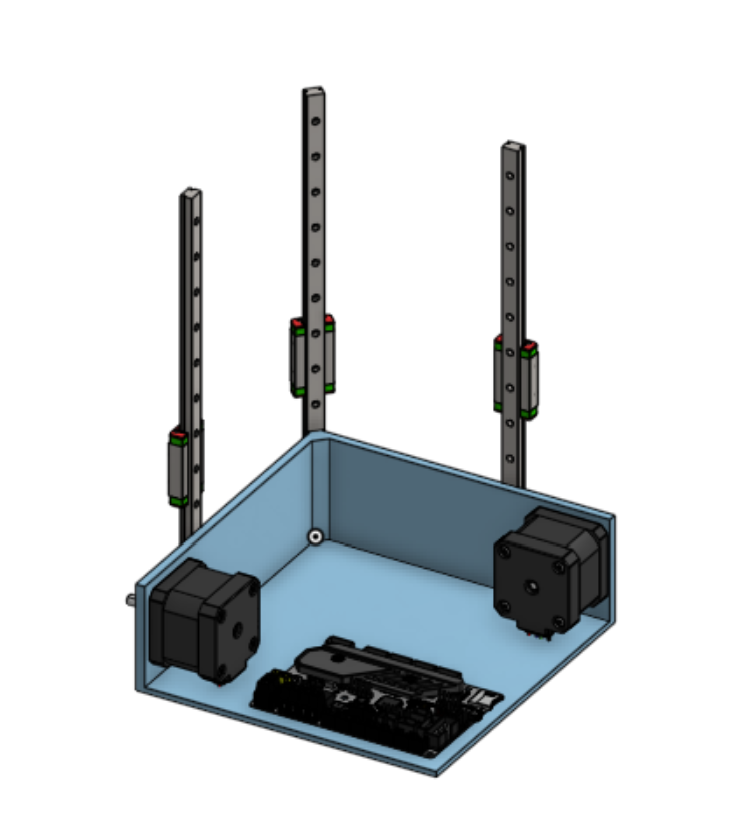
7/21/2025 Log 2: Refining CAD
Today I really tried to get the CAD into a better spot and figure out how everything will go together. I decided to expand the base to fit the full 200mm rails in between the Z axis ones sticking up, which should also make packaging for electronics easier later on. I'm still satisfied with the size, as it'll work out to be pretty much exactly 220x220, which is the size of the bed on my old 3D printer (which is significantly larger). I began adding holes and slots for the motor tensioning and lead screw attachment. It does pain me in a sense to use the leadscrews as structural members since I loose some travel, but it is much cheaper than using extrusion and may even be stronger. It still needs much refinement, but it's a start that I can pick up on tomorrow. Regardless, here's a picture of the working design:
Time spent: 1.5 hours
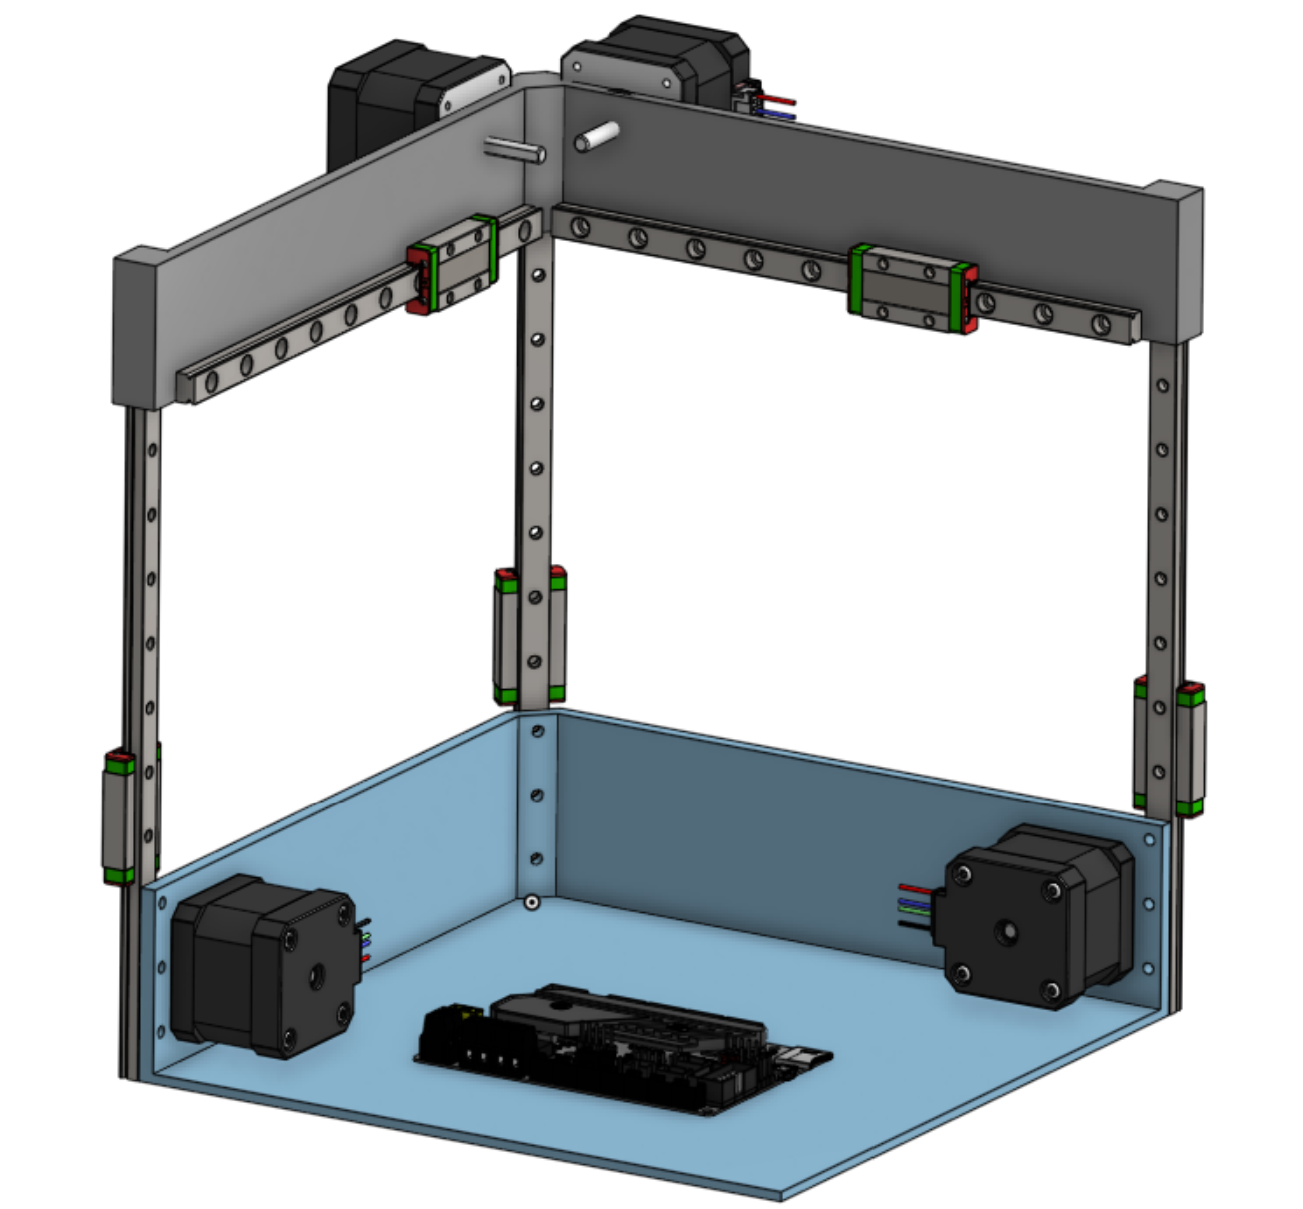
7/25/2025 Log 3: Polishing the Pieces
I made some big changes to the printer and put in quite a lot of work, so let's quickly run through them all:
- Added the second XY rails to create the cantilevered concept
- Made all XY rails 150mm instead of 200 to reduce the overall footprint and allow the largest base and top parts to be printed on a typical 220 by 220 build plate
- Added mounting for the rails and slots for the motors (for belt tensioning later)
- Continued adding parts to the BOM
This was a good start, but there is still a ton of work to do in the coming days.

Time spent: 3 hours
7/29/2025 Log 4: Overhaul
Now I really started putting this project together and making some major changes and polishing pieces as we go. Once again, let's run through them all: - Set the two motors to equal spacing from the linear rails so the X and Y axis are identical in mounting and belting - Created belt clamps for the XY axis, which I will also use on Z soon - Designed the mounting for the rails to the cantilever rails as well as the toolhead gantry mounting piece(s) - Added an E3D V6 hotend and began designing attachment parts for it - Added a 4010 blower fan for part cooling, mounting TBD - Finalized the overall system and layout
Still, I have much work to do which I will continue tonight and tomorrow in anticipation of the deadline for highway. As stated above, some things I must do are add in the beltling for Z, the print bed, a BLTouch to the toolhead, the part cooling mounting, final electronics layout, etc. There's a lot, but a lot of it is relatively simple work as the major decisions have been made. I'll grind it out!
Time spent: 7 hours
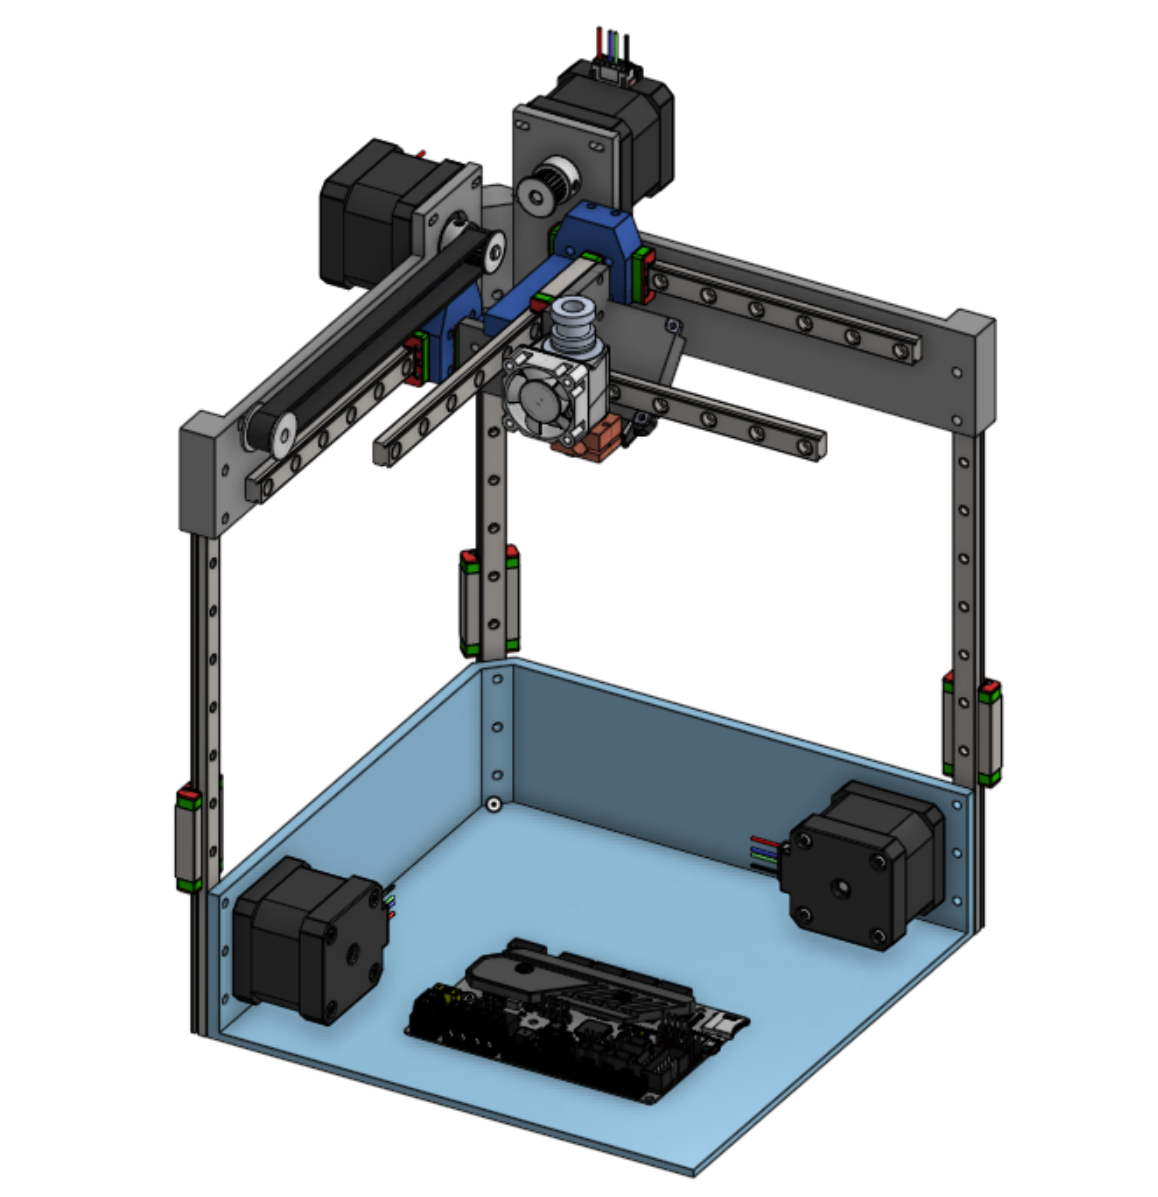
7/29/2025 (again) Log 5: Continuing the grind
First off, another Hack Clubber posted a very similar printer to mine which seems to be a good resource for some parts of my printer that I'm still strugglign with. For example, I like his way of mounting the part cooling fan on the front of the hotend. I'll also have a similar BLTouch setup, but that is independent of me seeing his design. Through this work session, I nearly finished the printer, wrapping up all my loose ends (note: the time on the last log is the last few days, this time is today). Here we are:
- Flipped the motors under the rails to make the top part printable
- Added the Voron 0.2 bed and mounting to the Z linear rails
- Added Z rail belting
- Refined the hotend attachment and added a BLTouch probe
- Mounted the extruder near the back of the printer
- Sketched out electronics layout
- Countless other changes and fixes I can't go through
Here's what the near-final printer looks like:
Time spent: 7 hours
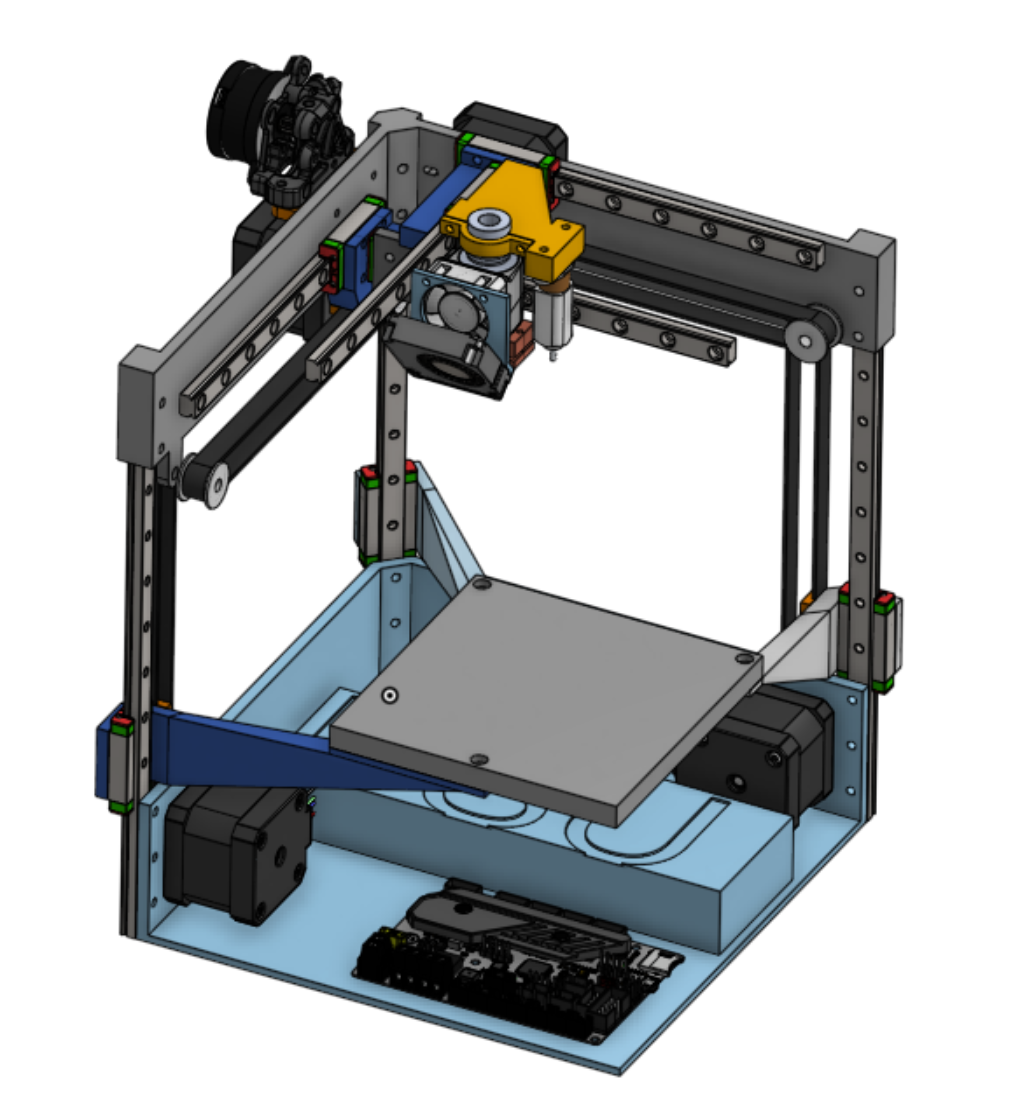
7/30/2025 Log 6: Finishing Touches
To wrap up the project, I finished off some of the electronics at the bottom, which I am currently leaving open-face because it looks cool and gives the most airflow without any extra fans or similar. I may redesign this in the future to be enclosed if needed. I also did my (semi)final BOM updates to prepare for review, and color coded my printer.
Here's a final (pre-review) screenshot:

Time spent: 2 hours