
calculettissimo
The last calculator you'll ever need!
Project Journal: Calculettissimo
Hours Spent (so far)
| Hours Spent |
|---|
| ~ 13.5 |
Day 1: I Don't Know What I'm Doing
Date: 25/05/2025
Hours spent: ~4
Uhh, let's start this journal, shall we?
Progress
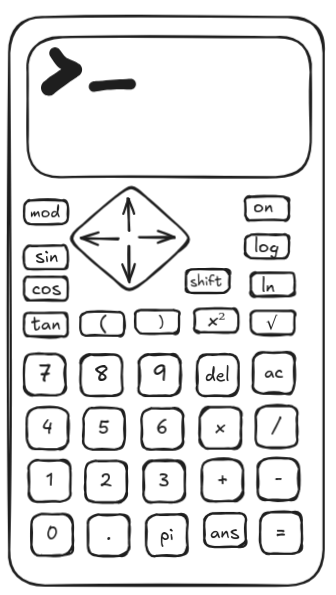
Initial Sketch
I started by sketching out the rough outline of my calculator.
PCB Design
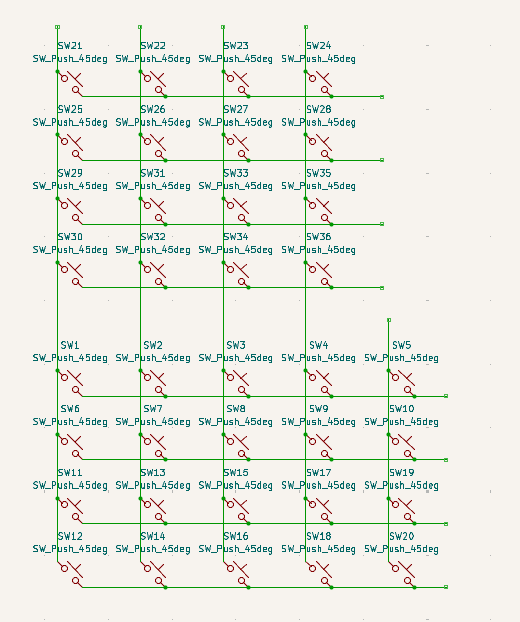
I then moved on to starting the PCB part of it, so I made a matrix.
Next Steps
I will report back when I find a processor and figure out the battery part.
Edit: Processor Selection
STM32 CPUs seem really cool. I'll choose between the STM32L4(+) or the STM32U5 (both have good memory capacity and low power consumption).

Day 2: BOM Figured Out?
Date: 26/05/2025
Hours spent: ~3
I decided I want an e-ink display for this calculator, and this 2.36-inch E-Paper Module looks pretty good. Since the calculator will be off most of the time, I'll probably keep the processor in a pretty deep sleep mode.
Power Consumption Comparison
| Processor | Shutdown Mode | Standby Mode |
|---|---|---|
| STM32U5 | 160nA | 210nA |
| STM32L4 | 30-330nA | 115-415nA |
Note that the stm32u5 is wildly more powerful than the L4, but I really don't know what I'm doing, so I'll choose later :p
Also, I found a 2.76v little solar panel and a smaller 2V one
Digikey link for future reference
Edit: Routing pain
I've decided to use the stm32u5 because of all its juicy features
Never routed a chip like this before though, wish me luck
Day 3: Cyao stop asking me to put an fpga in this thing
Date: 28/05/2025
Hours spent: ~3
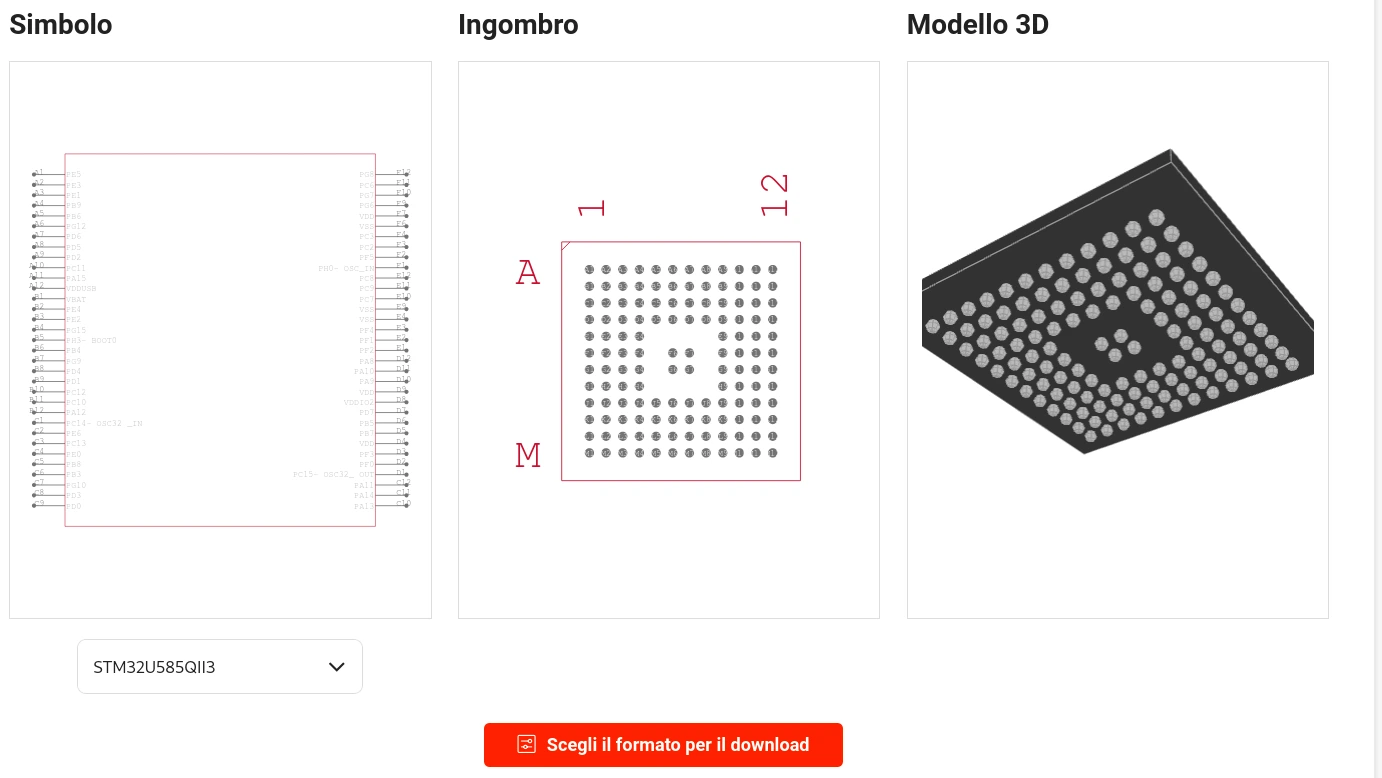
I finally decided a processor to put in this thing, the STM32U5A5RJT6, it's an stm32u5, so plenty fast yet can go to sleep really nicely.
Time to read the datasheet, and then figure out how to wire everything up nicely
datasheet is in /pics/cpu.pdf
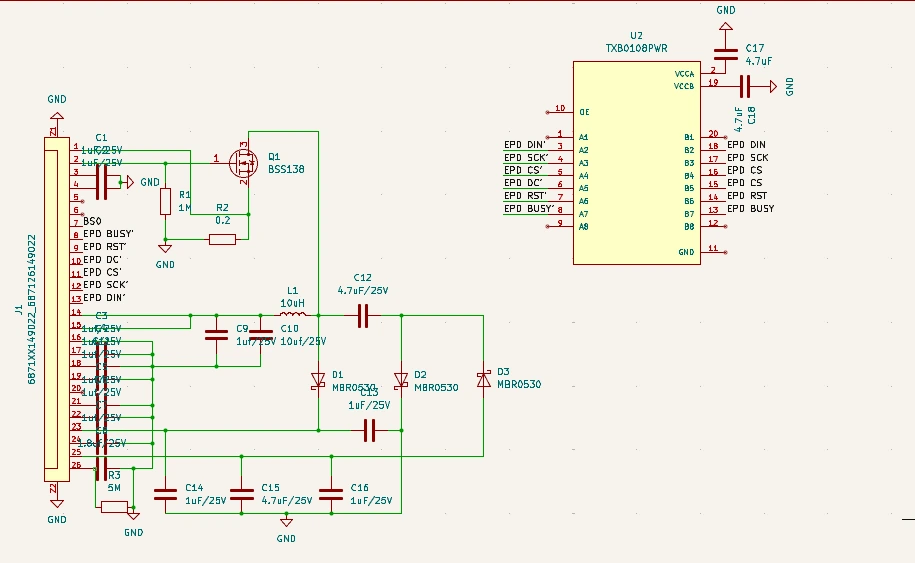
Then I started copying the schematic of the screen driver board so that I can just plug the screen in nicely.
This took a loong time (not even finished as of now).
Day 4: Starting to take shape
Date: 29/05/2025
Hours spent: ~1.5
Finished the driver board for the screen, I added some footprints for the pieces, now I just need to figure out the necessary pins to connect to the cpu
Day 5: Title
Date: 30/05/2025
Hours spent: ~2
Finished the driver board for the screen, I added some footprints for the pieces, now I just need to figure out the necessary pins to connect to the cpu
Edit: connected all pins for the matrix and the screen!
I also chose these switches because they have cool feedback and are low-profile if we look at normal mouse switches